
So, you’ve decided to level up your morning routine. You’ve moved past the supermarket "burnt-and-stale" blends and stepped into the glorious world of fresh roasted speciality coffee. We love that for you. There is honestly nothing quite like the aroma of a freshly opened bag of beans that were in the roaster just days ago.
But here’s the thing: fresh coffee is a bit like a high-performance sports car. It’s capable of incredible things, but if you don't know how to handle it, you’re going to end up with a bit of a mess. We see it all the time here at Limini Coffee, passionate home brewers who have the best intentions (and the best beans) but are accidentally sabotaging their brew.
Whether you're roasting your own green beans at home or buying bags of our carefully crafted roasts, there are a few common pitfalls that can turn a premium experience into a mediocre cup. Let’s dive into the seven most common mistakes and, more importantly, how you can fix them to ensure your coffee is always hitting those sweet, complex notes we all crave.
1. The "Fresh is Best" Trap: Not Letting Your Beans Rest
It sounds counterintuitive, doesn't it? We spend so much time talking about "freshness," so you’d think brewing the coffee the second it comes out of the roaster would be the ultimate goal. Well, to be honest, it’s actually one of the biggest mistakes you can make.
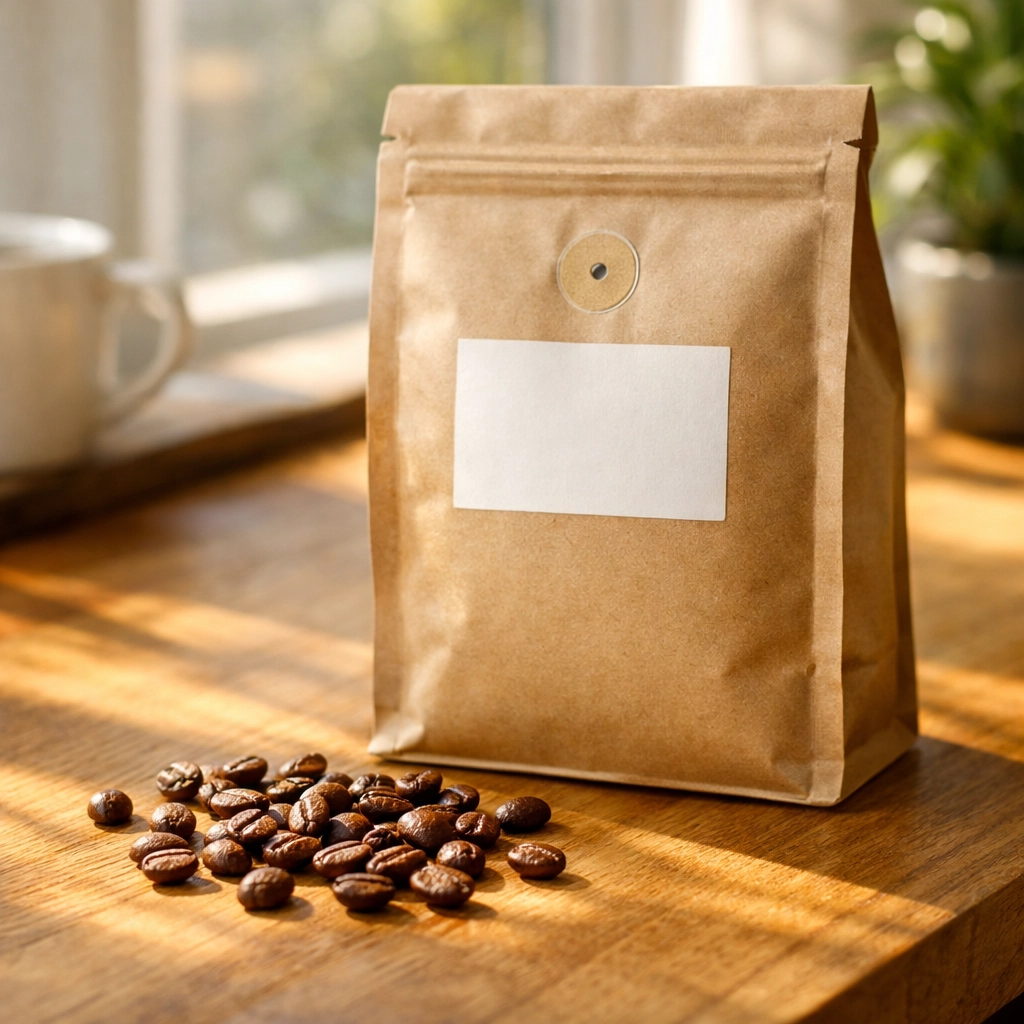
When coffee is roasted, carbon dioxide (CO2) gets trapped inside the bean. In the days following the roast, the beans undergo a process called degassing. If you brew coffee that is too fresh: say, less than 48 hours old: that CO2 is still rushing out. When water hits those grounds, the gas creates a physical barrier that prevents the water from properly extracting the flavors.
The Fix: You need patience. For filter coffee, we generally recommend waiting at least 3 to 5 days after the roast date. If you’re brewing espresso, you’ll want to wait even longer: usually 7 to 10 days. This allows the gas to dissipate and the flavors to settle. You’ll notice the crema is more stable and the flavor profile is much more balanced. If you brew too early, expect a cup that tastes surprisingly sour or metallic, which is just a real shame when you’ve got high-quality beans.
2. Overloading the Roaster (For the Home Roasting Hobbyists)
We know the feeling. You’ve got a bag of green beans and you want to get through them so you can start drinking. It’s tempting to cram as many beans as possible into your home roaster to save time. However, roasting is all about airflow and heat transfer.
When you overload the roasting chamber, you restrict the movement of hot air. Instead of the beans tumbling and roasting evenly, they end up "baking" or roasting inconsistently. Some beans will be scorched on the outside while remaining raw in the middle, while others might not reach the necessary temperature at all.
The Fix: Stick to the manufacturer's recommended batch size. If you’re just starting out, we actually suggest going slightly under the limit: maybe 100g to 200g. This ensures the beans have plenty of room to dance around in the heat. Even roasting is the secret to a clean, sweet cup. If you're looking for that perfect consistency without the DIY headache, you can always check out our range of freshly roasted single origins where we've done the hard work for you.
3. Ignoring the "Cracks"
If you’re roasting at home, you need to use your ears as much as your eyes. Coffee goes through two distinct audible milestones during the roast: First Crack and Second Crack.
First Crack sounds like popcorn popping. This is the moment the moisture inside the bean turns to steam and breaks through the cell wall. It’s a signal that the light-to-medium roast stage has begun. Second Crack sounds more like the "snap, crackle, and pop" of cereal; it’s more delicate and indicates you’re moving into dark roast territory. Ignoring these cues is a recipe for disaster.
The Fix: Listen carefully. For a bright, acidic "blonde" or light roast, you’ll want to stop the roast shortly after First Crack begins. For a "City Roast" (a nice medium), give it about a minute or two of development time after First Crack finishes. We generally advise against going too far into Second Crack unless you really love that smoky, oily profile, as it can hide the unique characteristics of the bean’s origin.
4. Grinding Way Too Far Ahead
This is perhaps the most common mistake of all. You buy a bag of beautiful, fresh roasted beans, and then you grind the whole bag at once to "save time."
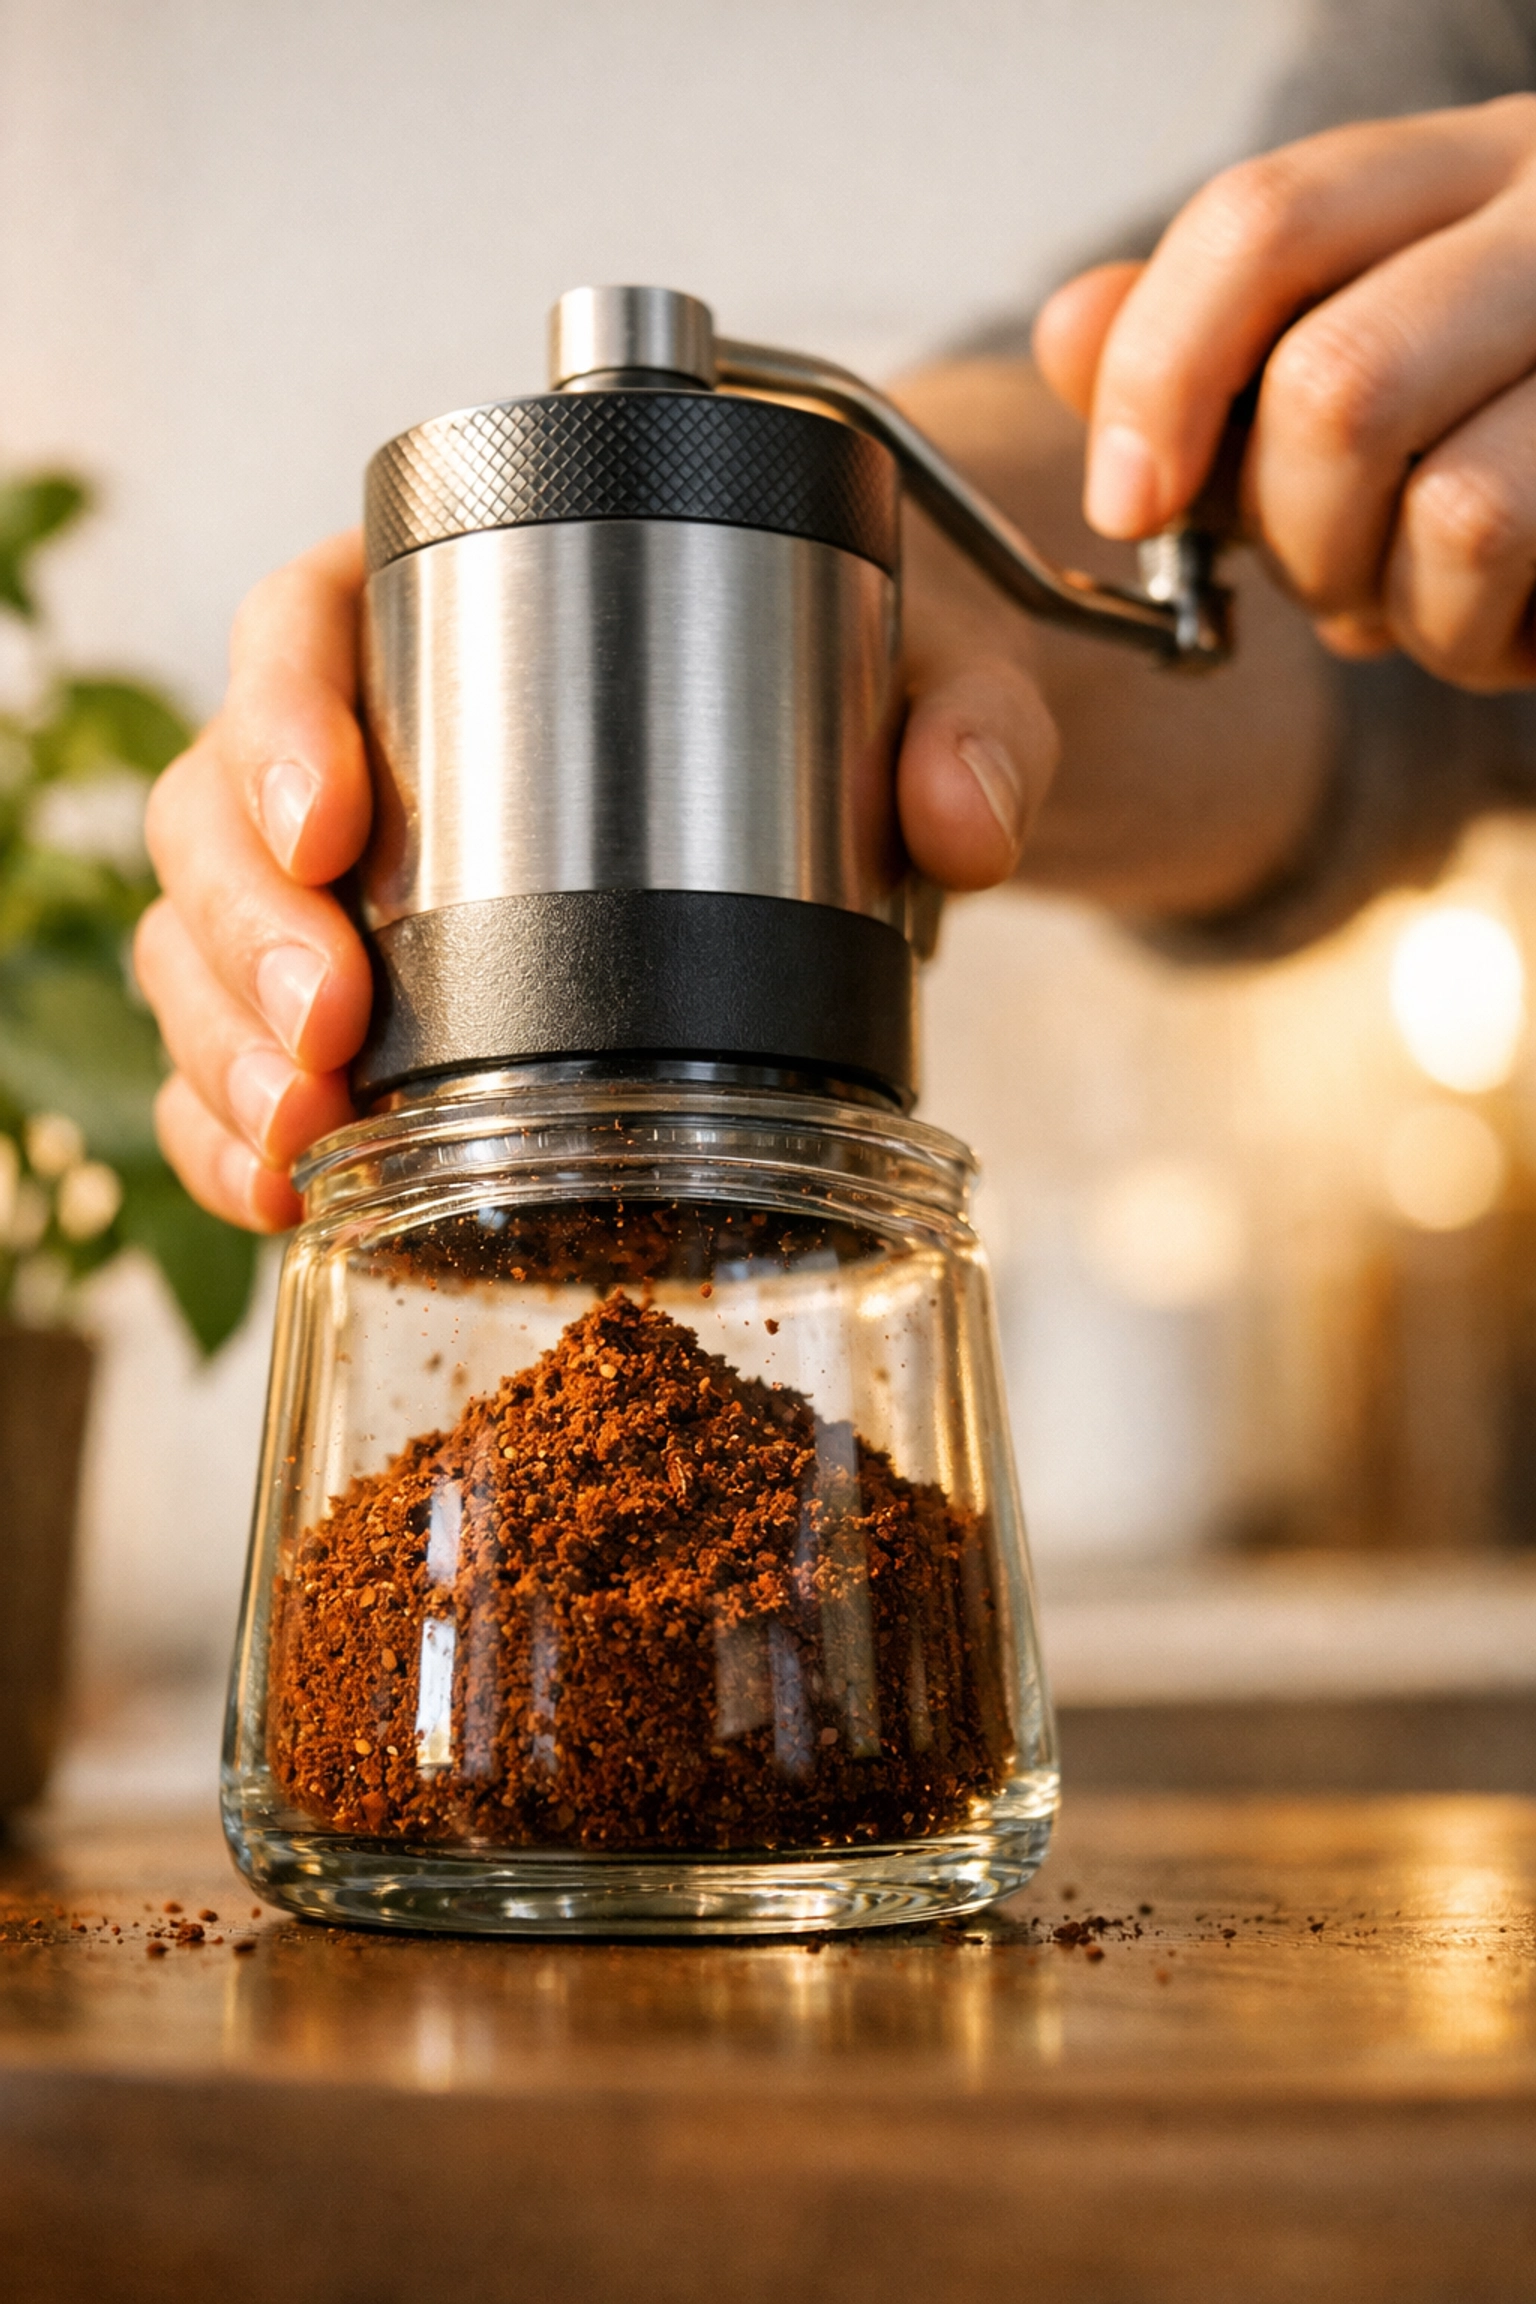
The problem is surface area. As soon as you grind a coffee bean, you increase the surface area exposed to oxygen by thousands of percent. Oxidation happens almost instantly. Those volatile aromatic compounds: the stuff that makes coffee smell like blueberries, chocolate, or jasmine: begin to evaporate the moment the bean is shattered. Within 15 to 20 minutes, pre-ground coffee has already lost a significant portion of its magic.
The Fix: Invest in a decent burr grinder. It doesn’t have to be a commercial-grade beast, but it should be a burr grinder rather than a blade grinder to ensure consistency. Grind your beans immediately before you brew. If you’re still choosing espresso equipment, prioritize the grinder as much as the machine. It’s that important.
5. Using Water That's "Too Hot" (or Too Cold)
We’ve all been told to use "boiling water," but in the world of speciality coffee, that’s actually a bit of a myth. If you pour rolling, boiling water (100 °C / 212 °F) directly onto your grounds, you risk "scorching" the coffee, which brings out unpleasant, bitter ash-like flavors. Conversely, if the water is too cool (below 88 °C / 190 °F), you won’t extract enough of the sugars and oils, leaving you with a sour, thin, and watery cup.
The Fix: Aim for the "Goldilocks zone" of 195°F to 205°F (roughly 90.5°C to 96°C). If you don't have a temperature-controlled kettle, simply let your kettle sit for about 30 to 60 seconds after it finishes boiling before you pour. Light roasts generally benefit from the higher end of that scale (around 95 °C) to help extract those dense flavors, while darker roasts shine at the lower end (around 91 °C) to keep bitterness at bay.
6. Roasting Too Fast (The "Flash" Mistake)
In a world where we want everything now, it’s tempting to crank up the heat to finish a roast in five minutes. However, rushing the process results in what we call "underdevelopment." The outside of the bean looks a beautiful chocolatey brown, but the inside is still essentially raw. It’s like cooking a steak on a blowtorch: burnt on the outside, blue on the inside.
The Fix: Use a "low and slow" approach. Start at a moderate temperature: around 350°F (175°C): and gradually increase it. You want your total roast time to land somewhere between 8 and 12 minutes. This ensures the heat has time to penetrate to the center of the bean, developing those complex sugars properly.
7. Eyeballing Your Ratios
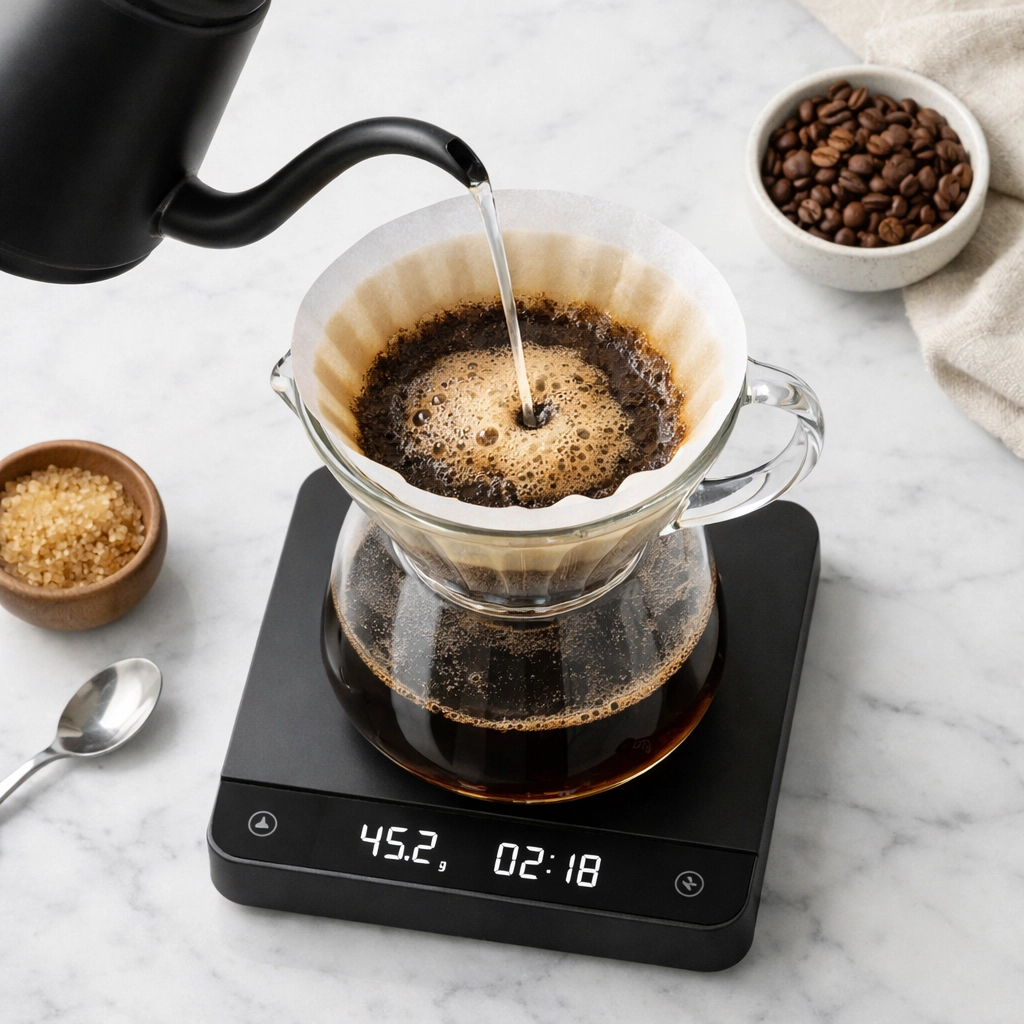
"Two scoops and a bit more" is not a recipe; it's a gamble. Because different coffees have different densities (a dark roast is much less dense than a light roast), a "scoop" can vary significantly in weight. If you're using too much water, you’ll over-extract the coffee and get bitterness. Too little water, and it’ll be a sour, concentrated mess.
The Fix: Use a scale. We can't stress this enough. Weighing both your coffee and your water is the only way to get consistent results every single morning. A standard starting ratio is 60g of coffee per 1 liter of water (or a 1:16 ratio). If you find that a bit confusing, we actually have a coffee brewing calculator on our site that does the math for you. It’s a game-changer, honestly.
Bringing It All Together
Brewing (or roasting) coffee is a journey. It’s part science, part art, and a whole lot of personal preference. We don't expect everyone to be a world-class barista overnight, but avoiding these seven mistakes will put you miles ahead of the average drinker.
At the end of the day, the quality of your cup starts with the quality of your beans. If you start with stale, low-grade coffee, no amount of perfect water temperature or resting time will save it. But when you start with something special: like the beans we source and roast at Limini Coffee: and you treat them with a little bit of respect, the results are nothing short of transformative.
So, take a second to check your water temp, wait a few days for that bag to degas, and please, for the love of all things caffeine, grind your beans fresh. Your taste buds will thank you.
If you ever feel stuck or want to dive deeper into the technical side of things, we offer a range of barista training courses that cover everything from milk texture to advanced extraction. We're here to help you make the best coffee of your life.
Happy brewing!
Leave a Reply