So, you’ve decided to take the plunge into the world of speciality coffee. Maybe you’ve had a life-changing flat white at a local roastery, or perhaps you’re just tired of the "burnt toast" flavour of supermarket beans. Whatever the reason, we are thrilled you’re here. Brewing speciality coffee at home is one of the most rewarding rituals you can adopt. It’s part science, part art, and entirely delicious.
But where do you start? Between the various brewing gadgets, the talk of "tasting notes," and the obsession with gram scales, it can feel a bit like you need a chemistry degree just to get a caffeine fix. Don’t worry. We believe that anyone can brew world-class coffee in their own kitchen with just a bit of guidance and the right tools.
At Limini Coffee, we live and breathe these beans, and we want to help you get the best out of every single bag. If you're ready to stock up on the good stuff, you can find our freshly roasted selections right here.
It All Starts with the Bean (The "Freshness" Rule)
We can’t stress this enough: you cannot brew great coffee from bad beans. You could have a £3,000 espresso machine, but if you’re using stale, oily, over-roasted beans from the back of a cupboard, it’s going to taste… well, not great.
Speciality coffee is different. It’s graded by experts (Q-graders) and must score above 80 points on a 100-point scale. This means the coffee is free from primary defects and has a distinct character. When we talk about "single origin," we’re talking about coffee that comes from one specific place, a single farm or a small cooperative. This allows the unique terroir (the soil, altitude, and climate) to shine through.
Freshness is your best friend. Coffee is a fresh agricultural product. Once it’s roasted, it begins to degas and eventually oxidise. For the best flavour, we recommend using beans between 7 and 30 days after the roast date. And please, buy whole beans! Grinding coffee increases the surface area exponentially, causing it to lose its aromatic oils in minutes.
If you're looking for that perfect bag to start your journey, check out our latest roasts.
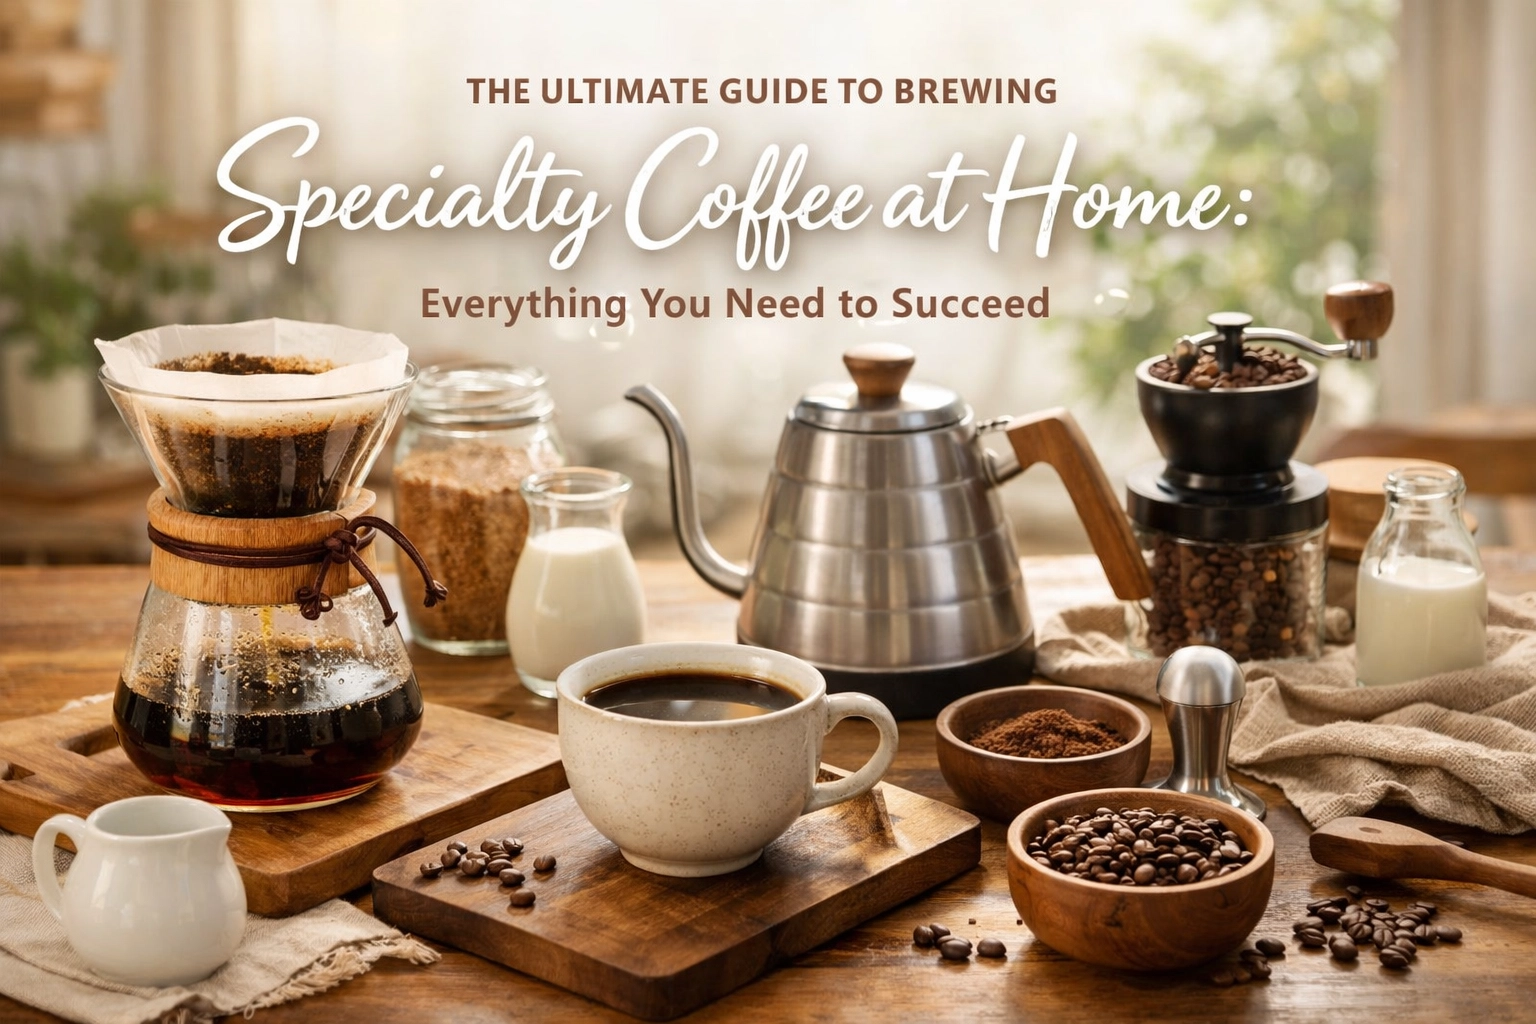
The Essential Home Brewing Toolkit
You don't need a counter-top full of industrial machinery, but there are a few "non-negotiables" if you want consistency.
1. The Grinder
If you only invest in one piece of kit, make it a decent burr grinder. Avoid "blade" grinders: they chop the coffee into uneven shards, leading to a cup that is simultaneously bitter and sour. A burr grinder crushes the beans to a uniform size, which is the secret to even extraction.
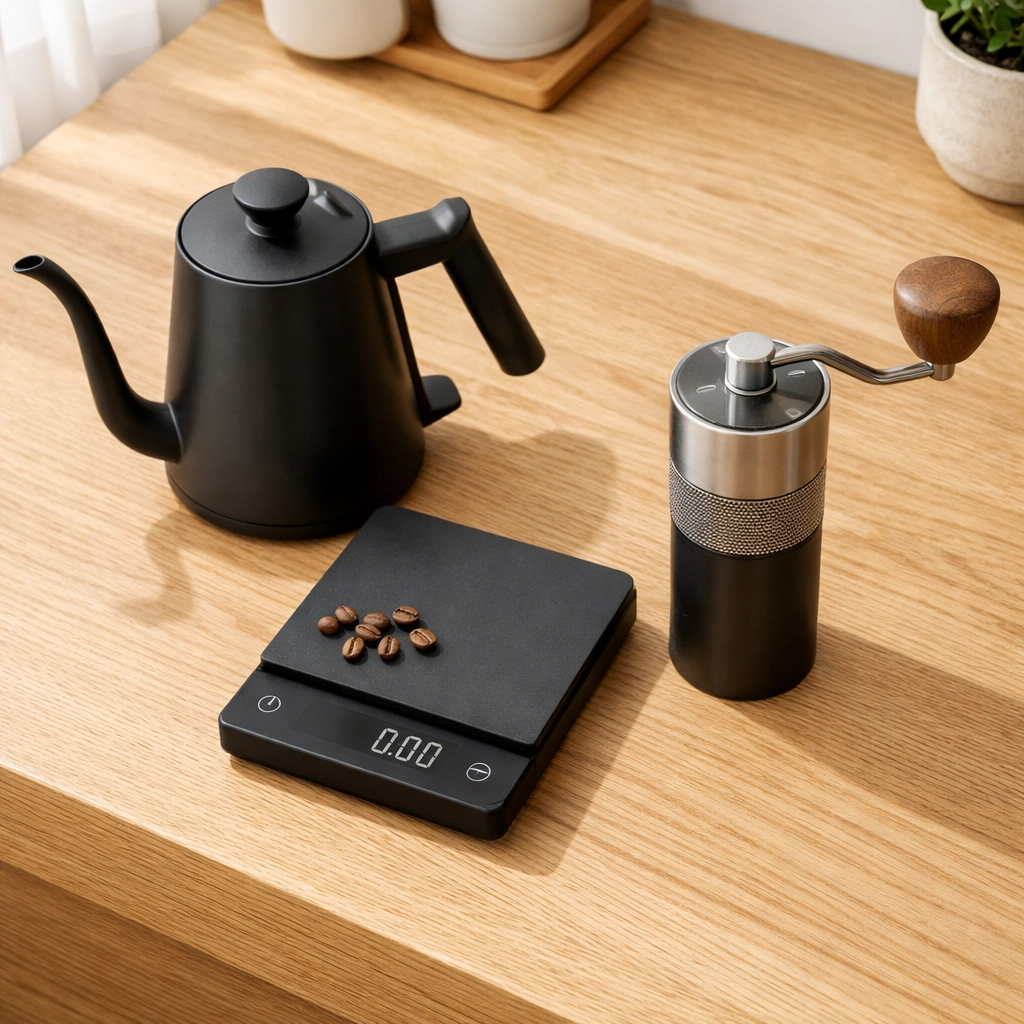
2. Digital Scales
In the world of speciality coffee, we don't use "scoops." Scoops are a lie. Different beans have different densities. To get the same result every morning, you need to weigh your coffee and your water. A simple set of scales that measures to 0.1g is perfect. You can even use our coffee brewing calculator to get your ratios spot on.
3. A Gooseneck Kettle
If you’re into pour-over coffee, a gooseneck kettle is a game changer. The thin, curved spout gives you total control over the flow of water. This is important because "agitation" (how much the water moves the grounds) affects extraction.
Understanding the Variables (The Science Bit)
Before we jump into the methods, let's talk about why coffee tastes the way it does. Basically, brewing is the process of using water to dissolve the flavours from the ground beans.
The Ratio
Most speciality brewers use a ratio between 1:15 and 1:17. This means 1 gram of coffee for every 15 to 17 grams of water. For a standard 250ml cup, that’s about 15g to 16g of coffee. It’s a great starting point, though you can adjust it to suit your taste.
Water Temperature
We’ve all heard that you shouldn't use "boiling" water because it "burns" the coffee. That’s a bit of a myth, but temperature does matter. We generally aim for between 92°C and 96°C (198°F to 205°F). If the water is too cold, you won't extract enough sweetness; if it’s too hot (and the beans are dark roasted), you might pull out too much bitterness.
Water Quality
Coffee is roughly 98% water. If your tap water tastes like chlorine or is very hard (rich in minerals), your coffee will suffer. Hard water can make coffee taste dull and chalky. We recommend using a simple water filter jug to keep things clean and balanced.
Choosing Your Brewing Method
There is no "best" way to brew coffee: only the way that you enjoy most. Here are the heavy hitters in the home brewing world.
The Pour Over (Hario V60 or Chemex)
This is the darling of the speciality world. Pour-over methods produce a clean, tea-like cup that highlights the delicate acidity and floral notes of a coffee.
- Best for: Single-origin African coffees (like Ethiopians or Kenyans).
- Grind size: Medium-fine (like table salt).
- The Vibe: Sophisticated and rewarding.
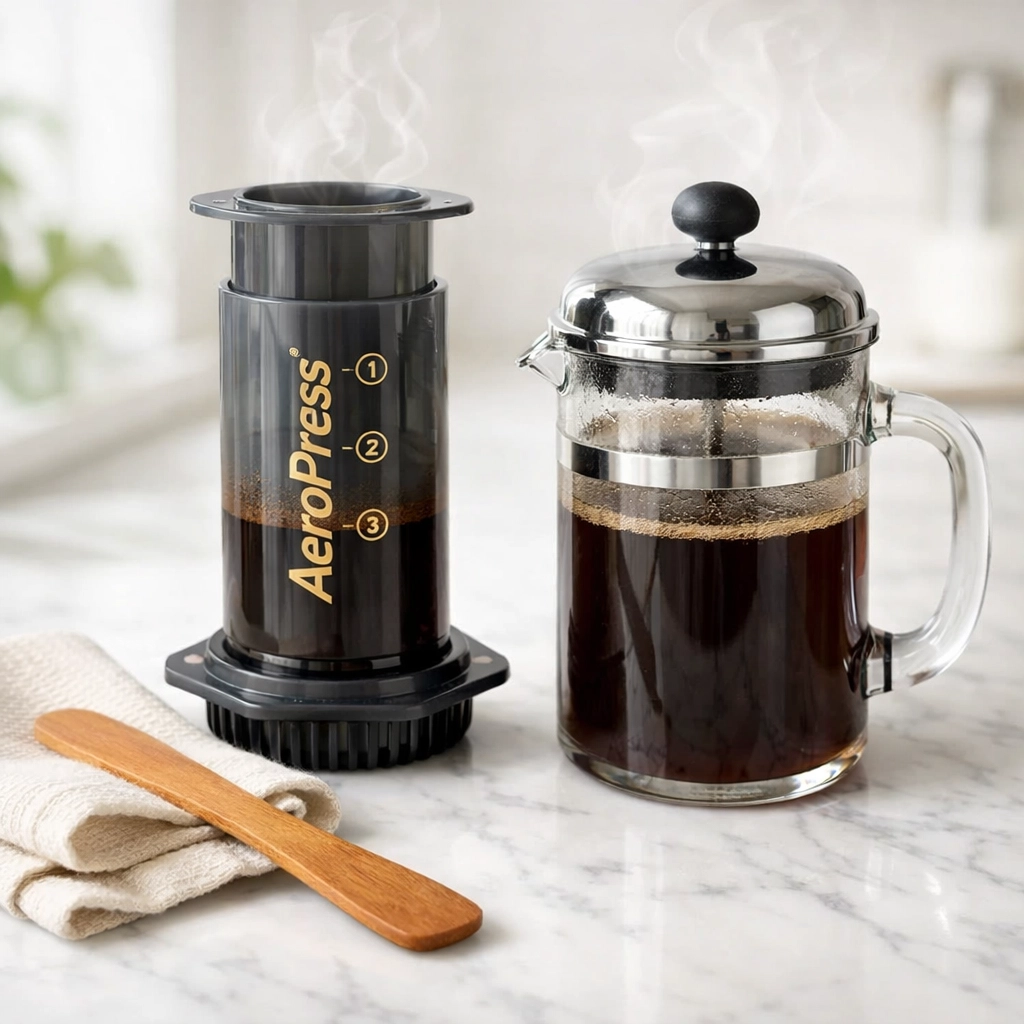
The French Press (Cafetière)
Forget the muddy, bitter French Press of the 90s. When done right (with a coarse grind and a long steep), the French Press produces a rich, full-bodied cup with a heavy mouthfeel.
- Best for: Bold, chocolatey South American beans.
- Grind size: Coarse (like sea salt).
- The Vibe: Reliable and comforting.
The AeroPress
The AeroPress is a bit of a cult favourite. It’s indestructible, portable, and incredibly versatile. You can make anything from a concentrated "espresso-style" shot to a clean filter-style cup. It’s also the easiest to clean: just pop the "puck" of grounds into the bin and rinse.
- Best for: Everyone, honestly.
- Grind size: Fine to Medium.
- The Vibe: Experimental and fun.
The Step-by-Step Recipe for a Perfect Pour Over
Let’s walk through a standard V60 brew. This is where you can really see the "ritual" of coffee come to life.
- Boil your water and let it sit for a minute to hit that 94°C sweet spot.
- Rinse your filter paper. This removes any "papery" taste and warms up your vessel. Pour the rinse water out!
- Weight out 15g of coffee and grind it medium-fine. Add it to the filter and level it out.
- The Bloom: Start your timer and pour 30g of water over the grounds. You’ll see bubbles: this is the CO2 leaving the beans. Wait about 30 seconds. This is extremely important because it allows the water to penetrate the grounds evenly.
- The Main Pour: Slowly pour the remaining water (up to 250g) in circular motions, avoiding the very edges of the filter.
- The Draw Down: Let the water filter through. The bed of coffee should look flat at the end. If it takes longer than 3 minutes, your grind might be too fine.
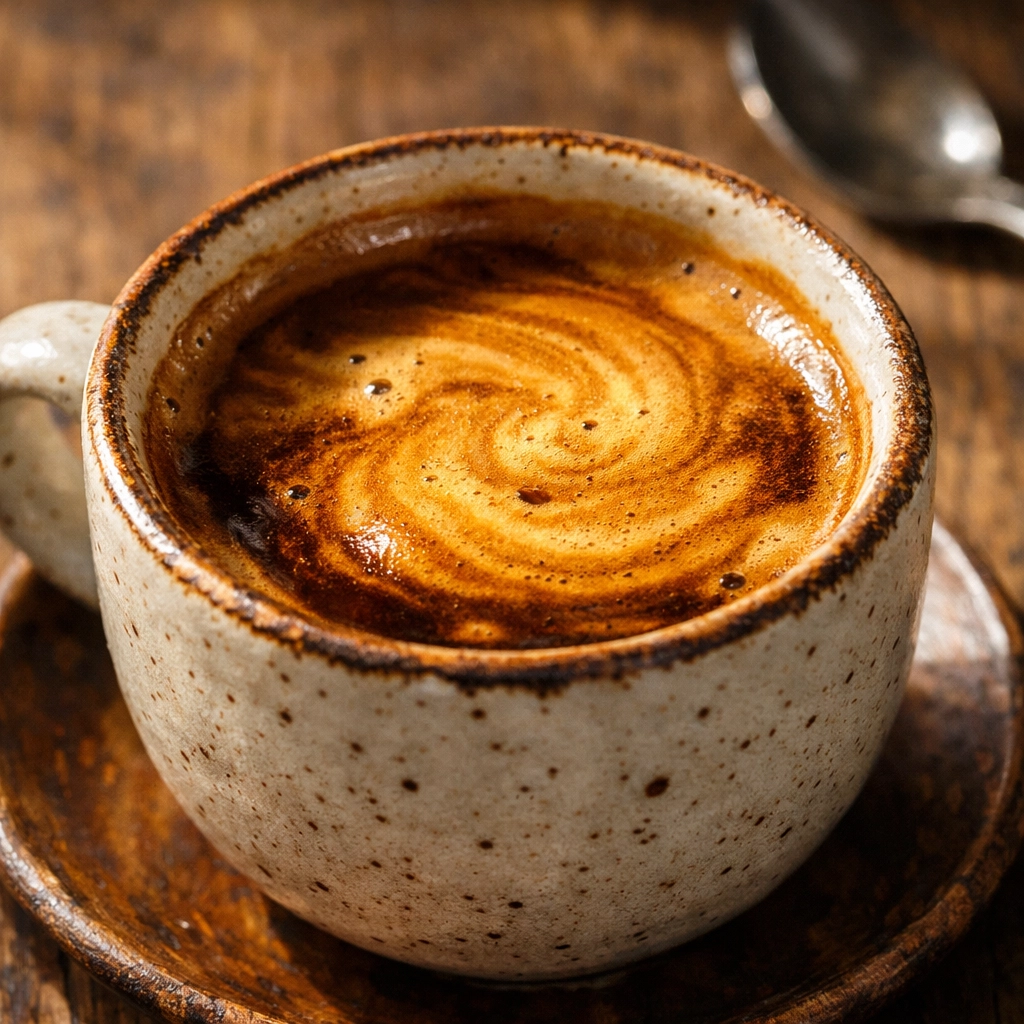
Espresso: The Final Frontier
If you're looking to recreate coffee shop lattes at home, you're looking at espresso. This is a different beast entirely. It requires high pressure (9 BAR) to force water through a compact puck of finely ground coffee.
Choosing espresso equipment can be daunting. We have a whole guide on choosing espresso equipment to help you navigate the world of boilers, group heads, and steam wands. If you're serious about your milk-based drinks, understanding how steam interacts with milk is also a must: check out our article on understanding milk.
And if you want to jump straight to the top-tier kit, we are big fans of the La Spaziale machines. You can see how they work right here.
Troubleshooting Your Brew
Is your coffee not tasting quite right? Don't panic. Usually, it's a simple fix.
- It tastes sour or salty: This is under-extraction. Basically, you haven't taken enough flavour out. Try a finer grind or hotter water next time.
- It tastes bitter or dry: This is over-extraction. You've taken too much out. Try a coarser grind or slightly cooler water.
- It tastes weak or watery: You probably need more coffee! Check your ratio.
- There’s no "crema" on your espresso: This usually means your beans are a bit old. Freshness is key for that beautiful golden foam. You can read more about the mystery of crema here.
Why We Love This
Speciality coffee is more than just a drink; it's a way to support sustainable farming and enjoy the incredible diversity of nature. Every cup tells a story of the person who grew it, the person who roasted it, and finally, you: the person who brewed it.
We know it can seem like a lot to take in, but remember: the best cup of coffee is the one you enjoy. Don't be afraid to break the rules and experiment. That is the beauty of coffee 🙂
If you ever find yourself wanting to go deeper, we actually offer barista training where we can show you the ropes in person. We love meeting fellow coffee enthusiasts!
Ready to start your home brewing journey with some incredible beans? Visit our shop and get your first bag today.
Happy brewing!