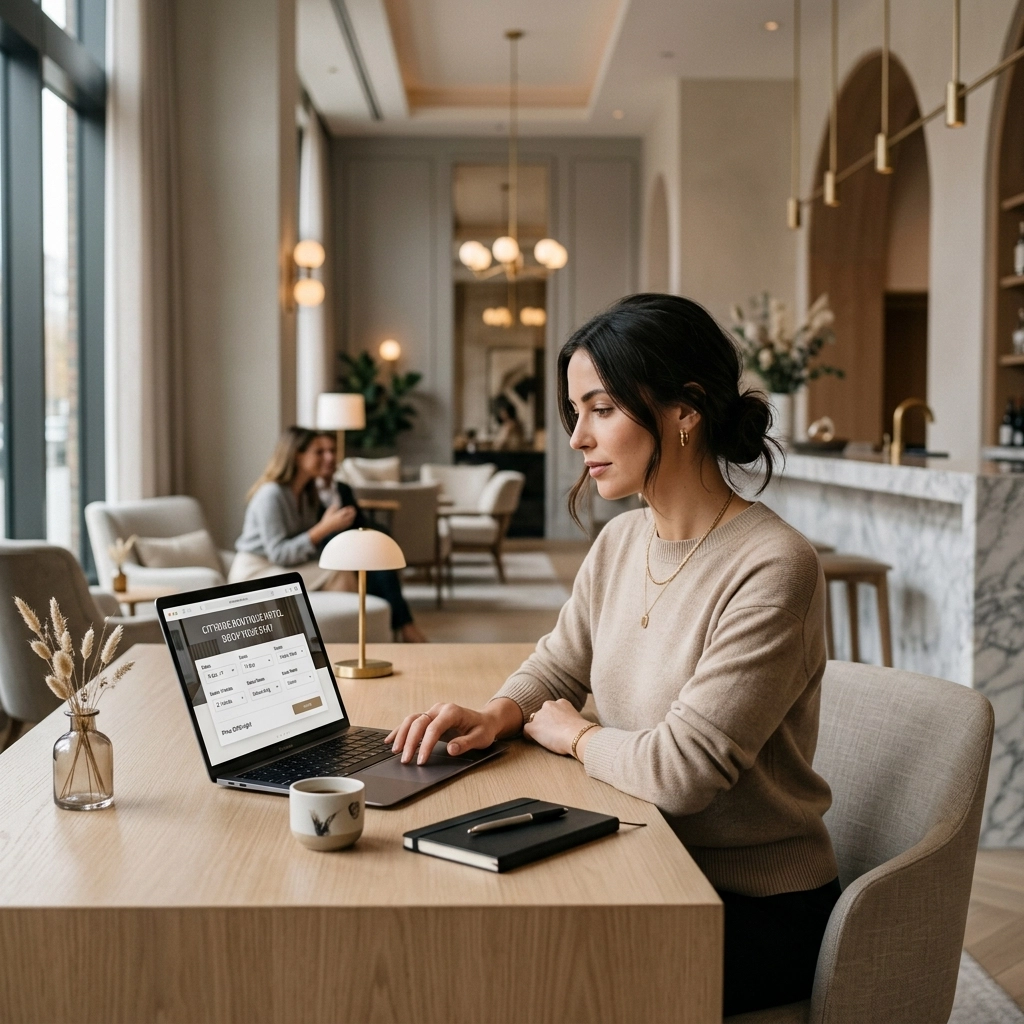

So, you’ve invested in a fancy dripper, watched a dozen YouTube tutorials, and bought a bag of beans that promised notes of "jasmine and toasted marshmallow." But when you take that first sip in your kitchen? It tastes like… well, hot brown water. Or worse, a bitter punch to the throat.
Don't worry. We’ve all been there. Brewing specialty coffee at home is a bit like baking bread; it looks deceptively simple until you realise there are about fifty variables trying to ruin your morning. Here at Limini Coffee, we believe that everyone deserves a world-class cup without needing a PhD in chemistry.
The good news is that most home brewing "disasters" come down to a few common hiccups. Let’s dive into the seven most frequent mistakes you’re probably making and, more importantly, how we can fix them together.
1. You’re Using "Zombie" Beans (Old and Stale)
We’ve all seen them. Those massive bags of oily, dark beans sitting on supermarket shelves for six months. We call these "zombie beans" because, while they look like coffee, there is absolutely no life left in them.
The moment coffee is roasted, it starts a process called oxidation. Oxygen is the enemy of flavour. It seeps into the bean, stealing the delicate oils and aromas that make specialty coffee so magical. If your coffee tastes flat, ashy, or just "dusty," your beans are likely past their prime.
The Fix: Buy fresh and buy local. You want beans that have a "Roasted On" date, not a "Best Before" date. Ideally, you should be using beans within 4 to 28 days of roasting. For the freshest experience possible, we highly recommend checking out our latest seasonal roasts over at Limini Coffee.
And please, whatever you do, don't store them in the freezer. The moisture and odours from last night's leftovers will ruin them faster than you can say "espresso." Keep them in a cool, dark cupboard in an airtight bag.
2. The "Close Enough" Grind Size
Imagine trying to cook a whole potato and a tiny dice of potato in the same pan at the same time. The small bits would turn to mush while the big one stays raw in the middle. This is exactly what happens when your grind size doesn't match your brewing method.
If your grind is too fine (like powdered sugar) for a French Press, the water can't flow through properly, leading to over-extraction. This results in a bitter, astringent cup. Conversely, if your grind is too coarse (like sea salt) for an Aeropress, the water rushes through too quickly, leaving you with weak, sour, under-extracted tea-like liquid.
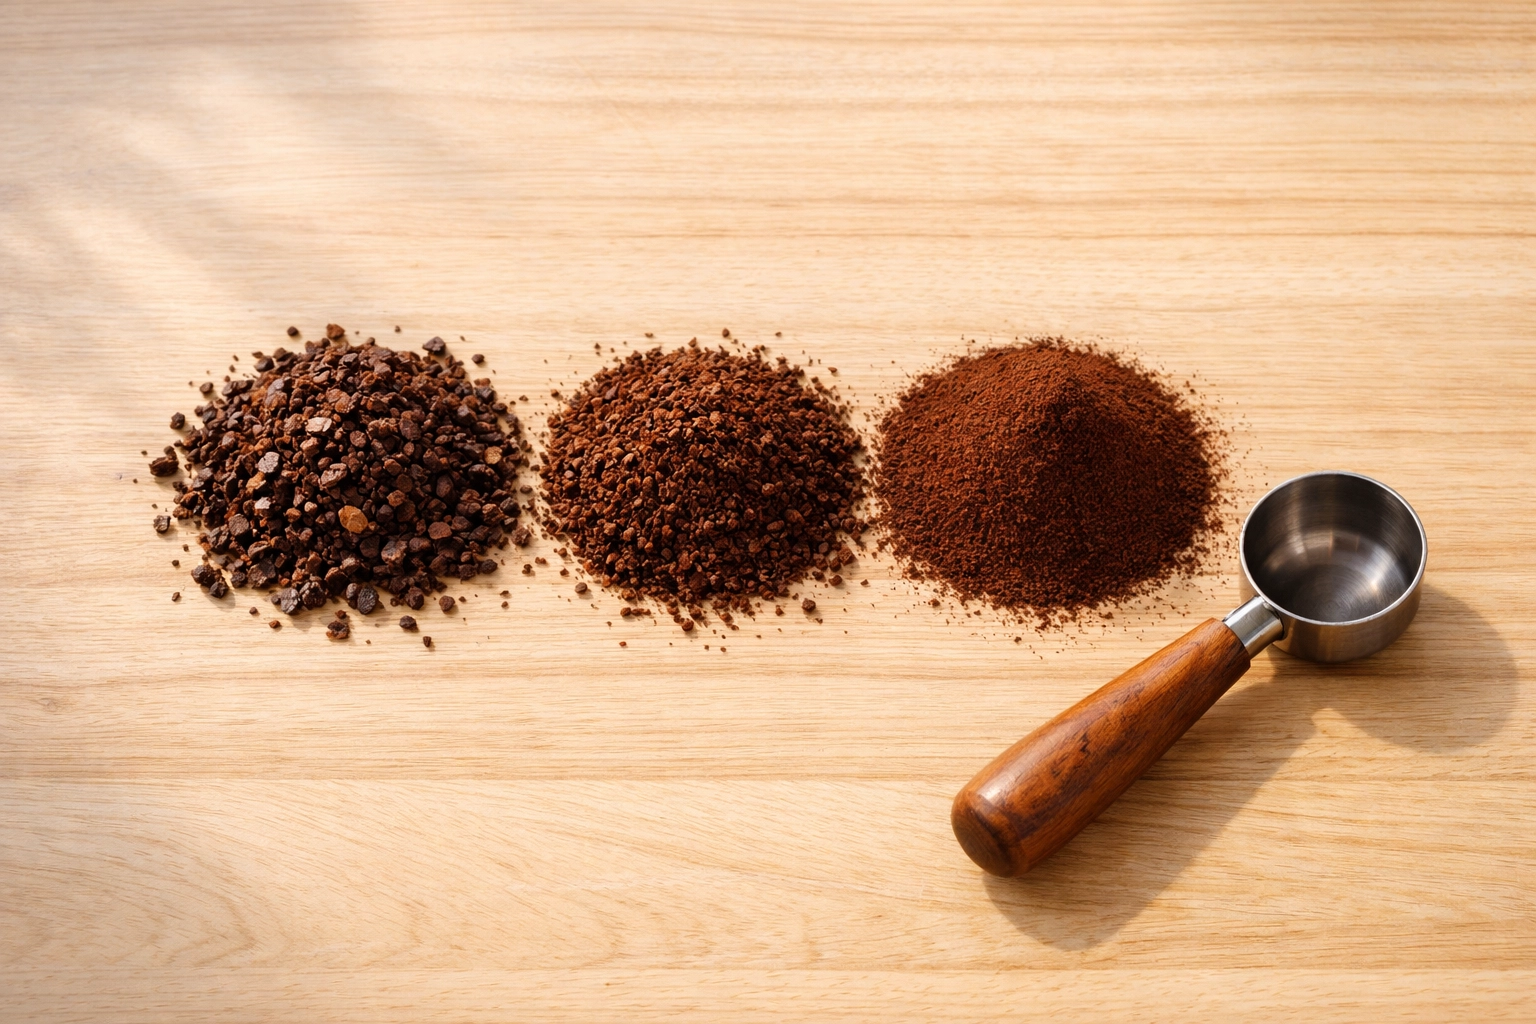
The Fix: Match the grind to the gear.
- French Press: Coarse (like kosher salt).
- Drip / V60: Medium (like granulated sugar).
- Espresso: Fine (like table salt or flour).
If you’re serious about your home setup, investing in a burr grinder is the single best move you can make. Blade grinders (the ones that look like mini blenders) chop the beans into uneven shards, some big, some small. A burr grinder crushes them to a uniform size, ensuring every particle extracts at the same rate.
3. You’re Brewing with "Angry" Water
One of the biggest myths in home brewing is that you should use "boiling" water. If you pour water that is a rolling 100 ºC (212 °F) directly onto your delicate coffee grounds, you are effectively scorching them. It brings out those harsh, burnt, and unpleasantly bitter notes that no amount of milk can hide.
On the flip side, if your water is too cool, say, under 88 ºC (190 °F), it won’t have enough energy to pull the sugars and oils out of the bean. You’ll end up with a cup that tastes thin and sour.
The Fix: Precision is key. We find the "sweet spot" for most brewing methods is between 90 ºC and 96 ºC (194 °F to 205 °F).
If you don't have a temperature-controlled kettle, simply let your kettle sit for about 60 to 90 seconds after it clicks off before pouring. This allows the temperature to drop into that safe zone. If you're curious about the science behind heat and extraction, have a look at our guide on understanding the brewing process.
4. The "Eyeballing It" Ratio
"I just use two big spoons of coffee and fill the mug to the top."
We hear this a lot. The problem is that "two spoons" can vary wildly in weight depending on the roast level and the grind size. Darker roasts are less dense (and thus lighter) than lighter roasts. If you aren't weighing your coffee and your water, you’re basically guessing. Consistency is the hallmark of a great barista, and you can't have consistency without a scale.
The Fix: Use a digital scale. It might feel a bit "mad scientist" at first, but it changes everything. We generally recommend a starting ratio of 1:16. That’s 1 gram of coffee for every 16 grams (or millilitres) of water.
For a standard 300ml mug, you’d want about 18g to 19g of coffee. If it's too strong, try 1:17 next time. If it's too weak, try 1:15. You can even use our coffee brewing calculator to do the math for you. Trust us, your taste buds will thank you for the precision.
5. Ignoring the "Bloom"
Have you ever noticed your coffee bubbling and expanding when you first pour water over it? That’s called the "bloom." It’s the release of Carbon Dioxide (CO2) that has been trapped inside the beans during the roasting process.
If you just pour all your water in at once, that escaping gas creates a barrier, preventing the water from actually getting inside the coffee particles to extract flavour. It's like trying to talk to someone who's constantly shouting over you, the message just doesn't get through.

The Fix: Give your coffee time to breathe. Start your brew by pouring just enough water to saturate the grounds (usually double the weight of the coffee). Stir it gently or give it a little swirl and wait 30 to 45 seconds. Once the bubbling stops and the "bed" of coffee settles, continue with the rest of your pour. This simple step unlocks a depth of sweetness you’ve probably been missing.
6. Using "London Tap" (Or Any Hard Water)
Coffee is about 98% water. If your water tastes like chlorine or is packed with heavy minerals (hard water), your coffee is going to taste… well, like pool water or chalk. Hard water is also a nightmare for extraction; the high mineral content literally takes up the "space" in the water that the coffee solids need to dissolve into.
Beyond the taste, hard water will eventually kill your equipment by depositing limescale. If you've ever looked inside an old kettle, you know what we're talking about.
The Fix: Use filtered water. A simple charcoal filter jug (like a Brita) is usually enough to remove the chlorine and balance the mineral content for a much cleaner cup. If you’re using an espresso machine, looking after your equipment is even more vital. Check out our advice on espresso machine maintenance to keep your gear running smoothly.
7. The "I’ll Clean It Next Week" Approach
Old coffee oils are incredibly stubborn. They cling to the mesh of your French Press, the plastic of your Aeropress, and the group head of your espresso machine. Over time, these oils go rancid. If you’ve ever had a cup of coffee that tasted "fishy" or just oddly sour, dirty equipment is usually the culprit.
The Fix: Clean as you go. It sounds tedious, but it’s essential. Rinse your equipment with hot water immediately after use. For espresso machines, "backflushing" with a dedicated cleaner is non-negotiable if you want to maintain that beautiful crema.
And don't forget your grinder! Coffee dust builds up in the burrs and goes stale. A quick brush out once a week will keep your flavours bright and sharp.
Bonus Tip: Enjoy the Process
At the end of the day, coffee is a subjective journey. We can give you all the technical specs in the world: 9 BAR of pressure, 93 ºC (199 °F) water, 18.5g dose: but if you don't like the way it tastes, it’s not the right cup for you.
Don't be afraid to experiment. Change one variable at a time. Maybe you prefer a slightly coarser grind for your V60, or perhaps you like a bit more body in your milk-based drinks. If you're looking to upgrade your home barista skills to a professional level, we’d love to see you at one of our barista training sessions.
If you want to start your journey with the best possible foundation, grab a bag of our fresh roasted beans using this link. It's the easiest way to fix mistake number one and start brewing coffee that actually tastes as good as it smells.
Happy brewing, and remember: life is too short for bad coffee! 🙂