
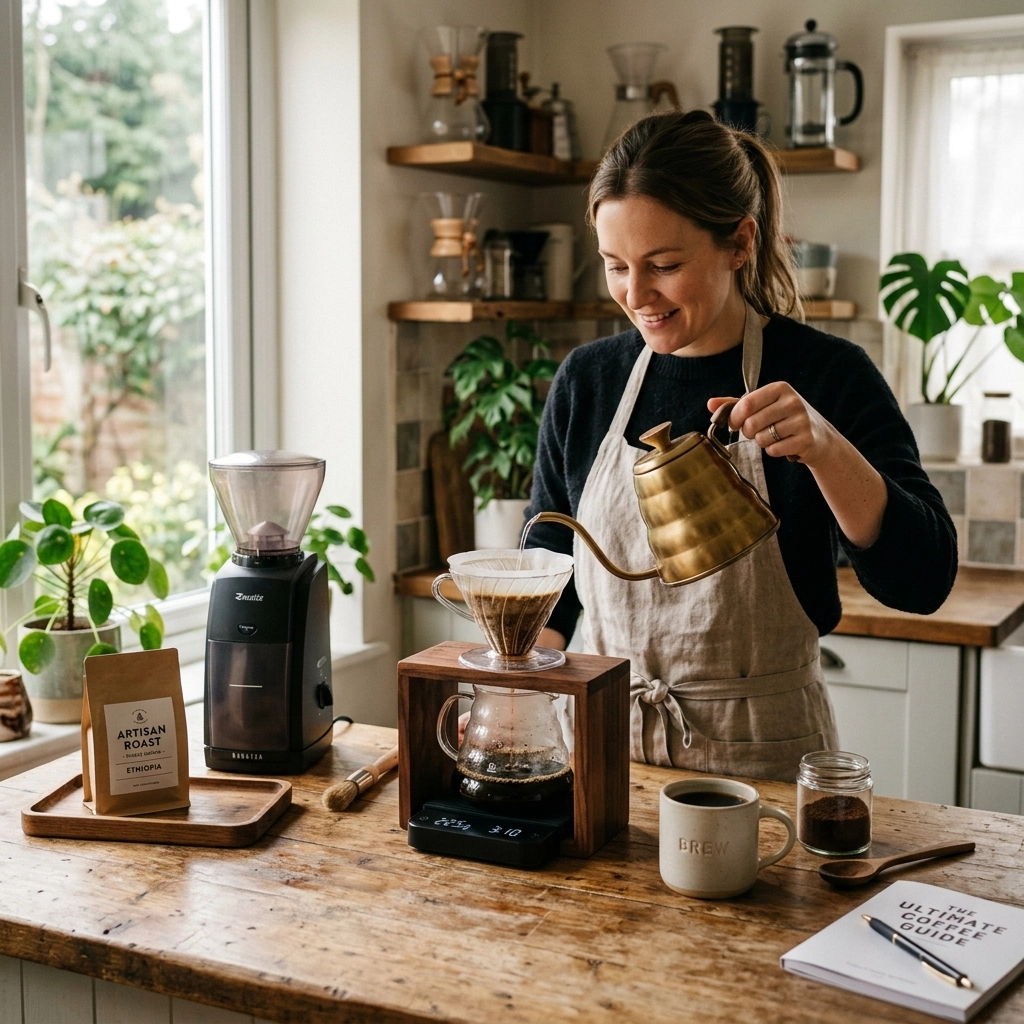
So, you’ve decided to take the plunge into the world of home brewing. Perhaps you’re tired of the "meh" coffee from your old pod machine, or maybe you’ve visited a specialty cafe and thought, "I wish I could make this in my kitchen."
We’ve got good news for you: you absolutely can.
At Limini Coffee, we live and breathe the bean. We spend our days roasting, tasting, and obsessing over the tiny details that turn a decent cup into a life-changing experience. But you don't need a commercial roastery or a five-figure espresso machine to enjoy incredible coffee. You just need the right foundation. This guide is designed to take you from "confused by the terminology" to "confidently brewing like a pro."
And if you’re looking to stock up on the good stuff, you can find our full range of freshly roasted beans and gear right here: Limini Coffee Shop.
It All Starts with the Bean (No, Really)
We often say that a barista is only as good as the beans they’re using. You can have the most expensive gooseneck kettle in the world, but if your beans are stale or poor quality, your coffee will be too.
Freshness is Everything
Coffee is a fresh agricultural product. Once it’s roasted, it begins to lose its aromatic compounds through a process called oxidation. Imagine an apple: once you slice it, it starts to turn brown and lose its crispness. Coffee does the same thing, just a bit slower.
We recommend using beans within 4 to 30 days of their roast date. This is why buying from a local Speciality Coffee Roaster like us is so important. Supermarket coffee has often been sitting on a shelf for months. By the time it reaches your cup, the "sparkle" is gone.
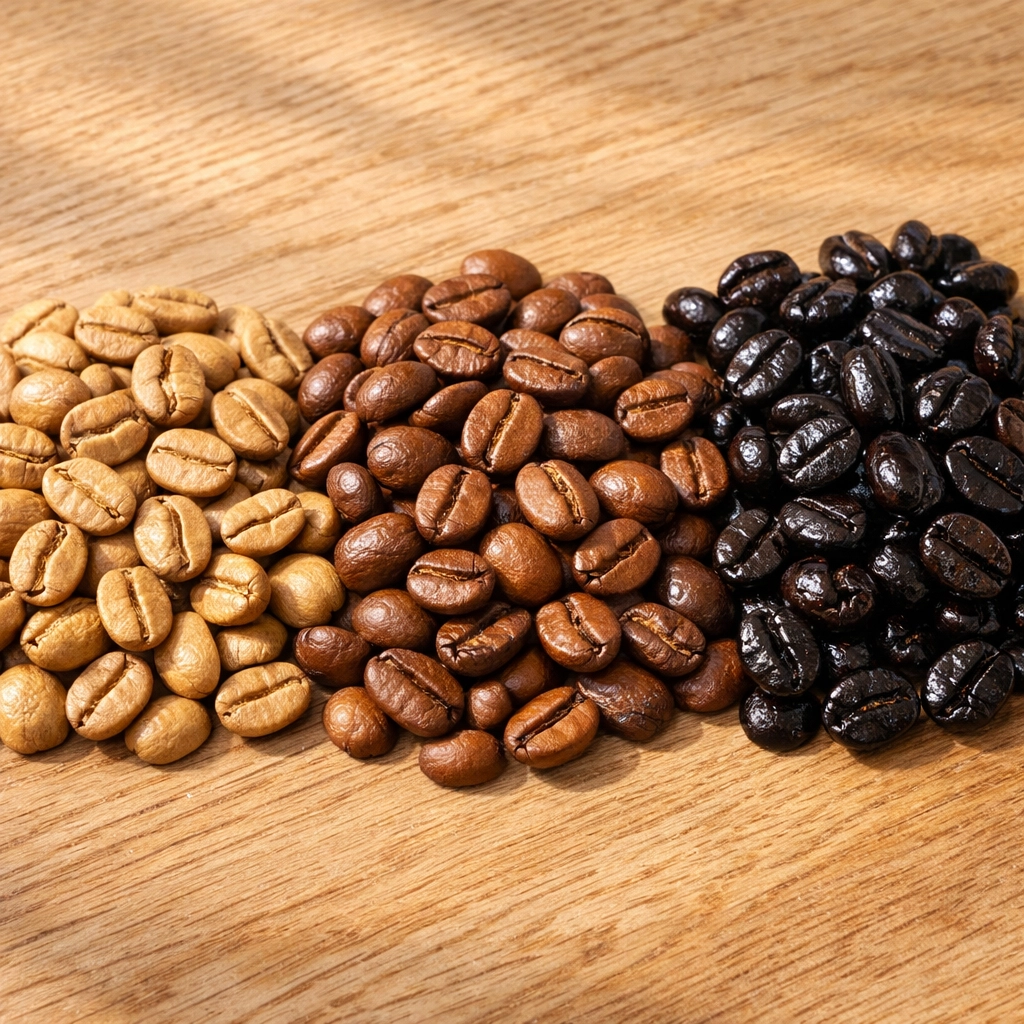
Understanding Roast Profiles
- Light Roasts: These are often bright, acidic, and tea-like. They preserve the unique characteristics of the origin (the "terroir"). If you love floral or citrus notes, this is for you.
- Medium Roasts: The sweet spot for many. You get a balance of acidity and body, often with notes of chocolate and nuts.
- Dark Roasts: These are bold, smoky, and heavy-bodied. Great for those who love a traditional "coffee" taste or add lots of milk.
The Essential Gear List
You don't need a kitchen full of gadgets, but a few key pieces of equipment will make your life much easier (and your coffee much better).
1. The Grinder (The Most Important Tool)
If you only buy one piece of gear, make it a burr grinder. Why? Because coffee starts losing flavor almost immediately after it's ground. A burr grinder ensures uniform particle size, which leads to even extraction. Blade grinders (the ones that look like mini blenders) produce a mix of "boulders" and "dust," resulting in coffee that is simultaneously bitter and sour. Not something we would recommend.
2. A Digital Scale
Coffee is a game of ratios. We usually talk about a 1:15 or 1:17 ratio (1 gram of coffee for every 15-17 grams of water). Trying to measure this with a spoon is like trying to bake a soufflé by eye: it might work once, but you’ll never be able to repeat it. If you’re feeling scientific, check out our coffee brewing calculator to get your numbers perfect.
3. A Gooseneck Kettle
If you’re into pour-over coffee, a gooseneck kettle gives you the precision needed to saturate the grounds evenly. If you just dump water in from a standard kettle, you’ll create "channels" where water bypasses the coffee, leading to a weak brew.
Choosing Your Brewing Method
There is no "best" way to brew coffee: only the way that fits your lifestyle and taste buds.
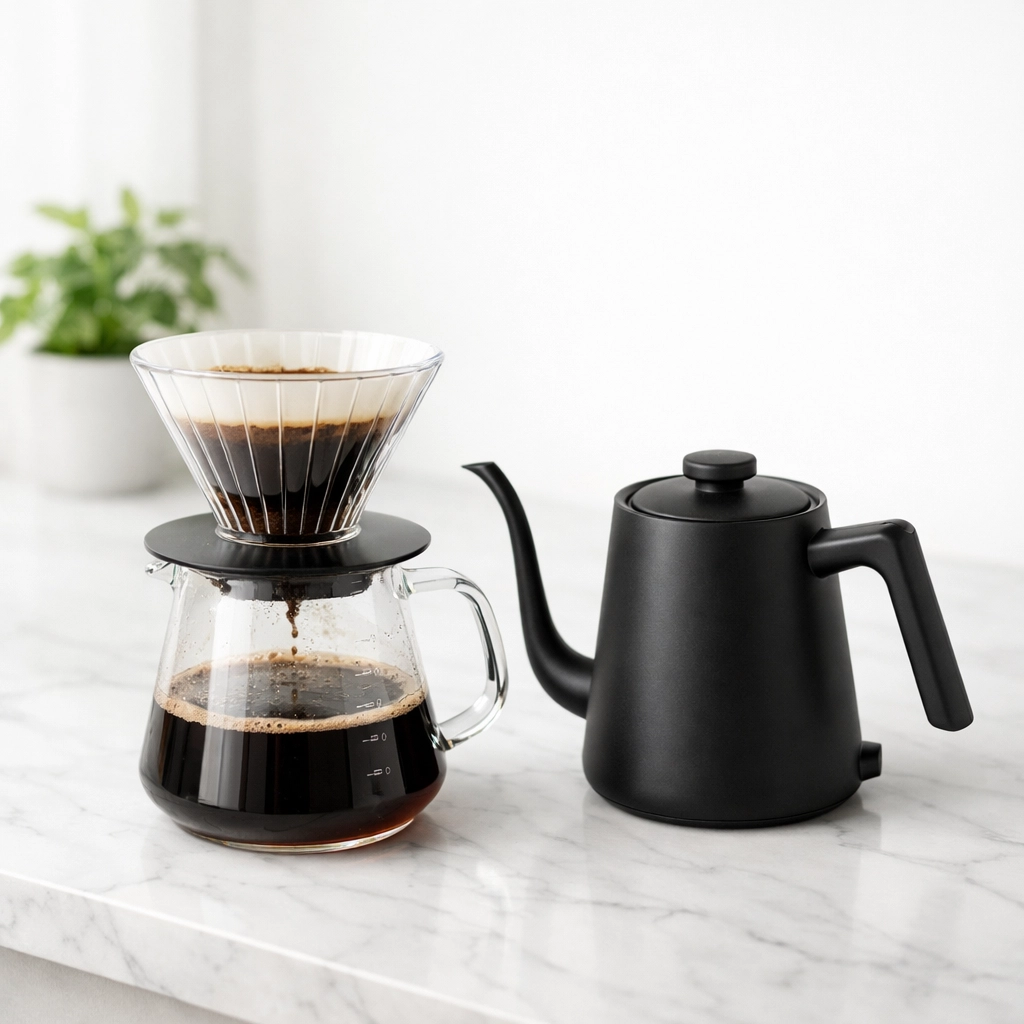
The Pour Over (The Purist’s Choice)
Methods like the Hario V60 or Chemex are beloved for their clarity. Because they use paper filters, they remove most of the coffee oils and sediment, leaving you with a clean, vibrant cup.
Best for: Single-origin beans with delicate flavor profiles.
Pro Tip: Wet your paper filter first to wash away any "papery" taste before you add the coffee.
The French Press (The Full-Bodied Classic)
This is an immersion method, meaning the coffee grounds sit in the water for the entire brew time (usually 4 minutes). It uses a metal mesh filter, which allows those delicious oils to pass through into your cup.
Best for: Darker roasts and people who love a heavy, velvety mouthfeel.
The Secret: After the 4 minutes are up, give the top a gentle stir, let the grounds sink for another few minutes, and then press. It makes for a much cleaner cup.
The Aeropress (The Versatile Traveler)
The Aeropress is virtually indestructible and incredibly forgiving. You can make anything from a concentrated espresso-style shot to a light filter coffee. It’s the Swiss Army knife of brewing.
The Science of Extraction: Why Does My Coffee Taste Weird?
Have you ever brewed a cup that tasted like lemon juice? Or maybe one that was so bitter it felt like it was drying out your tongue? That’s the result of improper extraction.
Under-extraction (The Sour Side): This happens when you haven't taken enough flavor out of the beans. It usually happens if your grind is too coarse, your water is too cold, or your brew time was too short.
Over-extraction (The Bitter Side): This is when you've taken too much out. Usually caused by a grind that's too fine, water that's too hot, or letting it brew for too long.
The Water Variable
Since coffee is about 98% water, the quality of your tap water matters. If your water is very hard (lots of minerals), it can make coffee taste dull. We recommend using a simple water filter jug to give the coffee a clean canvas to shine on.
And let’s talk temperature. We believe the sweet spot is between 195°F and 205°F (90.5°C to 96°C). If you don't have a temperature-controlled kettle, just let your boiled water sit for about 30-60 seconds before pouring. Boiling water can actually "scorch" the coffee, leading to a harsh, ashy taste.
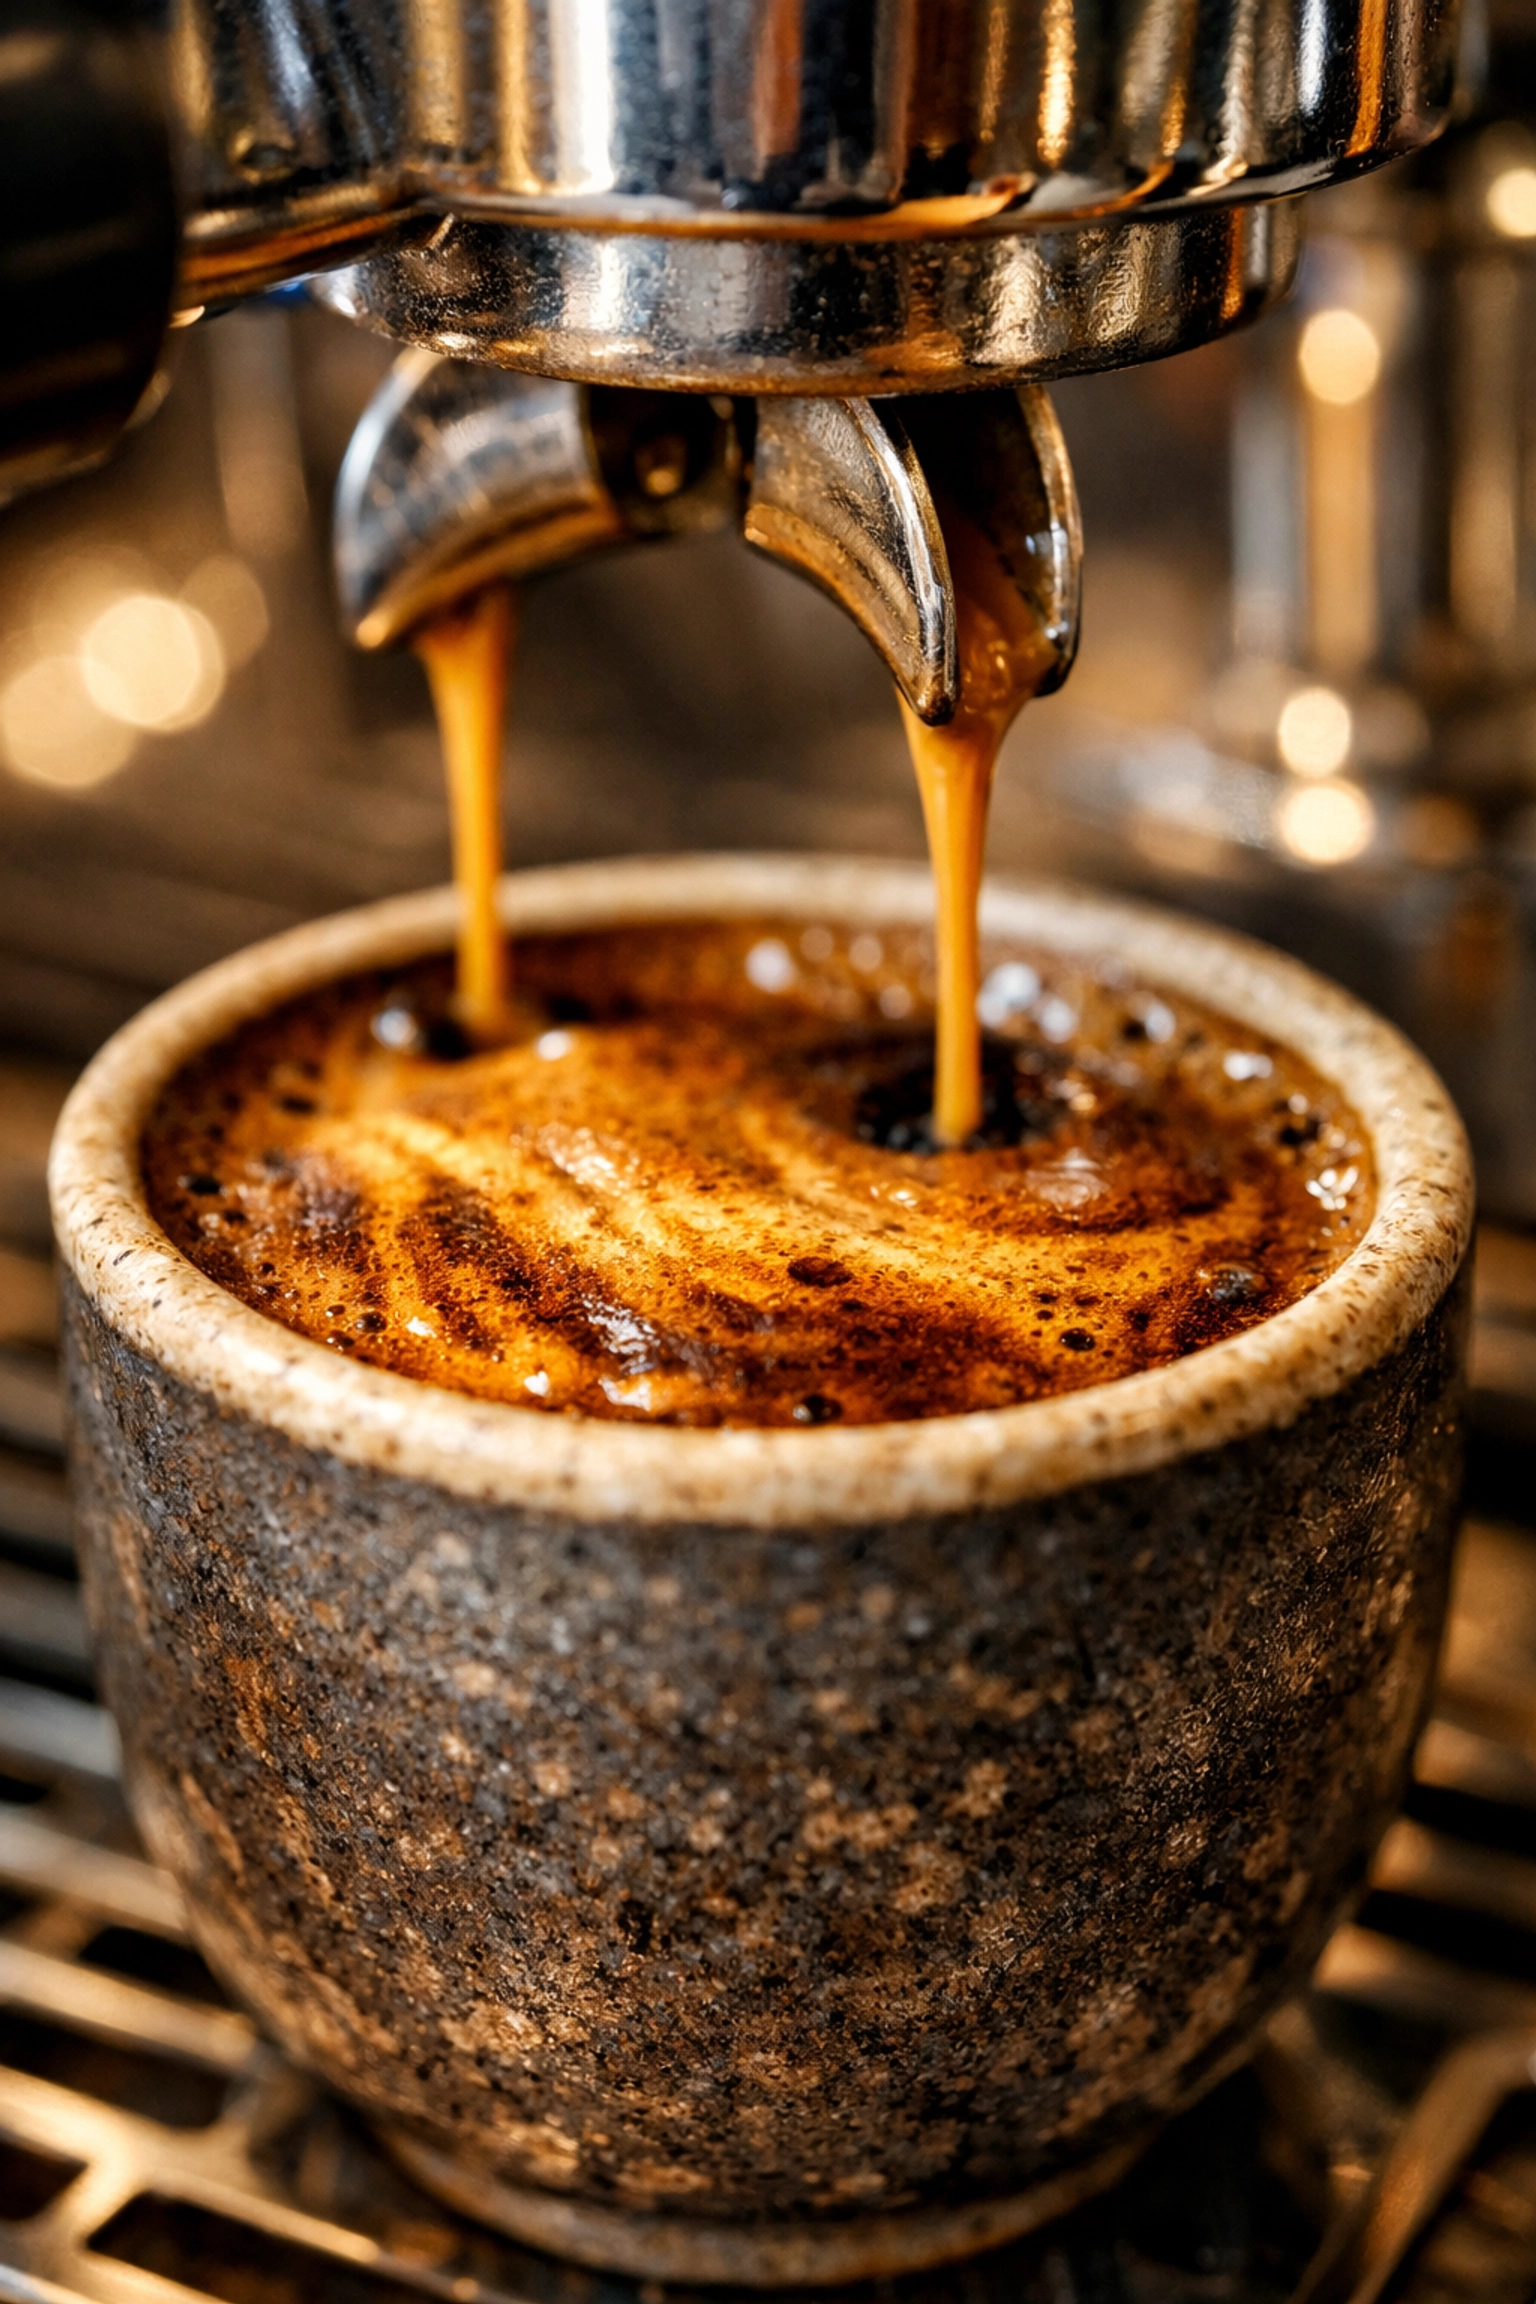
Dialing in Your Espresso at Home
For those of you brave enough to venture into home espresso, welcome to the big leagues. Espresso is a temperamental beast. It requires a fine grind and about 9 BAR of pressure to force water through a compacted "puck" of coffee.
If you're just starting out, choosing espresso equipment can be overwhelming. We often recommend starting with a machine that offers some stability, like a La Spaziale. Understanding how the lever automatic systems work or how tamping affects your shot can save you a lot of wasted beans.
One thing people often overlook is the crema. While it looks beautiful, it’s actually quite bitter on its own. Give your espresso a quick stir before drinking to incorporate all those layers: your taste buds will thank you.
Mastering the Milk
If you prefer a latte or a flat white, the milk is just as important as the coffee. The goal is "microfoam": milk that looks like wet paint, with no visible bubbles.
When you steam milk, you’re doing two things: heating it and aerating it (introducing air). For a latte, you want just a little bit of air. For a cappuccino, you want more. If you want to dive deep into the chemistry, we have a whole article on understanding milk that explains why some milks froth better than others.
(Hint: It's all about the proteins and fats!)
The "Golden Rules" for Success
To wrap things up, here are our non-negotiable rules for brewing better coffee at home:
- Buy Fresh: Get your beans from a reputable roaster. You can check out our latest seasonal harvests here: Limini Coffee Beans.
- Grind On-Demand: Only grind what you need, right before you brew.
- Use a Scale: Stop guessing. Consistency is the key to improvement.
- Clean Your Gear: Old coffee oils turn rancid and will ruin your next brew. Keep your equipment sparkling. For espresso lovers, looking after your machine is vital for its lifespan.
- Experiment: Don't be afraid to change one variable at a time. Try a slightly finer grind tomorrow and see how it changes the flavor.

Final Thoughts
Brewing coffee at home is a journey. Some days you’ll nail it, and some days you’ll wonder what went wrong. That’s the beauty of coffee: there’s always something new to learn, a new origin to try, or a new technique to master.
We’re here to help you every step of the way. Whether you're looking for barista training to level up your skills or you're a business looking for wholesale support, we’ve got you covered.
So, go ahead: put the kettle on, grab your favorite mug, and start brewing. Your perfect cup is closer than you think.
Happy brewing!
( The Limini Coffee Team)