So, you’ve decided to take the plunge into the world of home brewing. Welcome to the club! We think it’s one of the most rewarding hobbies you can pick up. There is something truly special about waking up, weighing out your beans, and crafting a cup of coffee that tastes better than anything you’d find in a high-street chain.
But let’s be honest: the world of coffee gear can be a bit of a minefield. Do you really need that £200 copper kettle? Is a burr grinder worth the counter space? And why does everyone keep talking about "extraction"?
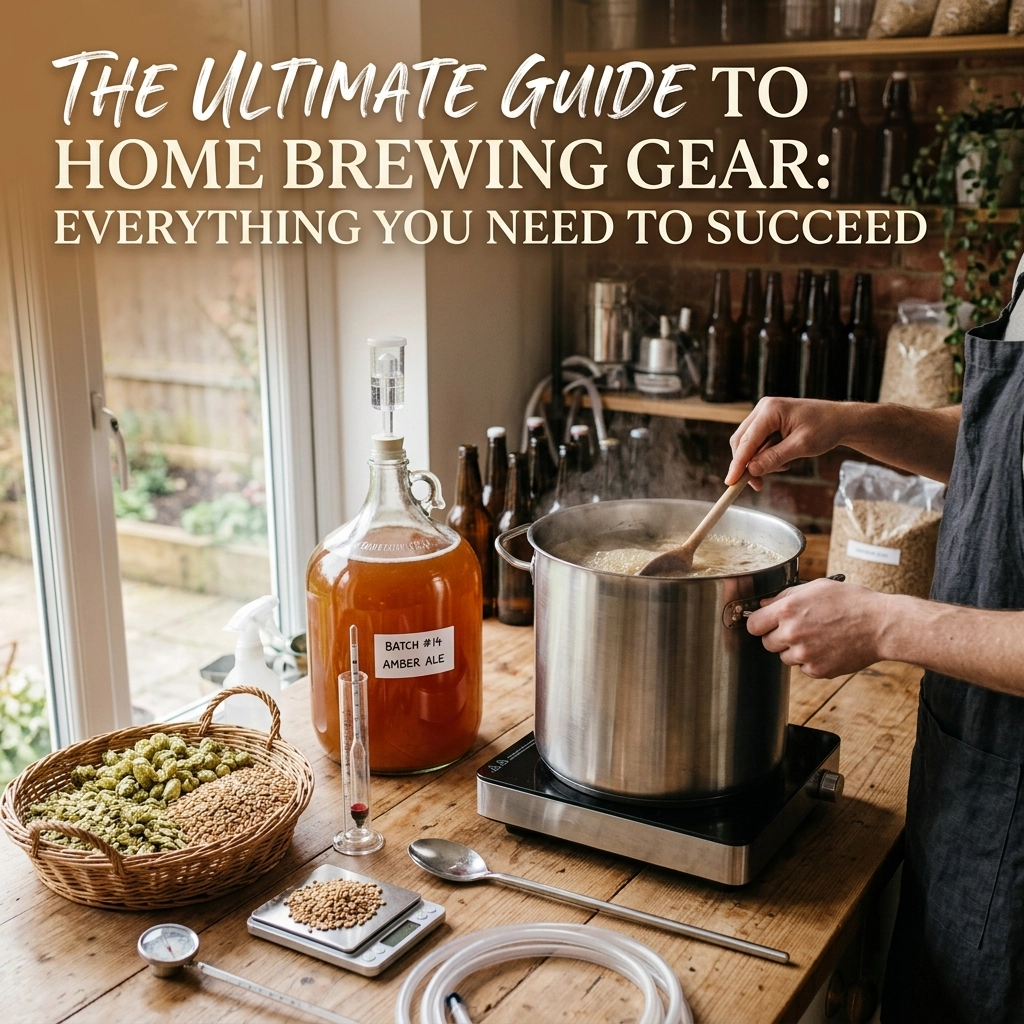
We’ve spent years here at Limini Coffee testing, tasting, and (occasionally) breaking equipment so you don’t have to. Whether you are just starting out or you’re looking to level up your existing setup, this guide is designed to help you navigate the gear you actually need to succeed. If you're ready to stock up on the essentials right now, you can find our full range of beans and gear right here.
The Golden Rule: It Starts with the Beans
Before we even talk about plastic vs. glass or goosenecks vs. standard spouts, we need to address the most important piece of "gear" in your kitchen: the coffee itself.
You can have a £5,000 espresso machine, but if you’re using stale, oily beans from a supermarket shelf that were roasted six months ago, your coffee will taste like… well, not great. We believe that fresh is best. Period.
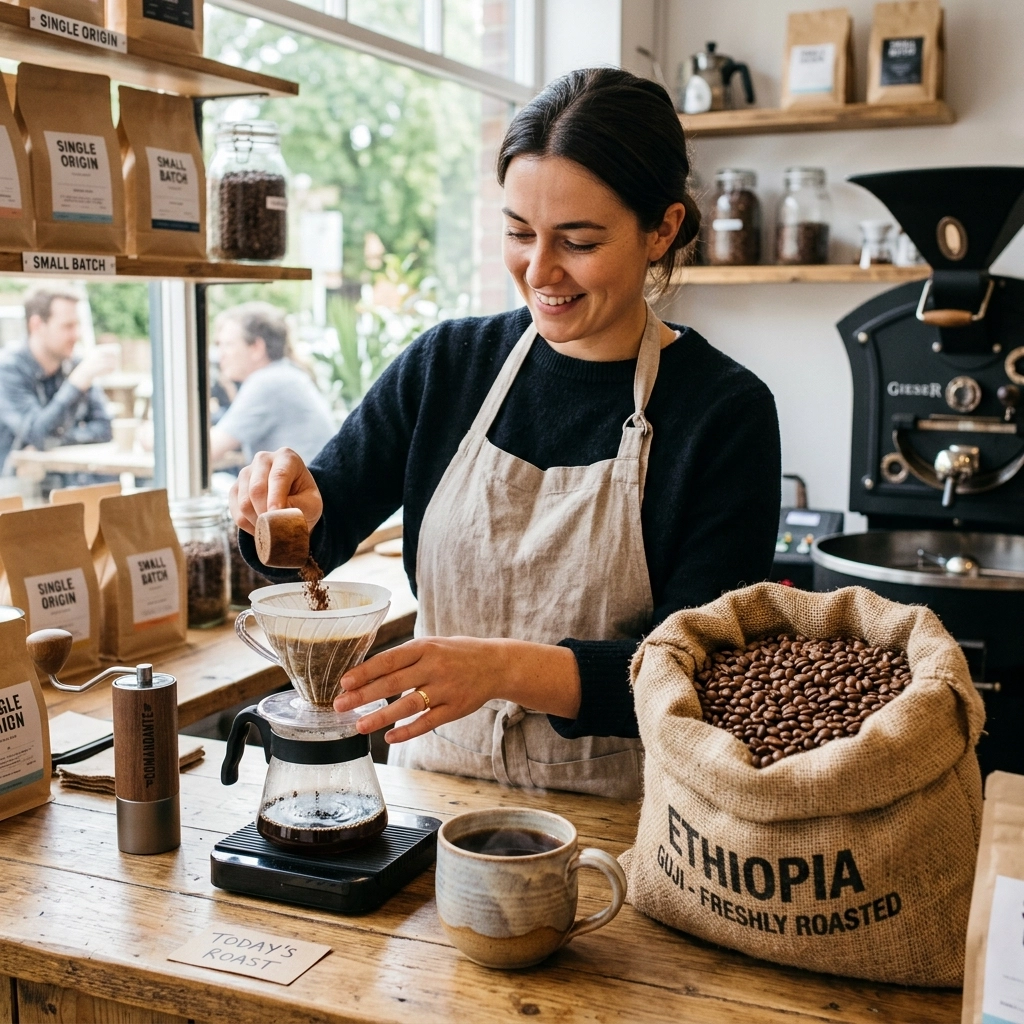
At Limini Coffee, we focus on speciality grade beans that are roasted to order. This means when they arrive at your door, they are at their peak flavour profile. We take sourcing our coffee very seriously, ensuring that the farmers are paid fairly and the quality is exceptional.
Pro tip: Always look for a "roasted on" date, not a "best before" date. If a bag doesn’t tell you when it was roasted, it’s probably hiding something.

The Grinder: Your Most Important Investment
If you ask any professional barista where to spend the bulk of your budget, they won’t say the brewer. They’ll say the grinder.
Why? Because consistency is the name of the game. To get a balanced extraction (the process of dissolving the flavours from the coffee grounds into the water), you need all your coffee particles to be roughly the same size.
Blade vs. Burr
- Blade Grinders: These essentially act like a blender. They chop the beans into random shards, some like boulders, some like dust. The dust over-extracts (bitter), and the boulders under-extract (sour). A recipe for a confusing cup.
- Burr Grinders: These use two revolving abrasive surfaces (burrs) to crush the beans. This results in a uniform grind size.
We highly recommend a decent burr grinder. Even a manual hand-grinder is better than an electric blade grinder. If you’re looking for a serious electric option, it’s worth choosing espresso equipment that features high-quality steel or ceramic burrs. It’s a game-changer.
Choosing Your Brewing Method
This is where the fun begins. There isn't one "best" way to brew coffee; it all depends on the texture and flavour profile you prefer.
1. The Pour-Over (V60 or Chemex)
If you like a clean, tea-like consistency where you can taste the individual notes of a single-origin bean (like citrus, jasmine, or stone fruit), pour-over is for you.
- The Gear: A dripper (the V60 is a classic), paper filters, and a gooseneck kettle.
- The Vibe: Zen-like and precise.
2. The AeroPress
The darling of the coffee world. It’s indestructible, portable, and incredibly versatile. You can make anything from a concentrated espresso-style shot to a clean filter-style cup.
- The Gear: Just the AeroPress and its filters.
- The Vibe: The ultimate "hackable" brewer.
3. The French Press (Cafetière)
The old reliable. It uses full immersion, meaning the coffee sits in the water for the entire brew time. This produces a heavy, textured body and a rich mouthfeel.
- The Gear: A glass or stainless steel carafe with a mesh plunger.
- The Vibe: Comfort in a mug.

Precision Tools: The Secret to Consistency
You might think using a scale is a bit "mad scientist," but we promise it’s the quickest way to stop making bad coffee.
Imagine baking a cake by just "eyeballing" the flour and sugar. Sometimes it’s great; sometimes it’s a disaster. Coffee is the same. We use a 1:16 ratio as a starting point (1 gram of coffee for every 16 grams of water).
The Scale
A basic digital scale that measures in 0.1g increments is perfect. It allows you to replicate your favourite brews every single morning. No more "two scoops and a bit" of water.
The Kettle
If you’re doing pour-overs, a gooseneck kettle is extremely important. The thin, curved spout gives you total control over the flow rate. If you dump water in too fast, you agitate the grounds too much and end up with a muddy mess.
We also suggest looking for a kettle with temperature control. Different coffees shine at different temperatures. Generally, we aim for 88 °C to 95 °C (190 °F to 203 °F). Boiling water (100 °C) can sometimes scorch more delicate roasts, which is just a real shame.
The Silent Ingredient: Water
Here is a fact that often surprises people: your cup of coffee is about 98% water. If your tap water tastes a bit "chlorine-y" or is very hard (hello, London!), your coffee will suffer.
Hard water has high mineral content that can prevent the water from "grabbing" the flavours from the coffee. We’ve noticed a massive difference in our brews just by using a simple filtered water jug. If you want to get really nerdy, you can even buy mineral sachets to add to distilled water, but for most of us, a basic filter is a huge step up.
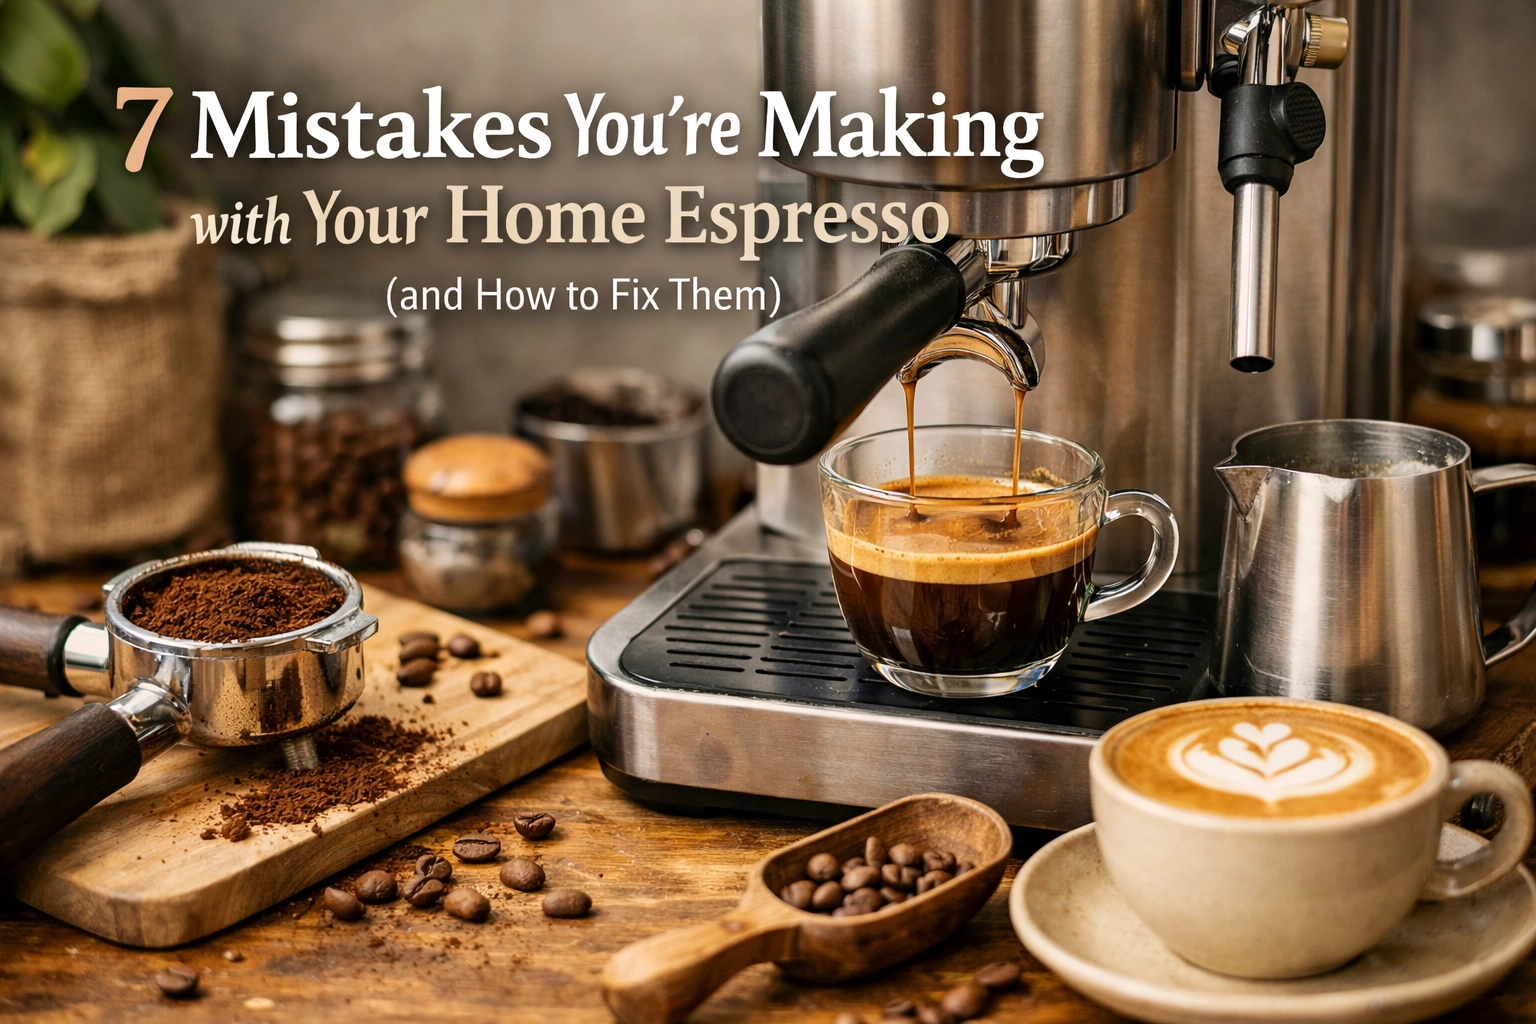
Milk and Texture
If you’re moving into the realm of lattes and flat whites, you’re going to need a way to steam milk. While high-end espresso machines come with steam wands, you can achieve surprisingly good results at home with a standalone milk frother or even a French press (just pump the plunger rapidly in warm milk: it works!).
Understanding the science of milk and proteins is key here. You’re looking for "microfoam": that glossy, wet-paint look: rather than big, soapy bubbles. If you’re confused about the difference between a latte and a cappuccino, don't worry, we've got you covered there too.

Storage: Keep it Secret, Keep it Safe
Oxygen is the enemy of coffee. As soon as those beans are roasted, they start to degas and oxidise.
- Don't put your beans in the fridge. The moisture and odours (nobody wants garlic-flavoured coffee) will ruin them.
- Do keep them in a cool, dark cupboard in an airtight container.
- Ideally, use an opaque container with a one-way valve or a vacuum seal.
Our bags at Limini come with a resealable zip and a valve, which is perfect for keeping things fresh until you’ve finished the bag. If you find yourself running out too quickly, you might want to check out Scott’s affiliate link for a fresh supply.
Putting it All Together: Your First Brew
Ready to go? Let’s say you’ve got your V60, your fresh Limini beans, and your scale. Here is a quick "Success Setup":
- Heat your water to about 93 °C.
- Rinse your paper filter with hot water (this removes the papery taste and warms your mug).
- Grind 15g of coffee to a medium-fine consistency (like table salt).
- Add coffee to the filter and tare your scale.
- The Bloom: Pour 30g of water over the grounds and wait 30 seconds. You’ll see bubbles: that’s the CO2 leaving the beans, making room for the water to do its job.
- The Main Pour: Slowly add water in circular motions until you hit 250g.
- Enjoy: Give it a little stir and wait for it to finish draining.
If it tastes too sour? Grind a bit finer next time. Too bitter? Grind a bit coarser. That’s the beauty of home brewing: you are the master of your own cup!
Why Quality Gear Matters
Investing in good gear isn't just about being a "coffee snob." It's about respect for the craft and the product. When you buy speciality coffee, you’re buying the result of months of hard work by farmers, harvesters, and roasters. Using the right gear ensures that their hard work: and your money: doesn't go to waste.
If you’re ever feeling overwhelmed, remember that we offer barista training and an overview of all our training courses to help you master the equipment you’ve chosen. We’ve even got a coffee brewing calculator on our site to help you get your ratios perfect every time.

The Final Sip
Home brewing is a journey. You don’t need to buy everything at once. Start with great beans and a decent grinder, and the rest will follow.
We’ve seen so many people transform their morning routine from a caffeine-fuelled necessity into a ritual of genuine joy. It’s about taking five minutes out of your busy day to focus on something tactile, aromatic, and delicious.
If you have any questions about which brewer is right for your kitchen or which of our single-origins would suit your palate, don't hesitate to reach out. We love talking shop. And remember, for the best start to your brewing journey, grab your gear and beans through this link.
Happy brewing, everyone! We can't wait to hear how you get on. 🙂