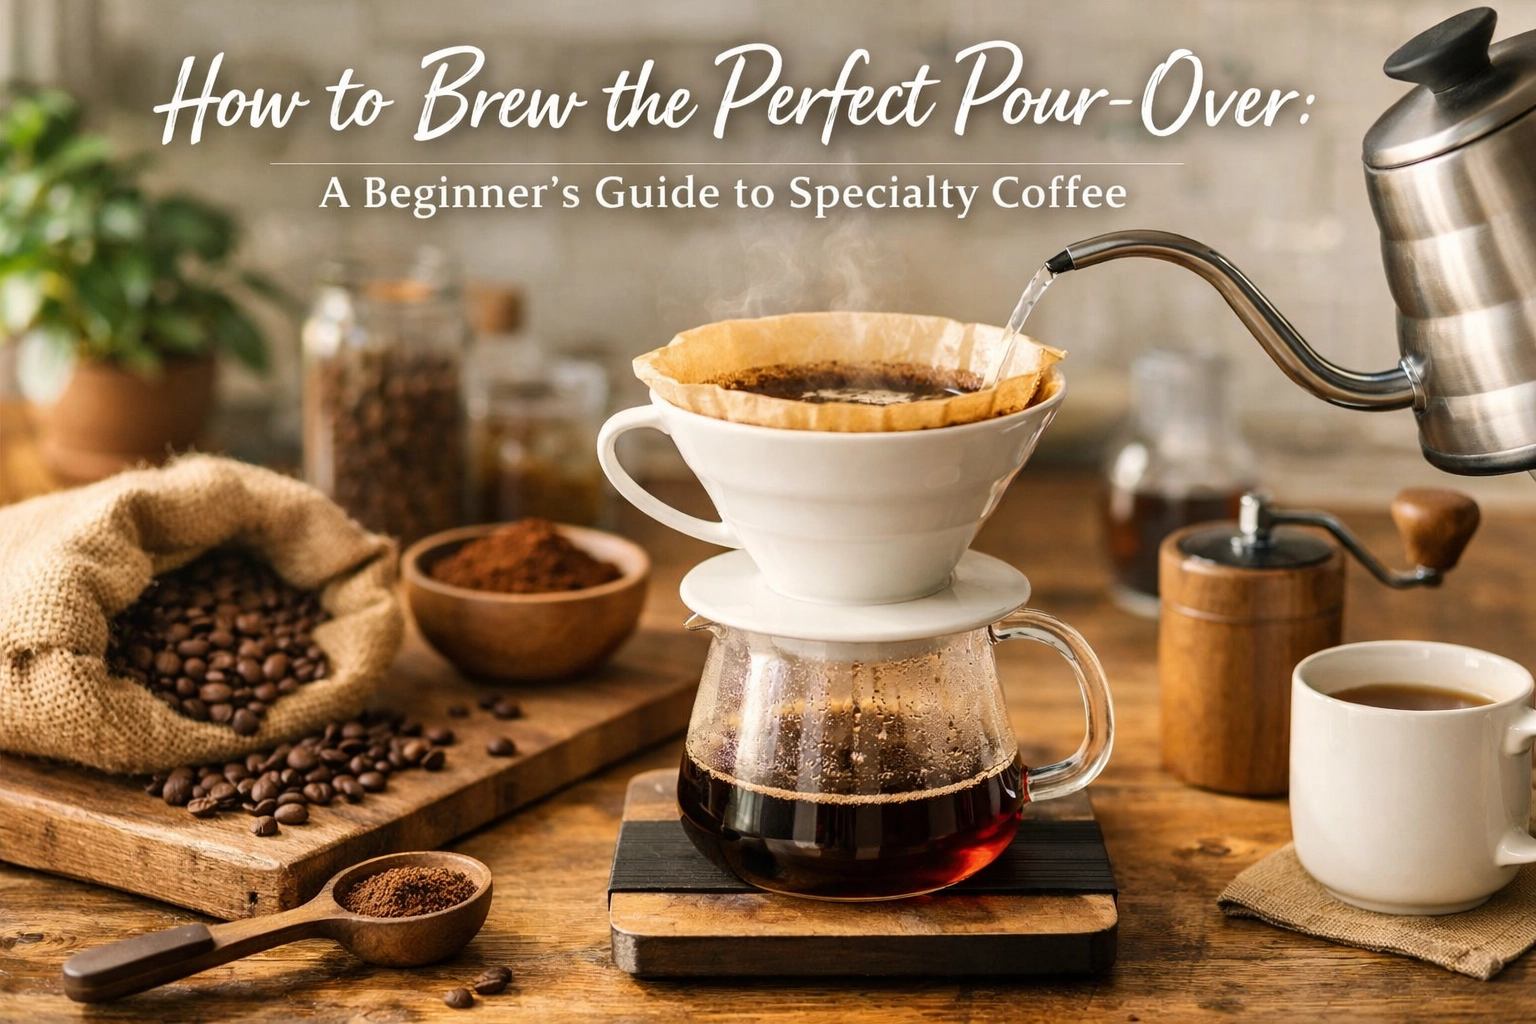
There's something beautifully simple about pour-over coffee. No buttons, no complicated machinery, just you, some freshly roasted beans, hot water, and a bit of technique. And honestly? Once you've tasted a properly brewed pour-over made with specialty coffee, there's no going back to the auto-drip.
So let's get you brewing like a pro.
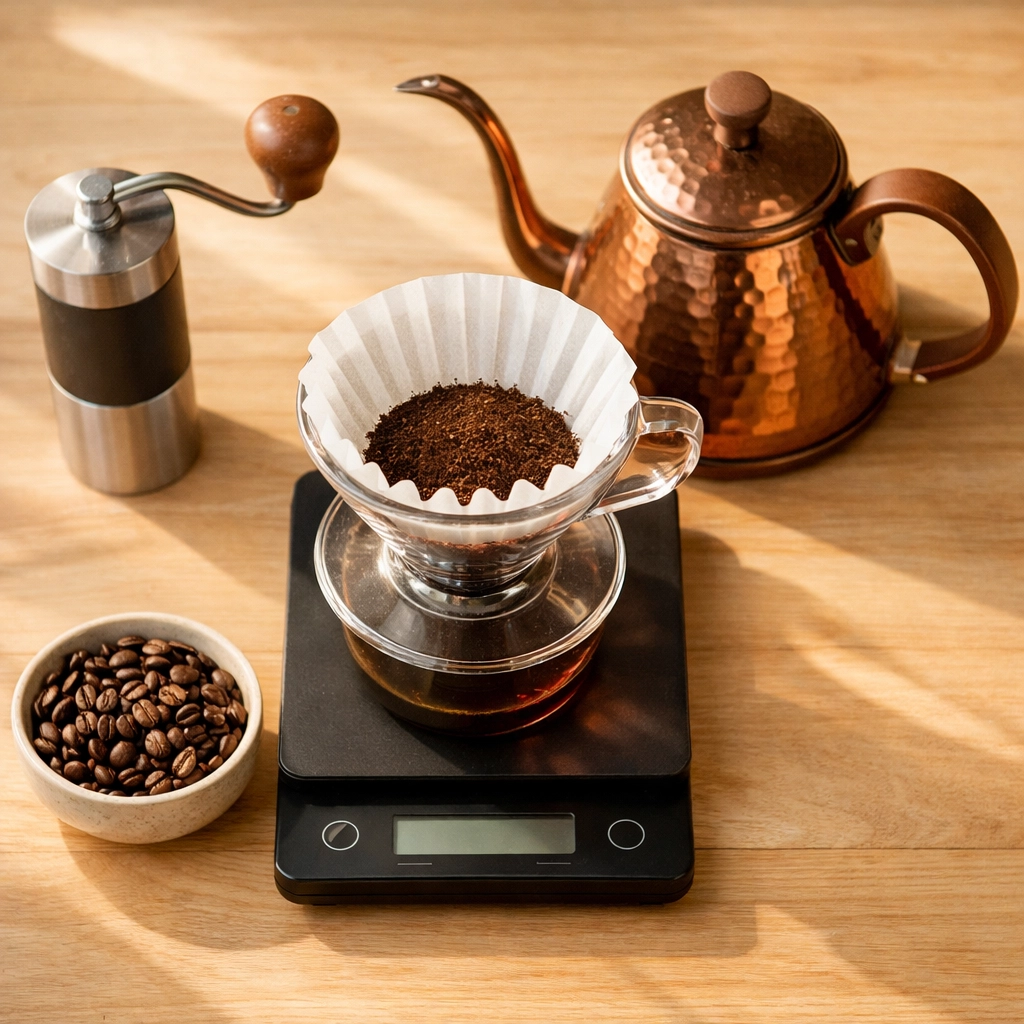
What You'll Need
Before we dive into the method, let's talk equipment. The good news is that pour-over brewing doesn't require a massive investment. Here's what you'll want:
- A pour-over brewer (Hario V60, Kalita Wave, or Chemex are all brilliant)
- Paper filters (specific to your brewer)
- A kettle (preferably gooseneck for better control)
- Freshly roasted coffee beans (we'll get to this)
- A grinder (burr grinder is ideal)
- A scale (measuring by weight is crucial)
- A timer (your phone works fine)
The scale might seem fussy, but trust us on this, measuring by weight rather than volume makes all the difference in consistency.
The Coffee: Fresh is Best
Here's the thing about pour-over: it's an incredibly clean, transparent brewing method. This means everything about your coffee comes through, the good and the not-so-good. Which is why starting with freshly roasted specialty coffee is so important.
We're talking beans roasted within the last few weeks, not months. Those supermarket bags sitting on shelves since last year? Not going to cut it for pour-over. You want coffee that still has life in it, still has those carbon dioxide bubbles trapped inside from the roasting process.
If you're looking for beans that'll really shine in your pour-over, we roast fresh batches throughout the week right here. Single origins work beautifully for this method, they let you taste the unique characteristics of each coffee-growing region.
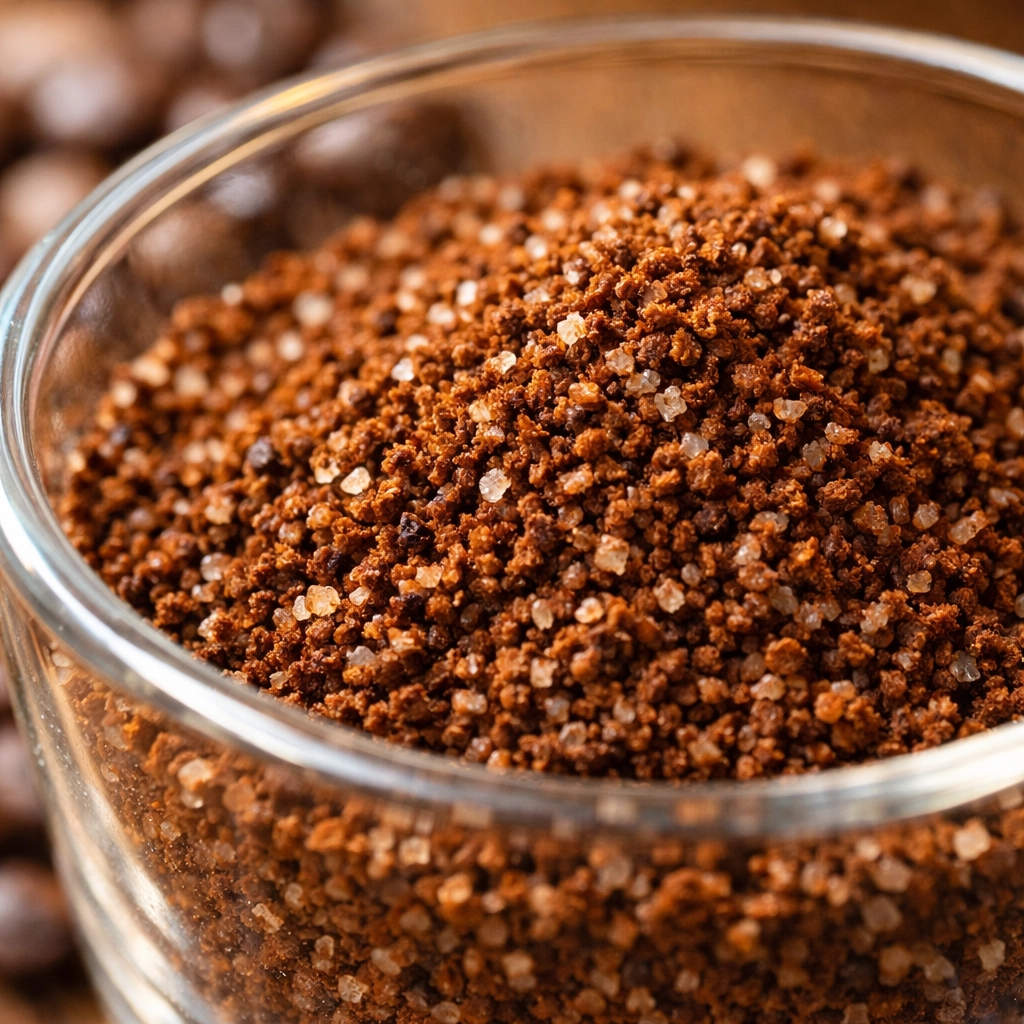
Grind Size: Medium-Fine is Your Friend
Getting your grind right is extremely important. For pour-over, you're aiming for medium-fine, similar in texture to sea salt. Too fine and your brew time drags on, resulting in bitter, over-extracted coffee. Too coarse and the water rushes through too quickly, leaving you with weak, sour, under-extracted coffee.
If you're using a burr grinder (which we highly recommend), start around the middle settings and adjust from there based on your results. Some coffees need slight tweaks depending on their roast level and origin.
The Ratio: Keep It Simple
Coffee-to-water ratios can feel overwhelming, but here's a straightforward starting point that works: 1:16 to 1:17.
What does that mean? For every gram of coffee, you'll use 16 to 17 grams of water. So if you're brewing a single cup:
- 20 grams of coffee to 320-340 grams of water
- 25 grams of coffee to 400-425 grams of water
Start with 1:16 if you prefer something a bit stronger and punchier. Use 1:17 if you like a cleaner, more delicate cup. You can always adjust once you've tasted the results.
Water Temperature: Just Off the Boil
Water temperature matters more than you might think. You're aiming for around 93°C (200°F), basically just below boiling. If you're using a regular kettle without temperature control, simply boil your water and let it sit for about 30 seconds before pouring.
Why not boiling? Water that's too hot can scorch the coffee and extract harsh, bitter compounds. Water that's too cool won't extract enough, leaving you with flat, underwhelming coffee.
The Brewing Process: Step by Step
Right, let's get to the actual brewing. This is where the magic happens.
Prep Your Brewer
Place your filter in the brewer and rinse it thoroughly with hot water. This does two things: it removes any papery taste from the filter and preheats your brewer. Discard the rinse water before you start brewing.
Add your ground coffee to the filter and give it a gentle shake to level the bed. You want an even surface for consistent extraction.
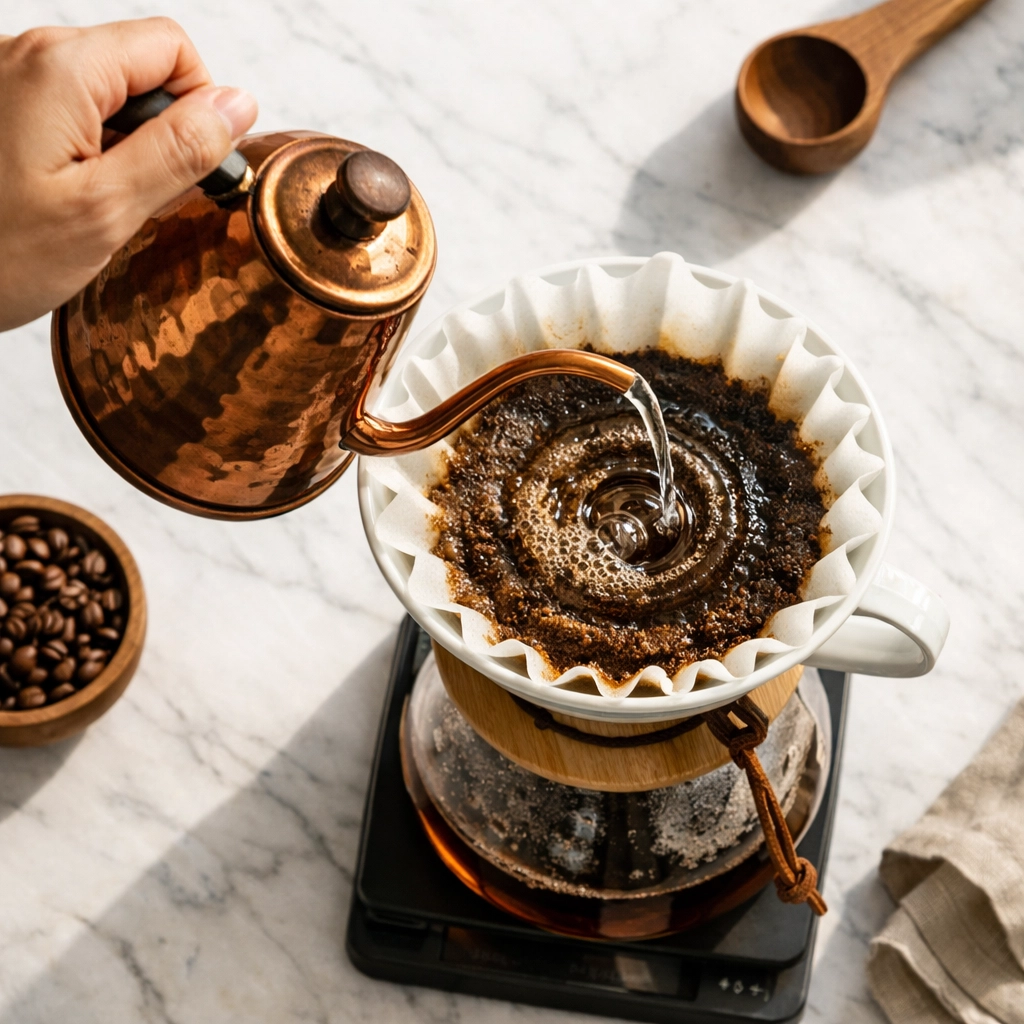
The Bloom (0:00-0:45)
This is the most important phase. Pour roughly double the weight of your coffee in water: so if you're using 20 grams of coffee, pour about 40 grams of water.
Start in the center and work outward in slow, concentric circles, making sure all the grounds are saturated. You'll see the coffee bed rise and bubble: that's carbon dioxide escaping from the roasting process. Basically, this is the coffee "breathing."
Let it sit for 30-45 seconds. This bloom phase allows those gases to escape, which dramatically improves extraction and flavour development. Skip this step and you're leaving flavour on the table.

Main Pours (0:45-2:30)
After the bloom, it's time for your main pours. Instead of dumping all the water in at once, divide your remaining water into 3-4 equal pours at roughly 15-second intervals.
Use the same spiral technique: start from the center, work your way outward in circles, then spiral back in. Keep the water level between half and two-thirds full during each pour. You want to maintain consistent contact between water and coffee without overwhelming the bed.
Pour gently and steadily: aggressive pouring creates channels where water rushes through without extracting properly. Think of it like a gentle rain, not a torrential downpour.
The Drawdown (2:30-3:30)
Once you've added all your water, step back and let gravity do its work. The remaining water should drain through the coffee bed over the next minute or so.
Your total brew time from first pour to final drip should land somewhere between 2:30 and 3:30 minutes. If it's draining much faster, your grind might be too coarse. If it's taking forever, your grind might be too fine.
Tasting and Adjusting
Now comes the best part: tasting your coffee. Let it cool slightly (coffee that's too hot masks flavour) and really pay attention to what you're tasting.
Too bitter or harsh? Your grind might be too fine, or your water might be too hot. Try coarsing up your grind slightly.
Too sour or weak? Your grind might be too coarse, or your water might be too cool. Go a bit finer with your grind.
Uneven or muddy flavours? Your pouring technique might need work. Focus on keeping your pours slow and even.
The beauty of pour-over is that you're in complete control. Small adjustments lead to big improvements.
Why Specialty Coffee Makes the Difference
We've mentioned this before, but it's worth repeating: specialty coffee absolutely shines in pour-over brewing. These are coffees that have been grown, processed, and roasted with serious care and attention. They have clarity, complexity, and character that you simply can't get from commodity-grade beans.
When you're brewing a method this clean and transparent, those quality differences become incredibly obvious. A well-sourced Ethiopian natural will give you wild berry notes. A washed Colombian might deliver caramel sweetness and citrus brightness. A Kenyan coffee could punch you with blackcurrant and tomato acidity (in the best possible way).
Final Thoughts
Pour-over coffee isn't complicated: it's just intentional. You're taking a few extra minutes to be present with your coffee, to control the variables, to craft something delicious with your own hands.
Will your first attempt be perfect? Probably not. But that's part of the fun. Each brew teaches you something. You'll start to notice how tiny changes affect the cup. You'll develop your own rhythm and technique.
And honestly? Even a slightly imperfect pour-over made with fresh, quality beans beats almost any other brewing method on a good day.
So grab some freshly roasted specialty coffee, set up your brewer, and give it a go. Take notes if you're feeling keen. Adjust and experiment. Most importantly, enjoy the process.
That's the beauty of coffee: there's always something new to discover, one pour at a time.