
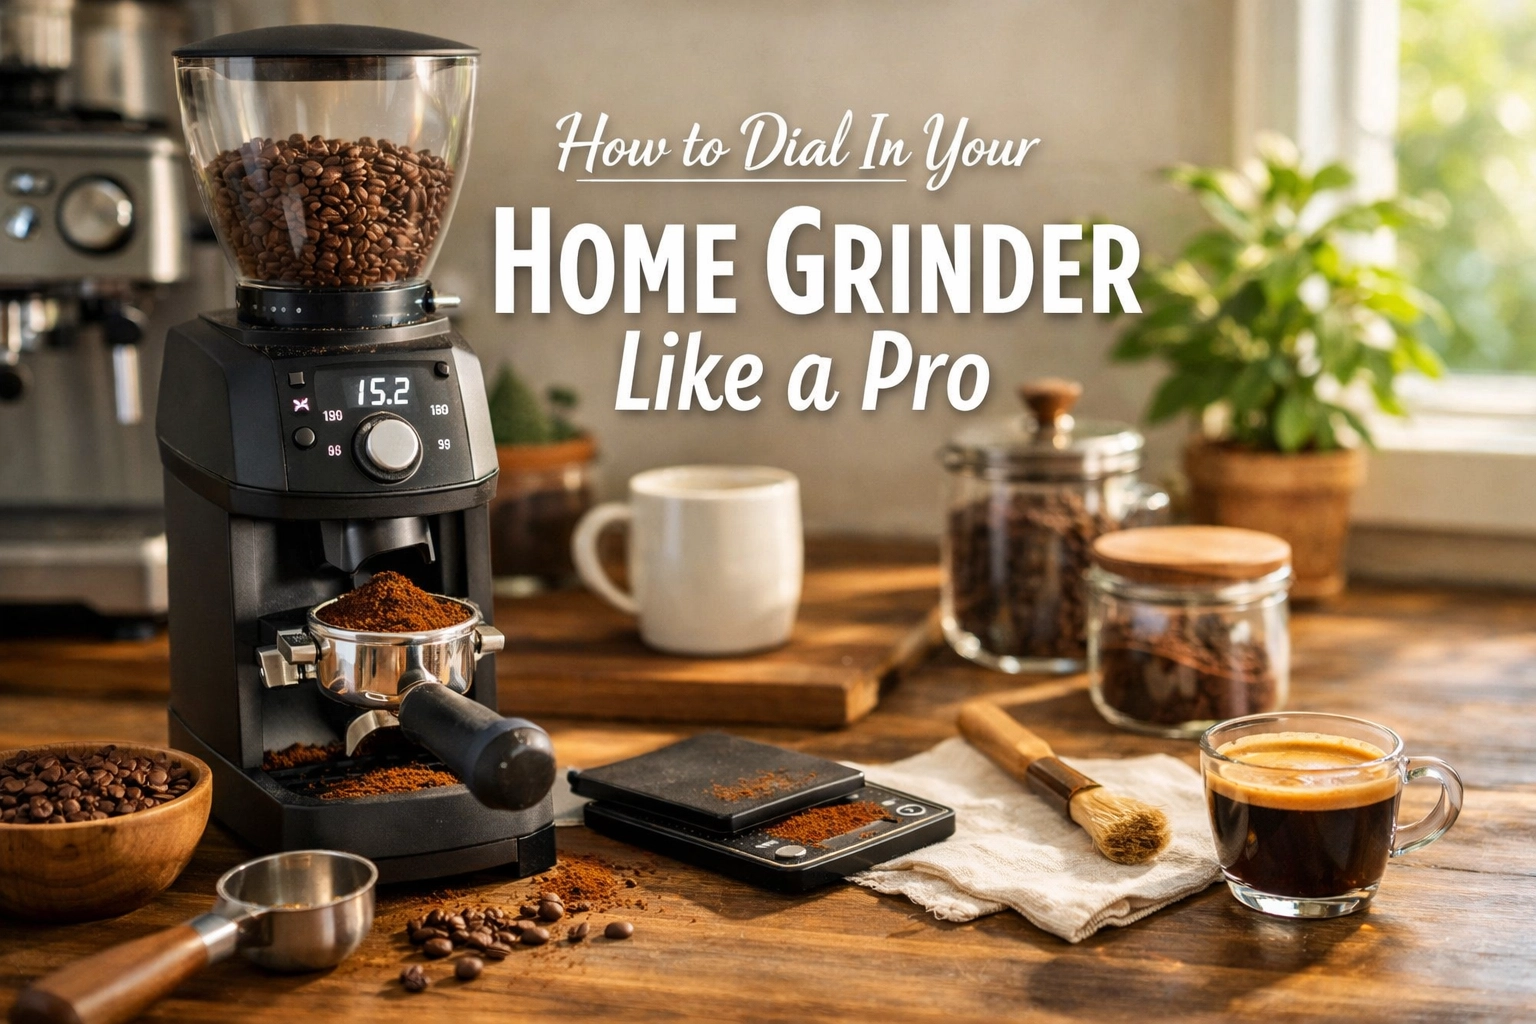
You've just unboxed your shiny new grinder. You're excited. You load it with beans, hit the button, and… the coffee tastes like disappointment in a cup. Too sour. Too bitter. Too watery. What went wrong?
The problem isn't your grinder. It's that you haven't dialed it in yet.
Dialing in is the process of finding that sweet spot where your grinder produces the exact particle size your brewing method needs. It's part science, part intuition, and entirely essential if you want to taste what your coffee is actually capable of. And the good news? Once you understand the basics, it's not nearly as intimidating as it sounds.
What Does "Dialing In" Actually Mean?
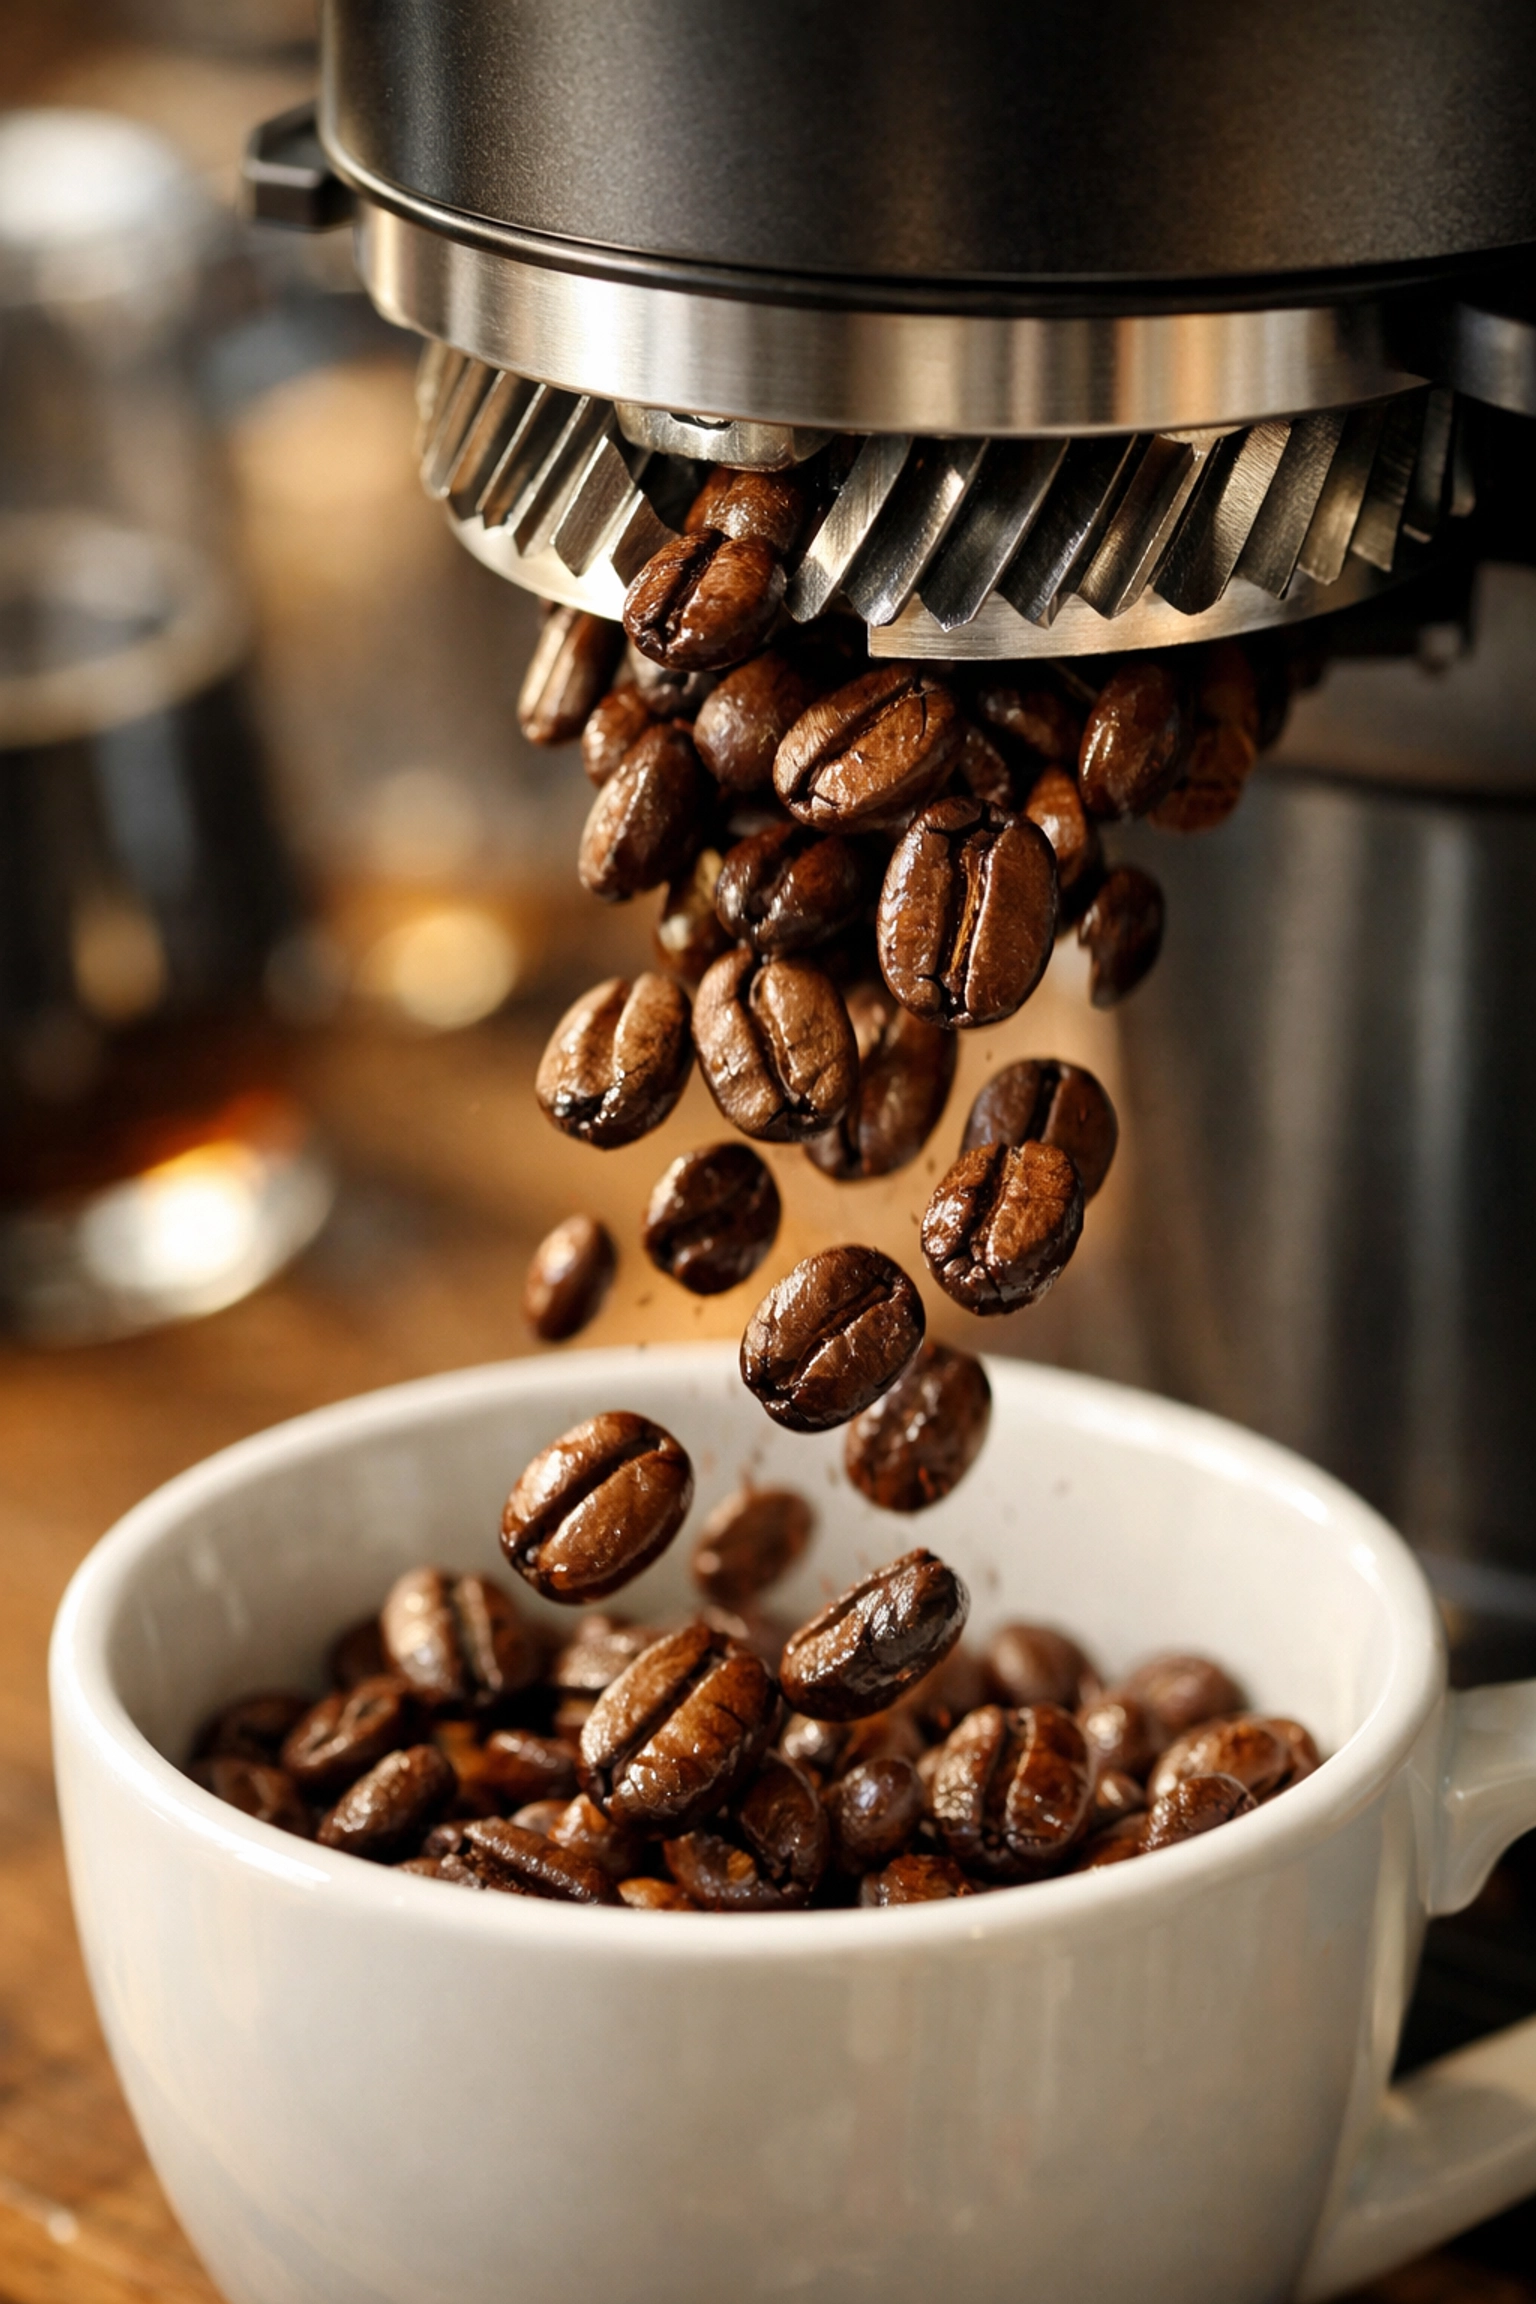
At its core, dialing in is about adjusting the distance between your grinder's burrs to control particle size. Move the burrs closer together and you get finer grounds. Move them apart and you get coarser grounds.
This matters because extraction, the process of dissolving soluble coffee compounds into water, depends heavily on grind size. Finer grinds have more surface area exposed to water, so they extract faster. Coarser grinds have less surface area, so they extract slower.
Use the wrong grind size and you'll either under-extract (resulting in sour, weak coffee) or over-extract (resulting in bitter, astringent coffee). Dial it in correctly and you'll unlock all those beautiful flavours you paid good money for.
So basically, dialing in is finding the grind size that extracts just the right amount of good stuff from your beans.
The Golden Rules of Grinder Adjustment
Before we get into the specifics, there are three principles you need to understand:
Always adjust while the grinder is running. This allows the burrs to settle into their new position properly. If you adjust a stopped grinder, the burrs might not align correctly, and you'll get inconsistent results. Run a few grams through after adjusting to clear out any grounds stuck in the old setting.
Make incremental adjustments. This cannot be overstated. A tiny adjustment on your grinder dial can dramatically change your extraction. We're talking one or two notches at a time, not sweeping changes. Patience here saves wasted coffee later.
Taste and observe. Your palate is your most important tool. Pay attention to how the coffee flows, how it tastes, and how it smells. These cues tell you which direction to adjust.
Starting Point: Know Your Brewing Method
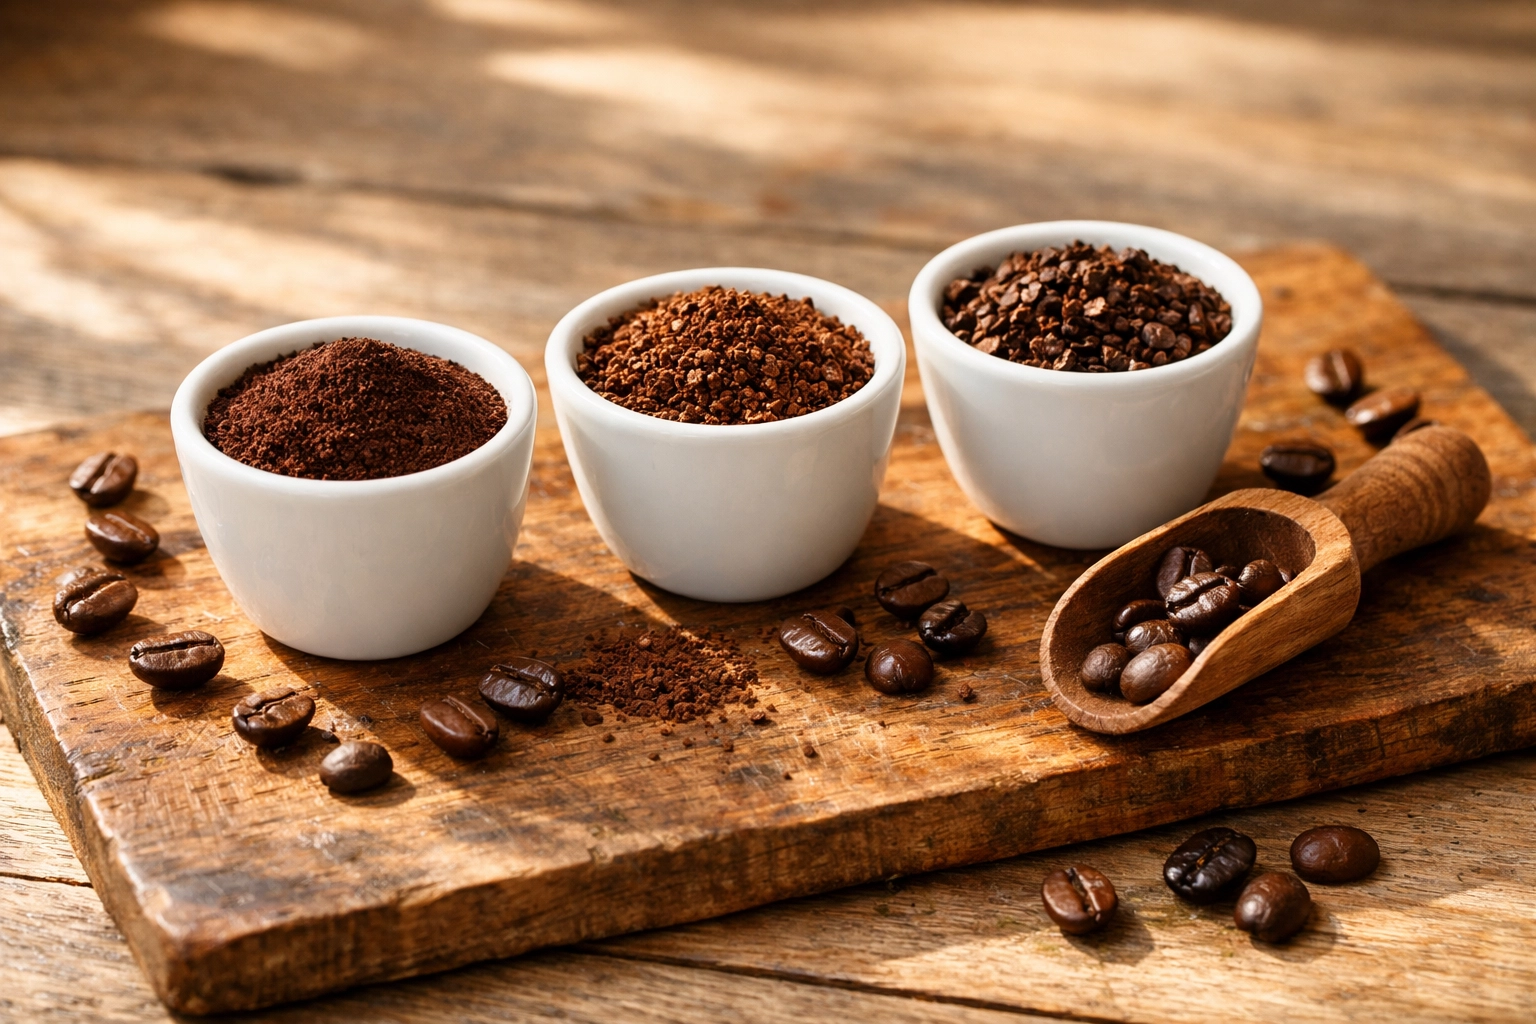
Different brewing methods require radically different grind sizes. Espresso needs extremely fine grounds, think powdered sugar. Pour over sits somewhere in the medium range, like table salt. French press wants coarse grounds, like sea salt or breadcrumbs.
Start with a baseline grind size for your method. If you're completely lost, most grinders have suggested settings marked on the dial. Use those as your jumping-off point. You'll refine from there.
For espresso specifically, we recommend starting slightly finer than you think you need. It's easier to adjust coarser than to go finer if you undershoot.
The Espresso Process: Finding Your Range
Espresso is the most demanding brewing method when it comes to dialing in, but the process teaches you principles that apply to everything else.
Here's how we approach it:
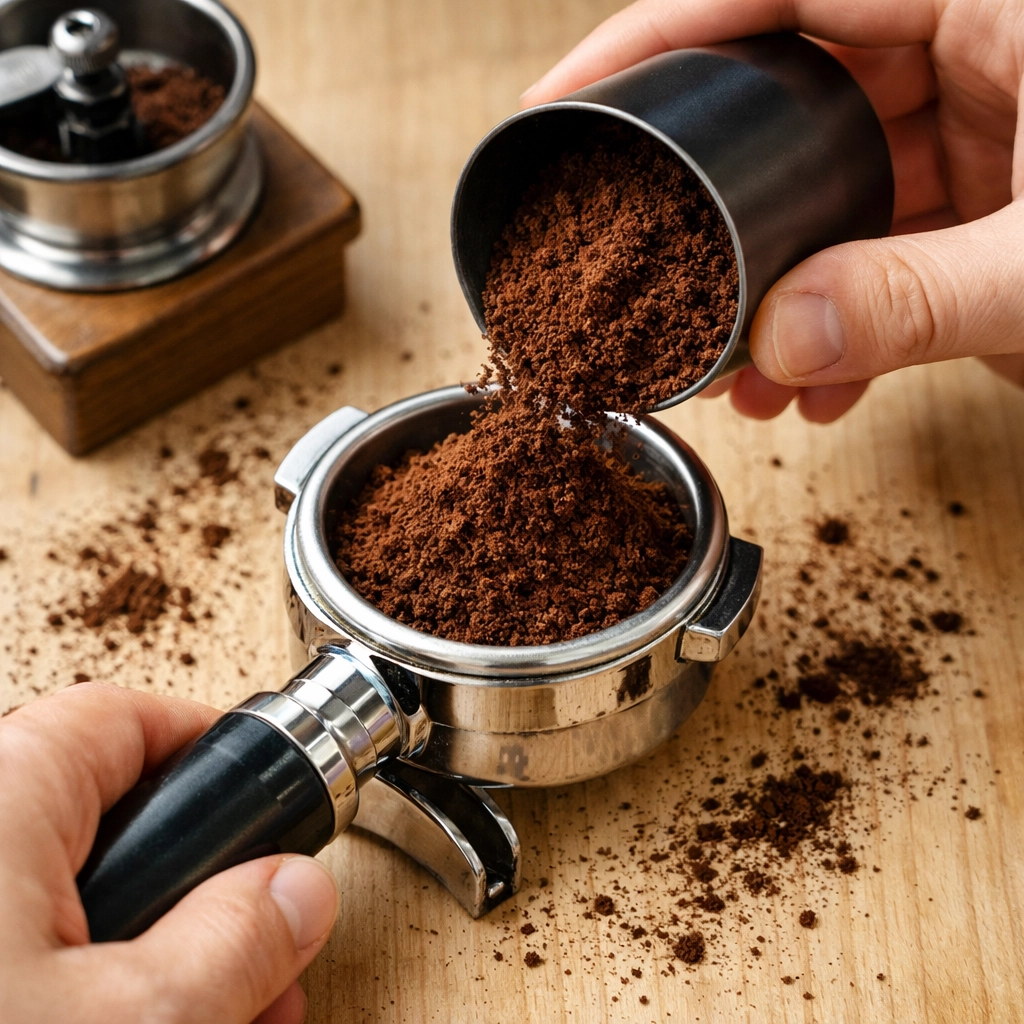
Step one: Establish your finest setting. Load your portafilter with 18 grams of coffee (adjust to your basket size). Set your grinder reasonably fine and pull a shot. You're aiming for a 1:2 ratio, so 18g in, 36g out, in approximately 25-30 seconds.
If it comes out too fast (under 20 seconds), grind finer. If it chokes your machine and barely drips, grind coarser. Make these adjustments one notch at a time. Seriously. One notch.
When you hit that sweet spot, smooth flow, balanced taste, good mouthfeel, note the setting. This is your baseline for lighter roasts and brighter, more acidic coffees.
Step two: Find your coarsest setting. Now do the same thing but with a darker roast or a coffee you want less intensity from. You'll likely need to grind coarser to avoid over-extraction. When you dial this in correctly, you've established your working range.
Here's something worth knowing: a 1.5 gram dose change typically requires the same grind adjustment to maintain consistent extraction timing. So if you decide to dose 19.5g instead of 18g, you'll probably need to grind slightly coarser to keep flow consistent.
For Pour Over, French Press, and Everything Else
The principles remain the same even if the brewing method changes.
Start with a medium grind. Brew your coffee using your normal parameters, water temperature, brew time, ratios. Taste it critically.
If it tastes sour, weak, or tea-like, you're under-extracting. Grind finer to increase extraction. The smaller particles will allow more surface area contact with the water, pulling out more of those delicious solubles.
If it tastes bitter, harsh, or overly astringent, you're over-extracting. Grind coarser to reduce extraction. This decreases the surface area and slows down how much you're pulling from the coffee.
Make your adjustment. Brew again. Taste again. Repeat until you find the spot where everything balances, where sweetness, acidity, and body all play nicely together.
And remember, every coffee is different. That natural-process Ethiopian you just picked up from our selection at Limini Coffee might need a completely different grind size than the washed Colombian you bought last week. This is normal. Embrace it.
Understanding Your Grinder's Dial
Most grinders use numbered dials to help you track adjustments. Turning the dial in one direction produces finer particles, while the opposite direction creates coarser grounds.
The challenge? There's no universal standard. A "5" on one grinder might be completely different from a "5" on another. Some grinders use stepped adjustments with distinct clicks. Others use stepless adjustment where you can dial in anywhere along the continuum.
The good news is you don't need to memorize numbers. You need to develop the feel for which direction is which, and how much each adjustment changes your grind. Keep notes if it helps. We certainly do when testing new coffees.
Common Dialing-In Mistakes (And How to Avoid Them)
Making adjustments too quickly. We get it. You're excited. You want that perfect cup NOW. But making huge jumps on the dial wastes coffee and leaves you confused about what actually caused the change. Slow down. One adjustment at a time.
Not purging after adjusting. When you change the grind setting, there are old grounds stuck in the grinder at the previous setting. You need to purge 3-5 grams to clear these out, or your first shot won't represent the new setting.
Ignoring freshness. Even perfectly dialed-in coffee won't taste great if your beans are stale. Coffee degasses over time, which changes how it extracts. A coffee that was perfectly dialed two weeks ago might need re-dialing today. Fresh is best. Always.
Adjusting for every single brew. Once you've dialed in for a specific coffee and method, don't feel like you need to tweak it every morning. Consistency is your friend. Only adjust if something tastes noticeably off.
Forgetting to consider other variables. Grind size isn't the only factor affecting extraction. Water temperature, brew time, and coffee dose all play roles. If your coffee tastes off, make sure you haven't accidentally changed something else before blaming the grind.
The Role of Freshness in Staying Dialed In
Here's something that trips up a lot of home brewers: coffee changes as it ages.
Freshly roasted coffee is still actively degassing CO2. This affects extraction, often making very fresh coffee (within the first few days of roasting) slightly harder to extract properly. Many coffees actually improve around 7-10 days post-roast as the degassing settles.
But then coffee continues to age. By week three or four, it's losing aromatics and extracting differently. You might find yourself needing to grind slightly finer to compensate for the decreased solubility.
This is why we recommend buying smaller quantities more frequently. When you grab a bag from Limini Coffee, you're getting beans roasted to order, which means you're working with optimal freshness. It makes the whole dialing-in process more predictable and your coffee more consistently delicious.
When to Re-Dial Your Grinder
You've dialed in perfectly. Congratulations. But when do you need to do it again?
Every time you change coffees. Different origins, processing methods, and roast levels all require different grind sizes. That's just how it is.
When the weather changes significantly. Humidity affects coffee beans and how they grind. In more humid conditions, grounds can clump more. In very dry conditions, static becomes an issue. You might need minor adjustments to compensate.
If your shots suddenly taste different. Maybe your machine's temperature has drifted. Maybe your technique has gotten sloppy. Maybe your coffee has aged. Whatever the reason, trust your taste. If it's off, dial it back in.
After cleaning your grinder. Deep cleaning can slightly shift burr alignment. A quick re-dial ensures everything's back where it should be.
Final Thoughts
Learning to dial in your grinder is genuinely one of the most impactful skills you can develop as a home brewer. It's the difference between coffee that's "fine, I guess" and coffee that makes you pause mid-sip and think "oh, that's why people get obsessed with this stuff."
Start with the principles. Adjust while running. Make small changes. Taste everything. And don't be discouraged if it takes a few attempts to nail it. Even professional baristas spend time dialing in every morning.
The beauty of coffee is that there's always something new to discover. Every bag brings new challenges and new opportunities to refine your technique. We think that's what makes it endlessly fascinating.
Now go waste some coffee in the pursuit of perfection. We promise it's worth it.