So, you’ve decided to take the plunge into the world of home brewing. Honestly? We think that’s one of the best decisions you’ll make this year. There is something almost meditative about the ritual of preparing a coffee at home: the aroma of freshly ground beans filling the kitchen, the gentle hiss of the kettle, and that first, glorious sip of a brew you crafted yourself.
But let’s be real for a second. It can also be a bit… overwhelming. You start looking at brewers and suddenly you’re faced with V60s, Chemexes, AeroPresses, and espresso machines that look like they belong on a spaceship. Where do you even start?
Don't worry. We’ve got you. At Limini Coffee, we live and breathe this stuff, and we’re here to help you navigate the jargon and the gear so you can focus on what actually matters: delicious coffee. If you’re looking to stock up on the essentials, you can find everything from world-class beans to top-tier brewing gear right here.
The Golden Rule: It All Starts with the Bean
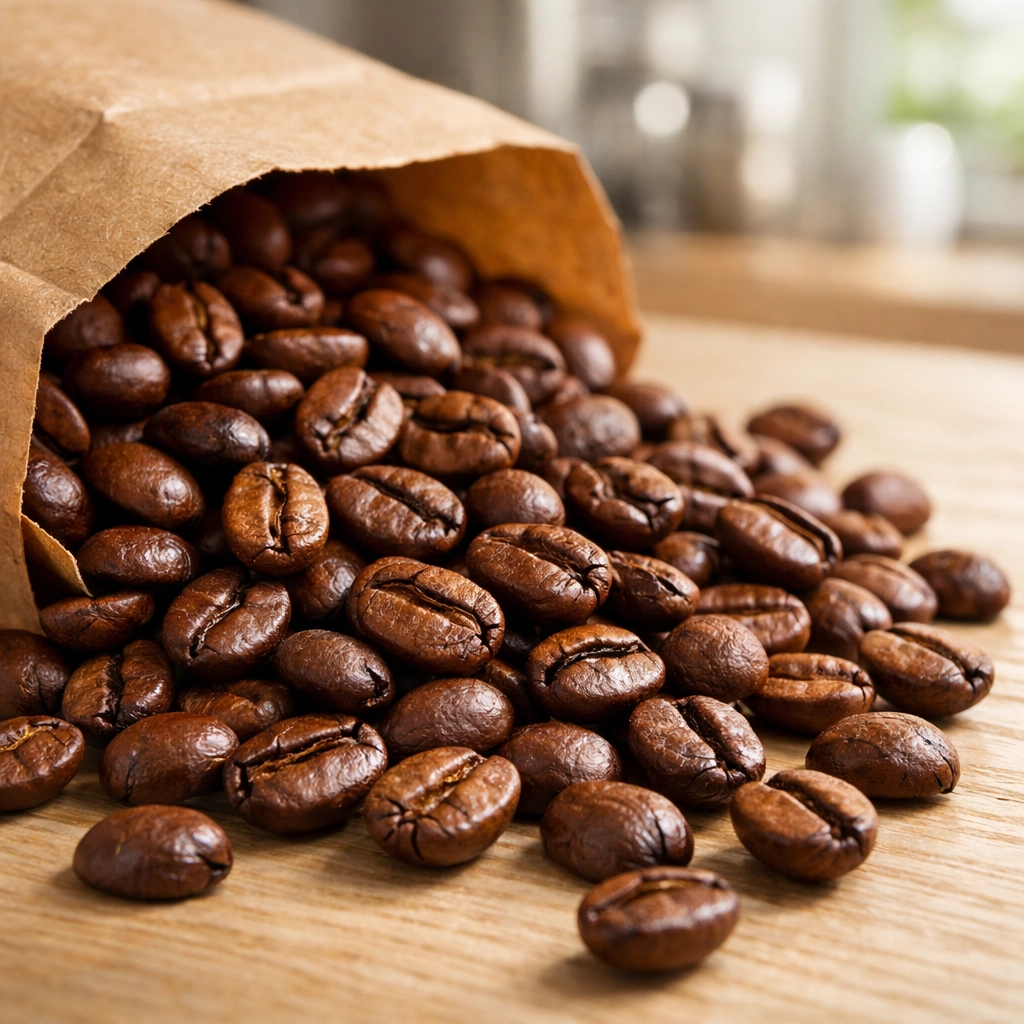
We’ll say it loud for the people in the back: you cannot brew great coffee with bad beans. It’s just not possible. You could have a three-thousand-pound espresso machine, but if your beans are stale or poorly roasted, your coffee will taste like disappointment.
When we talk about "speciality coffee," we’re talking about quality. This means beans that have been grown in ideal climates, harvested with care, and roasted to highlight their unique characteristics rather than just burning them into submission. Whether you prefer a bright, citrusy Single Origin from Ethiopia or a chocolatey, comforting blend, freshness is your best friend.
Ideally, you want to use beans within four weeks of their roast date. Why? Because coffee is an organic product. Once it’s roasted, it begins to release CO2 (a process we call degassing) and starts to oxidise. This means those lovely volatile aromatics: the stuff that makes coffee smell like heaven: begin to disappear.
If you’re curious about how we pick our beans, you can read more about our sourcing philosophy here. We believe in transparency and quality, which is why we’re so picky about what makes it into our roaster.
The "Holy Trinity" of Brewing Variables
Before we get into the gear, we need to understand the science. Don't panic: it’s not high school chemistry. It’s basically just controlling a few variables to make sure the water extracts the right "stuff" from the coffee.
1. Water Quality and Temperature
Coffee is roughly 98% water. So, if your tap water tastes like a swimming pool, your coffee will too. We always recommend using filtered water if you can.
Temperature is just as critical. We generally recommend brewing between 88 °C and 95 °C (190 °F to 203 °F). If the water is too cold, the coffee will taste sour and thin (under-extracted). Too hot? You risk pulling out bitter, ashy flavours (over-extracted).
2. The Grind Size
Think of coffee grounds like pebbles and sand. If you pour water through a jar of pebbles, it rushes through instantly. If you pour it through sand, it takes ages.
- Coarse (Pebbles): Best for long-steep methods like the French Press.
- Medium (Table Salt): Perfect for pour-overs like the V60.
- Fine (Powder): Essential for espresso, where the water is forced through under high pressure.
Investing in a decent burr grinder is probably the single biggest upgrade you can make to your home setup. Blade grinders chop the beans unevenly, leading to a muddy taste. Burr grinders crush them to a uniform size, ensuring an even extraction.
3. The Ratio
How much coffee vs. how much water? We usually suggest a starting ratio of 60g of coffee per 1 litre of water (or 1:17). It’s a great "sweet spot." To make it easy, we’ve even built a coffee brewing calculator to help you get the numbers right every time.
Choosing Your Weapon: Brewing Methods
There isn't a "best" way to brew coffee: there’s only the way that you enjoy the most. Let’s break down the most popular methods for home brewing.
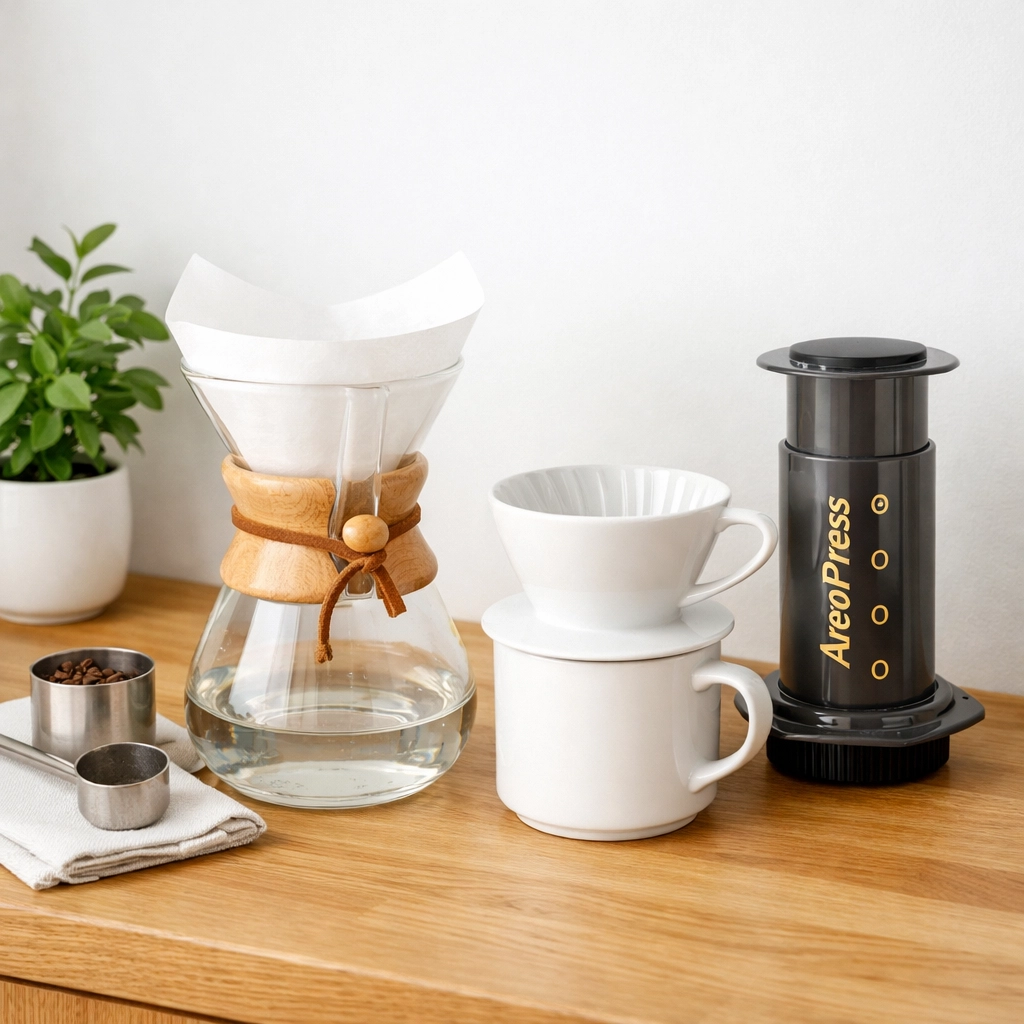
The Pour-Over (Hario V60 / Chemex)
This is for the purists. Pour-over brewing produces a clean, crisp cup that highlights the delicate notes of single-origin beans. It requires a bit of technique (and a gooseneck kettle helps!), but the results are incredibly rewarding.
We love this method for light-roast African coffees.
The AeroPress
The AeroPress is a bit of a cult classic. It’s indestructible, portable, and incredibly versatile. You can make anything from a concentrated espresso-style shot to a clean filter-style brew. It’s very forgiving, making it perfect for beginners.
The French Press (Cafetière)
The old reliable. Because the coffee grounds sit in the water for the entire brew time (immersion brewing), the result is a heavy, full-bodied cup. It’s simple, classic, and great for serving a group.
Espresso
Now, this is the "final boss" of home brewing. Espresso is a whole different beast. It requires precision, specialized equipment, and a lot of patience. If you’re thinking about going down this rabbit hole, check out our guide on choosing espresso equipment. It’s a big investment, so you want to get it right.
Step-by-Step: The Perfect Pour-Over
Let’s get practical. Here is how we brew a standard V60 at the roastery. You can grab all the gear and the perfect beans for this method right here.
- Boil your water: Let it sit for a minute after boiling to hit that 92 °C – 94 °C range.
- Rinse the filter: Place your paper filter in the dripper and pour some hot water through it. This removes the "papery" taste and warms up your carafe. Dump that water out.
- Add your coffee: We use 15g of medium-ground coffee for a 250ml cup.
- The Bloom: Pour about 30g of water over the grounds: just enough to wet them. You’ll see bubbles forming; this is the CO2 escaping. Wait 30 seconds. This is a crucial step to ensure the water can actually penetrate the coffee (coffee is somewhat hydrophobic initially).
- The Main Pour: Slowly pour the remaining water in circular motions, avoiding the very edges of the filter.
- The Draw Down: The water should finish dripping through by the 3:00 minute mark. If it's too fast, grind finer next time. Too slow? Grind coarser.
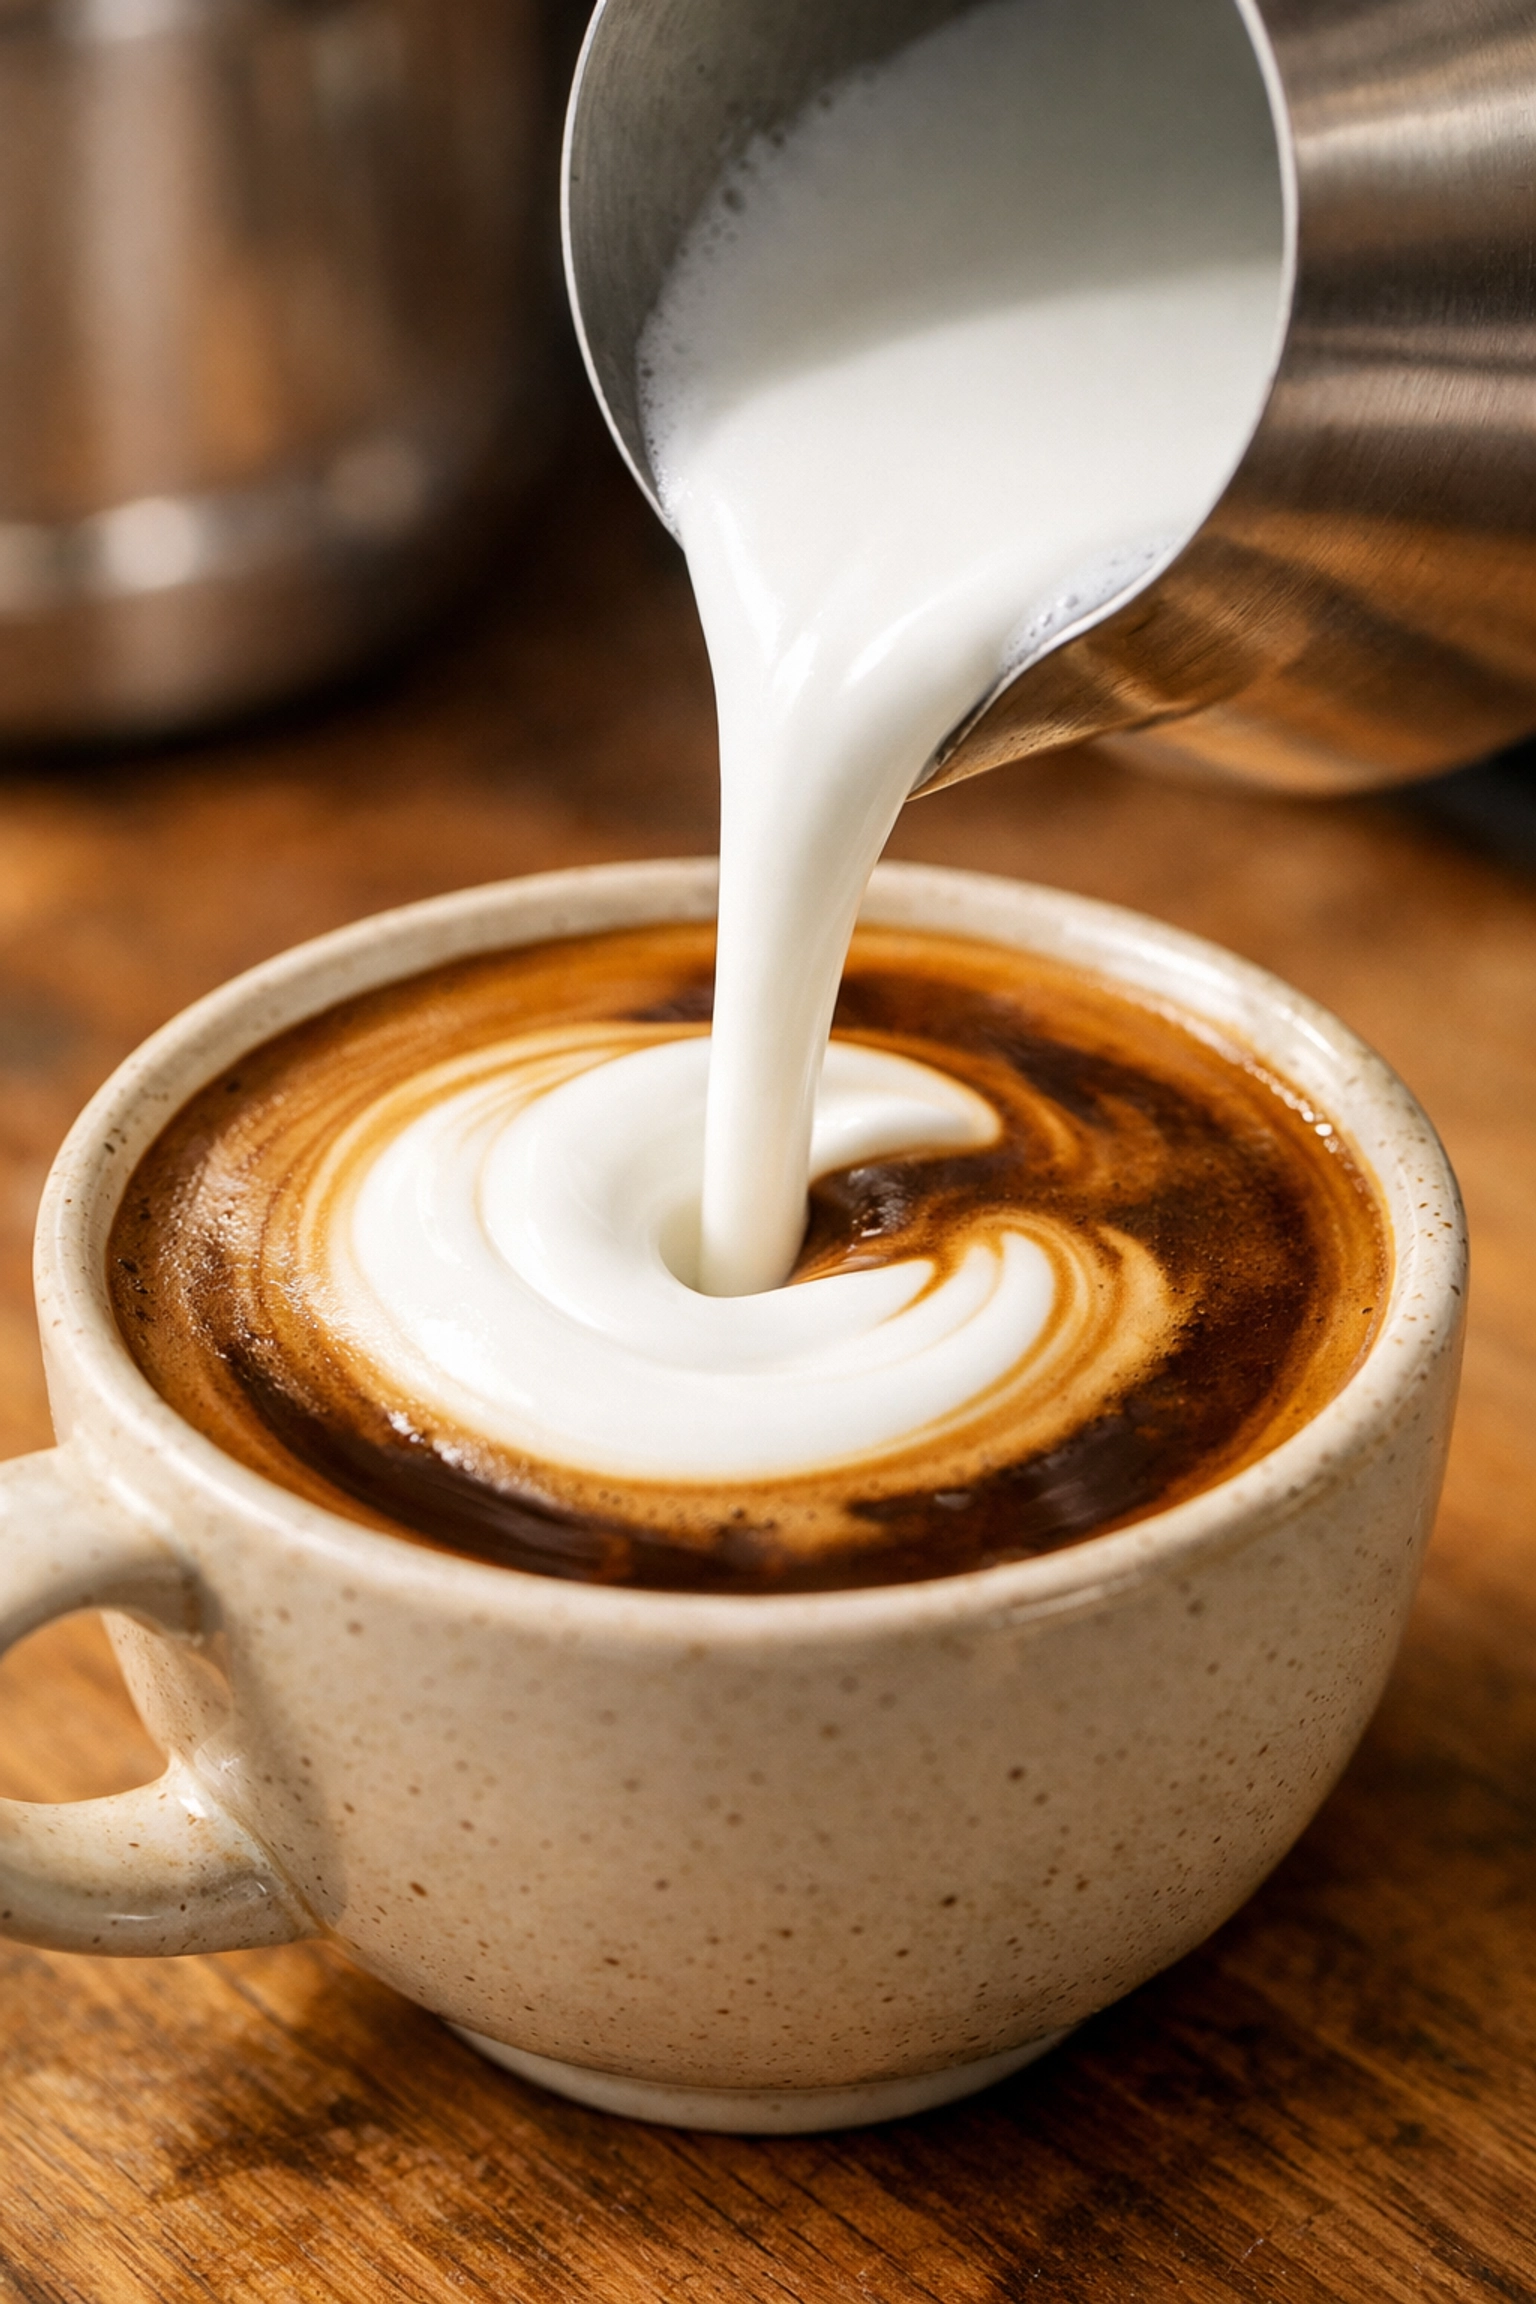
Dealing with Milk
If you’re an espresso lover, you’re likely interested in lattes and flat whites. Steaming milk is an art form in itself. You’re looking for "microfoam": milk that looks like wet paint. No big bubbles, just a silky, glossy texture.
Understanding how proteins and fats react to heat is key here. If you want to dive deep into the science, we have a great article understanding milk and another explaining the differences between a latte and a cappuccino.
Troubleshooting Your Brew
Is your coffee tasting a bit… "off"? Don’t give up! Coffee brewing is a series of adjustments.
- Too Bitter? You’ve likely over-extracted. Try a coarser grind or slightly cooler water.
- Too Sour? This is under-extraction. Try a finer grind or hotter water.
- Weak and Watery? You might need a higher coffee-to-water ratio.
- No Crema? If you’re making espresso and there’s no "golden foam," your beans might be old. Learn more about what makes a good crema here.
The Final Perk
Home brewing isn't about being perfect from day one. It’s about the journey of discovery. You’ll have days where you pull the perfect shot and days where you accidentally leave the scale off and wing it (we've all been there).
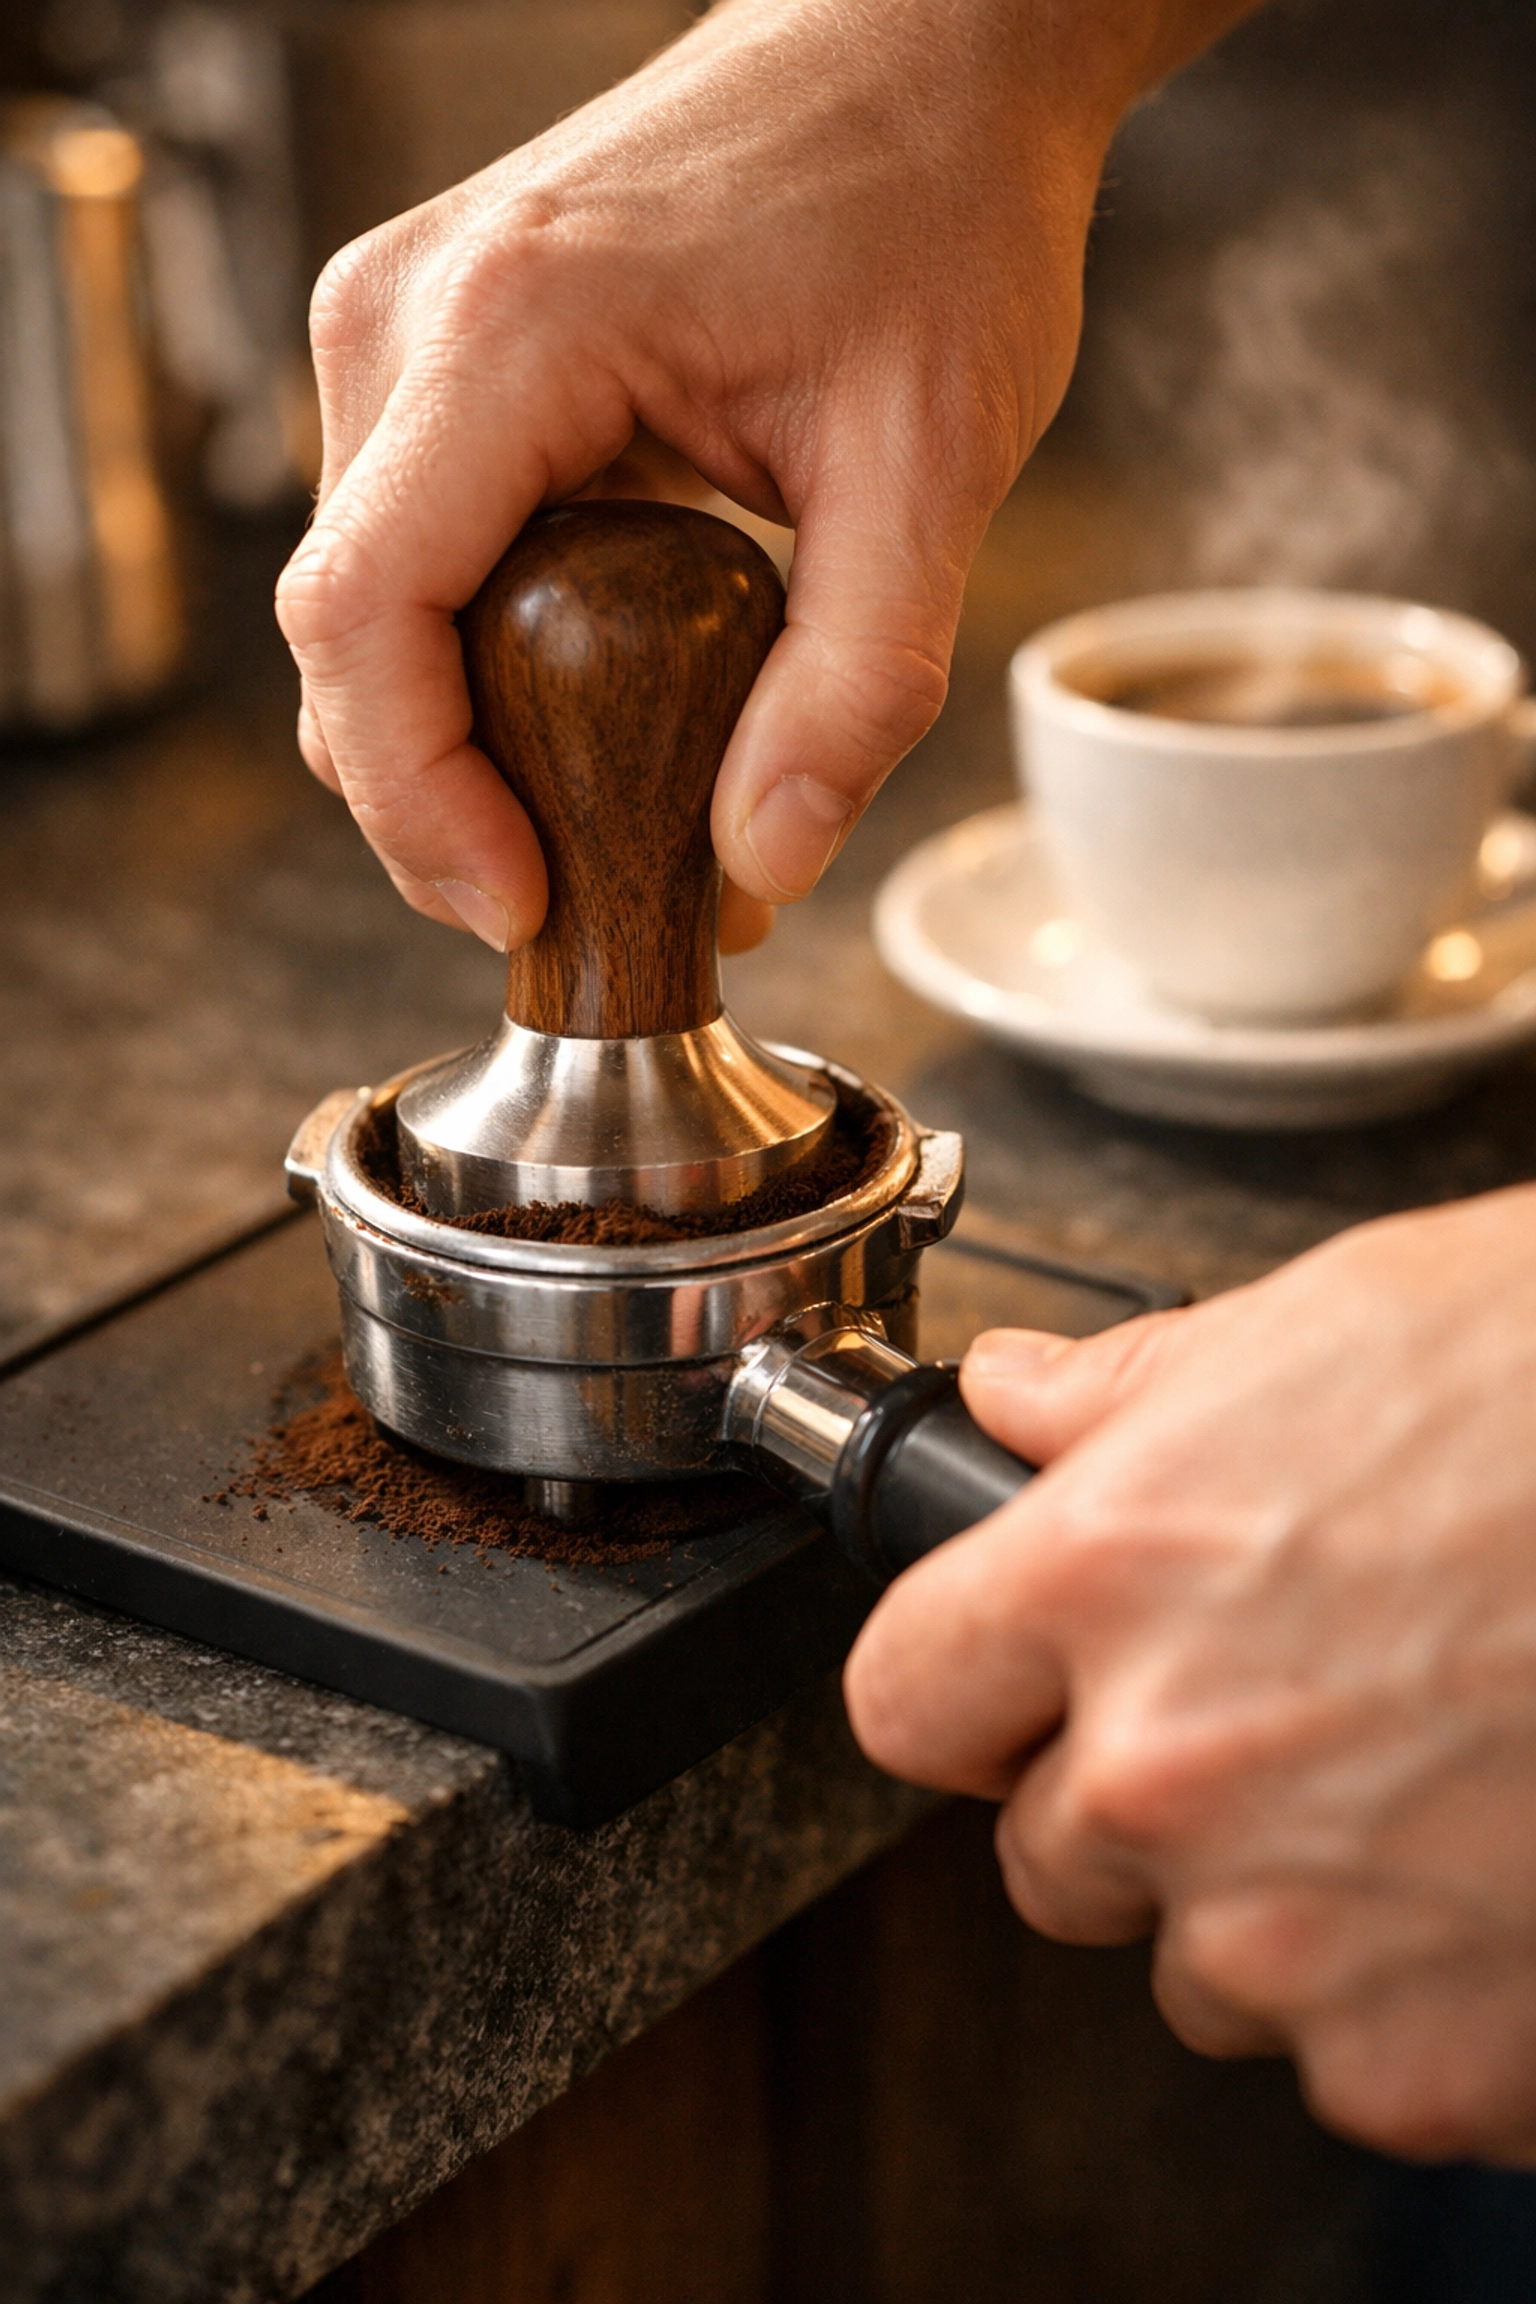
The beauty of speciality coffee is that there is always something new to learn. Whether it's mastering the art of tamping or exploring a new anaerobic fermented microlot, the possibilities are endless.
Ready to start your journey? We’ve got the fresh roasts and the expertise to help you succeed. Head over to our shop to browse our latest coffees and brewing kits.
And if you ever feel like you need a bit more hands-on help, we offer barista training for everyone from total beginners to aspiring pros. We’d love to see you at the roastery!
Happy brewing! Enjoy that cup( you earned it.)