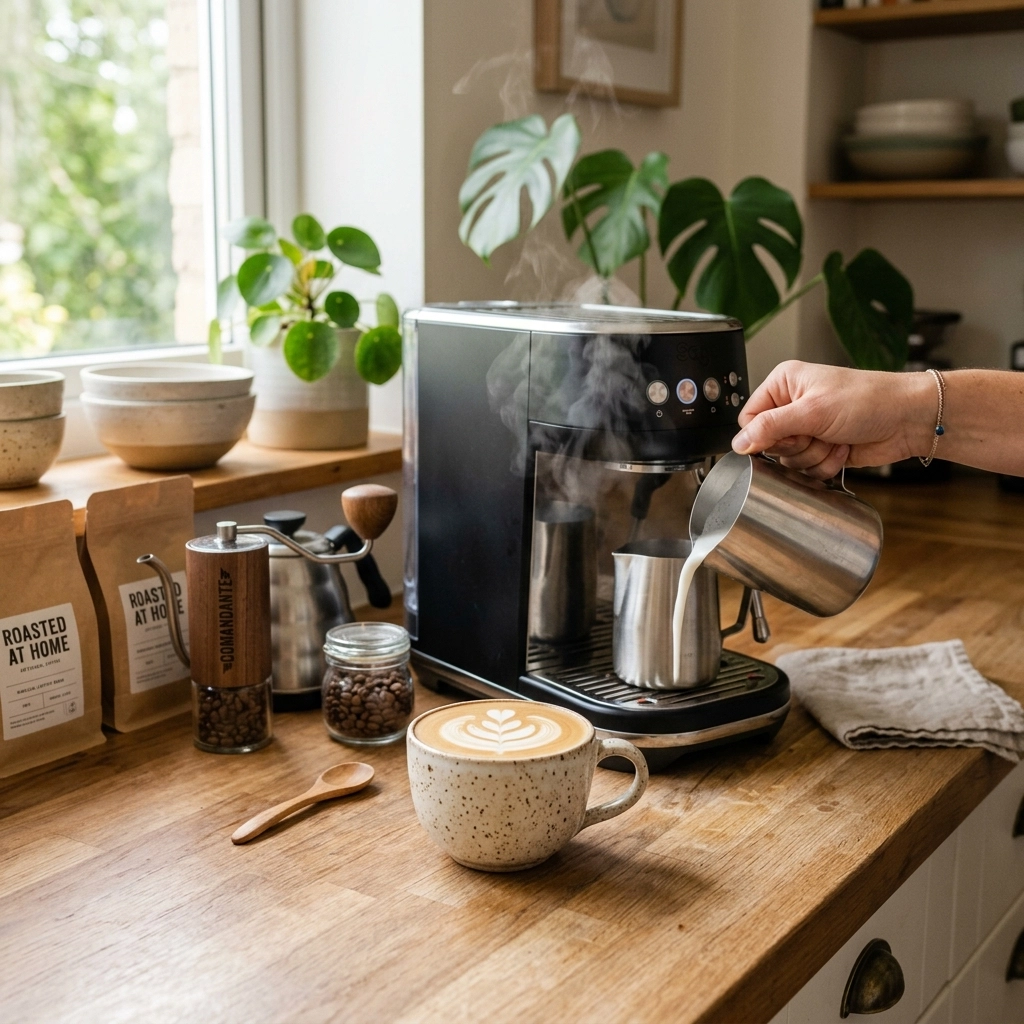
So, you want that high-end coffee shop experience without having to put on actual trousers or leave the house? We get it. There is something truly special about a perfectly textured latte or a crisp, vibrant single-origin pour-over, but the idea of spending twenty minutes weighing every gram and faffing with a goose-neck kettle before your eyes are even fully open is, well, a bit much.
The good news is that you don’t need a £3,000 setup or a professional barista certification to make something that tastes incredible. In fact, we believe you can whip up café-standard drinks in under five minutes if you focus on the right things. It’s all about working smarter, not harder.
At Limini Coffee, we spend our days roasting and obsessing over every detail of the bean, but we also know that at home, convenience is king. Whether you are a seasoned home brewer or someone just looking to level up from the standard "spoon of instant and a splash of milk," we are here to help you bridge that gap.
The Golden Rule: Freshness Above All Else
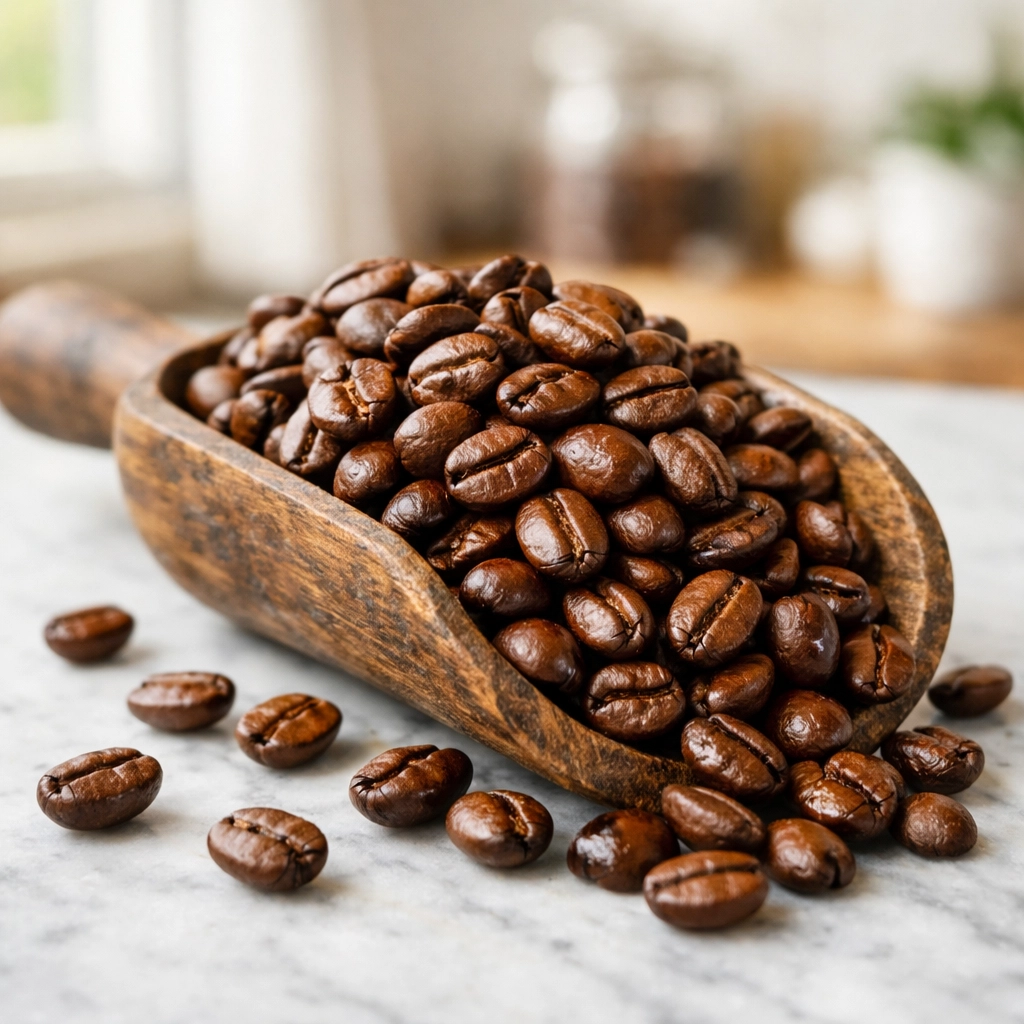
If there is one thing we want you to take away from this, it is that your drink is only as good as the beans you start with. You can have the best technique in the world, but if your coffee has been sitting on a supermarket shelf for six months, it’s going to taste like cardboard.
Freshness is essentially the "cheat code" for coffee shop quality. When coffee is freshly roasted, it retains the volatile oils and aromatics that create those beautiful notes of chocolate, fruit, or nuts. Once it’s ground, those flavors start to vanish almost immediately.
This is why we always recommend buying fresh roasted coffee beans from a speciality roaster. It makes the biggest difference to the crema and the overall depth of flavor. If you aren't grinding your own beans yet, don't worry: getting freshly roasted pre-ground coffee is still a massive step up from the dusty alternatives.
The 5-Minute Framework: No Espresso Machine? No Problem.
A common myth is that you need a high-pressure espresso machine to make "real" coffee drinks. While we love a good La Spaziale machine as much as anyone, you can create a fantastic base for your drinks using a simple Moka pot, an AeroPress, or even a very concentrated French press brew.
The secret is the ratio. To mimic an espresso shot for a latte or cappuccino, you need a "short" brew. We usually suggest a 15:1 water-to-coffee ratio for standard drinking, but for a "fake" espresso base, try something closer to 3:1 or 4:1. This creates a punchy, intense liquid that can stand up to milk without getting lost.
And if you really are in a rush? High-quality instant coffee or a strongly brewed concentrate kept in the fridge can work wonders. It’s all about the preparation.
Recipe 1: The "Better-Than-The-High-Street" Iced Latte
Time: 2 Minutes
This is the ultimate quick fix. It’s refreshing, sweet, and takes less time than it does to find your car keys.
- The Base: Take 2 ounces (60ml) of very strong coffee. If you’re using Limini Coffee beans, a medium roast works beautifully here.
- The Chill: Fill a tall glass to the brim with ice.
- The Pour: Add 1 cup (240ml) of cold milk of your choice.
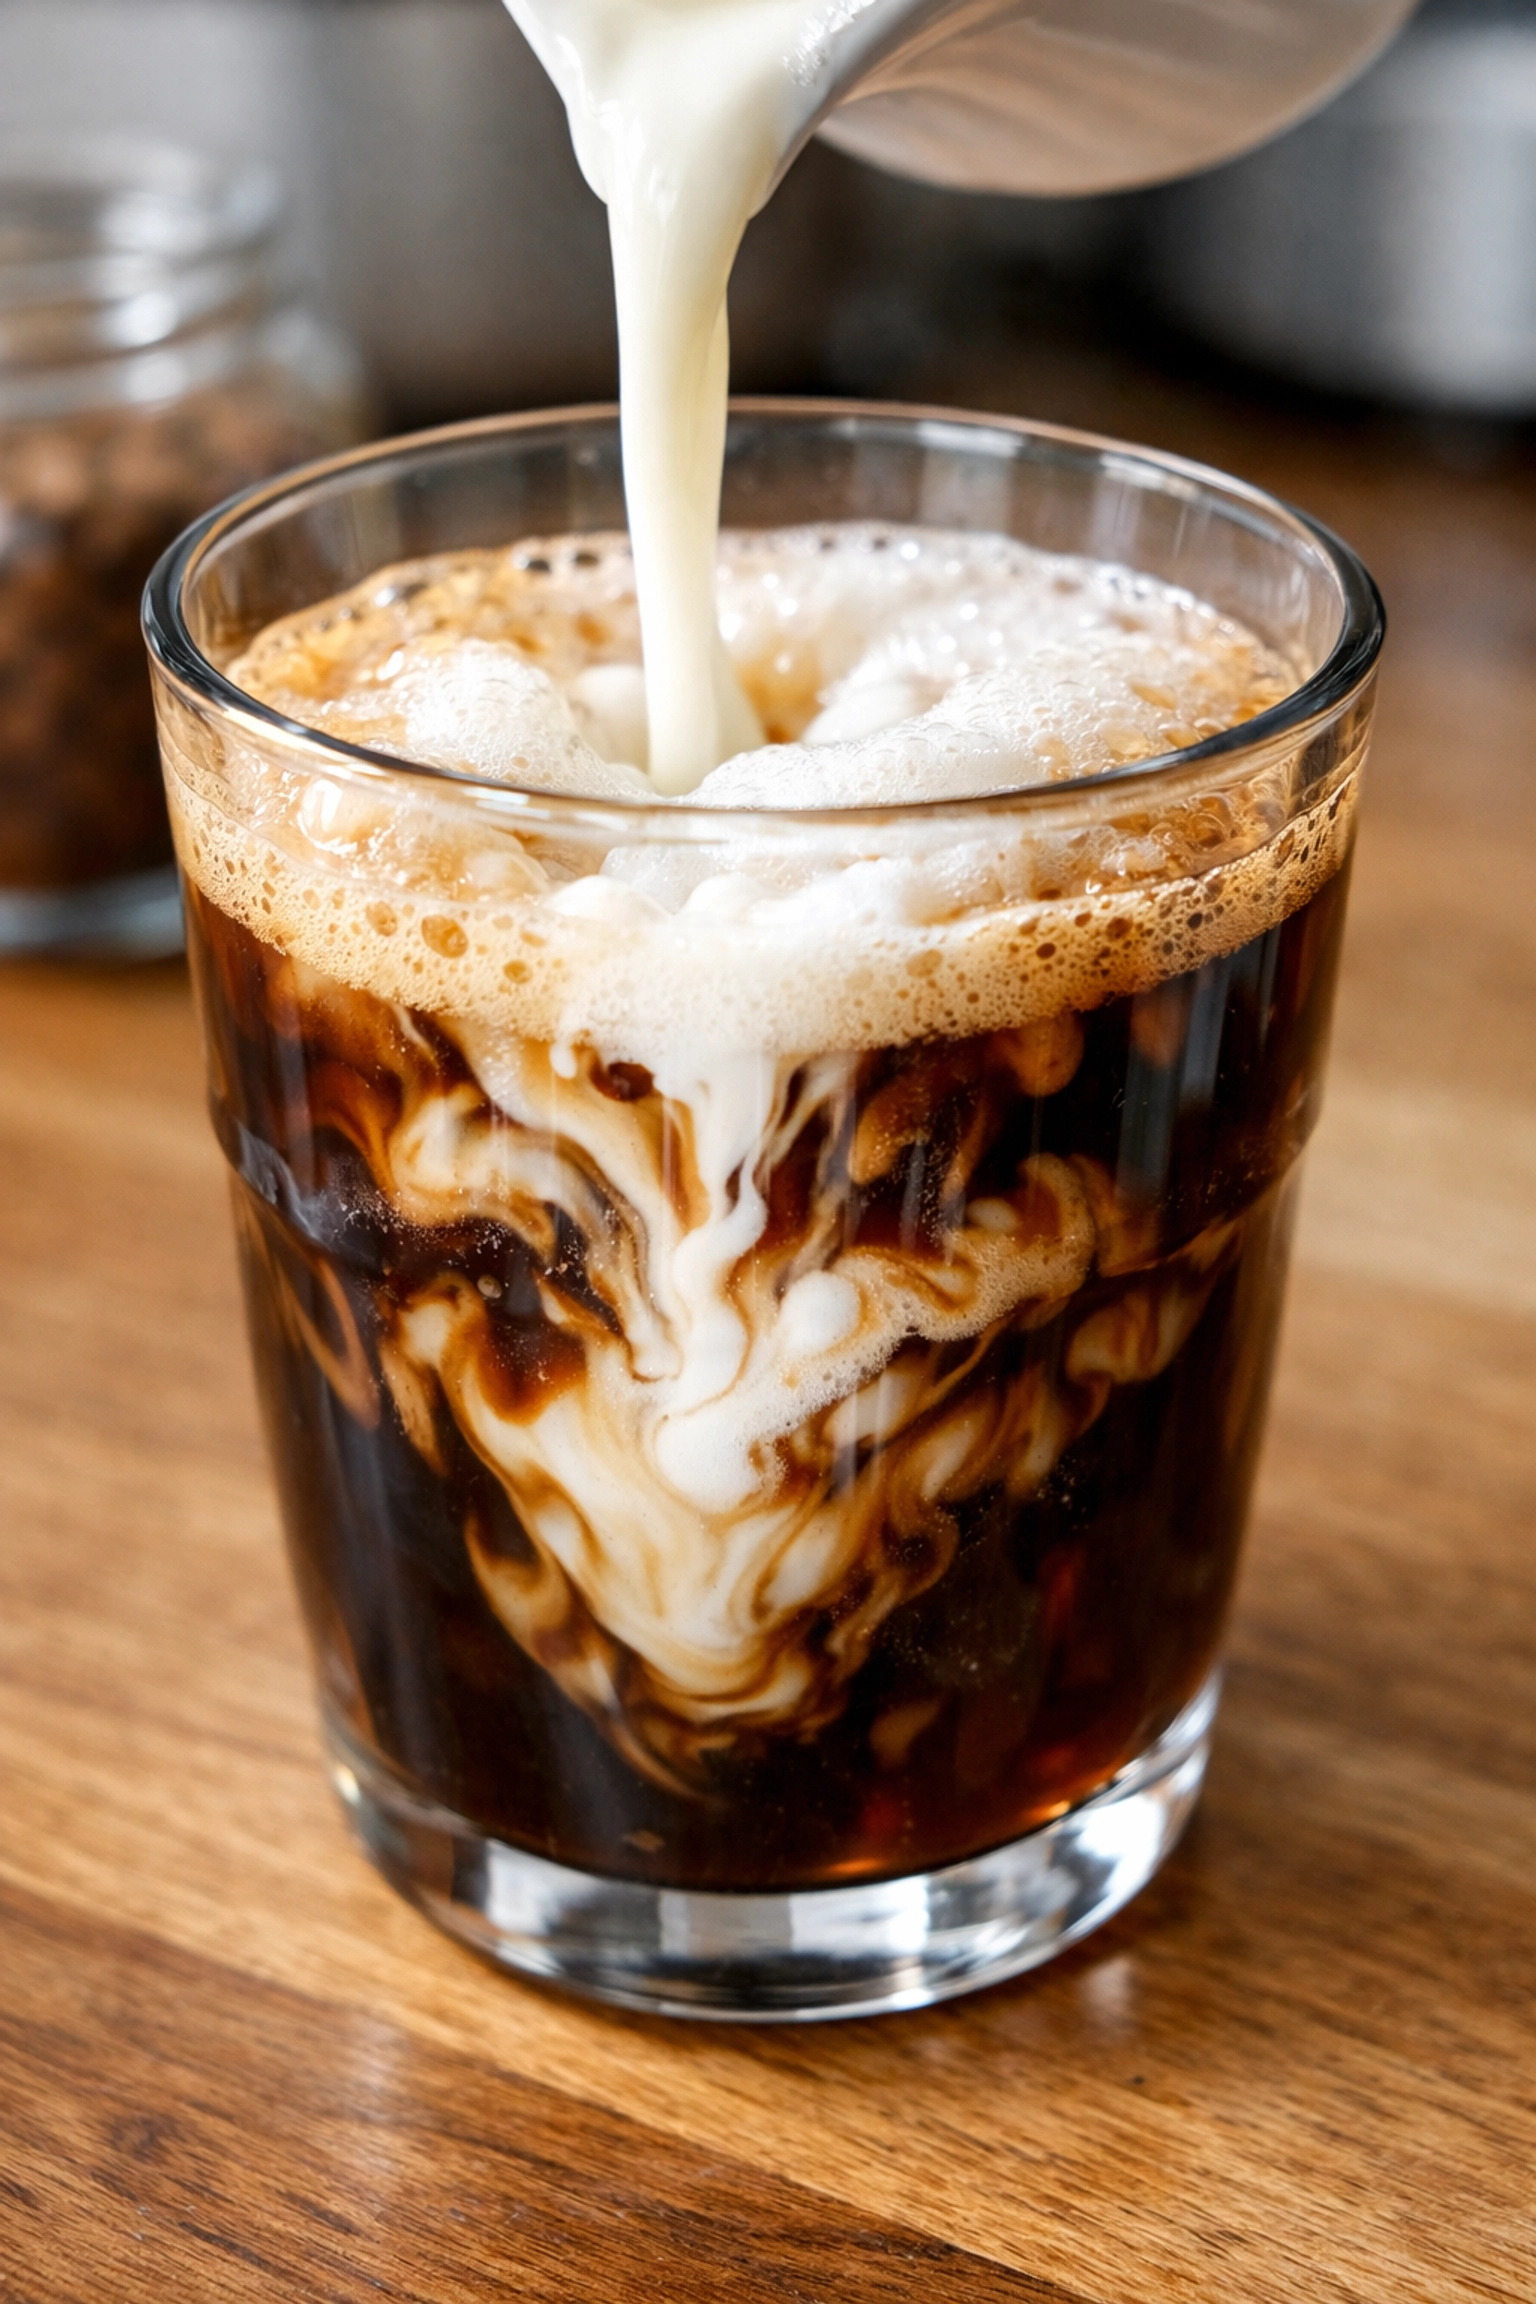
- The Magic: Pour your hot coffee directly over the milk and ice. The way the coffee marbles into the milk is part of the theatre of the drink.
- Sweeten: Add a dash of vanilla syrup or a teaspoon of honey if that’s your vibe.
Why does this work? Because the cold milk instantly brings the temperature down, preserving the sweetness of the coffee without the bitterness that sometimes comes with slow-cooling.
Recipe 2: The Microwave "Microfoam" Latte
Time: 4 Minutes
You don’t need a steam wand to get that silky texture. You just need a glass jar and a bit of muscle.
- Prep the Coffee: Brew 3 ounces of strong coffee (or a double shot if you have a machine).
- The Jar Trick: Pour about 6-8 ounces of milk into a clean jam jar. Fill it no more than halfway: you need room for expansion!
- Shake it: Screw the lid on tight and shake it like you’re making a cocktail for about 30-60 seconds. You’ll see the volume double.
- The Heat: Take the lid off and microwave the milk for 30-45 seconds. Watch it closely! You want it hot (around 140 °F / 60 ºC), but not boiling.
- The Assemble: The heat actually stabilizes the foam. Pour your coffee into a proper coffee cup, then slowly pour in the warm milk, using a spoon to hold back the foam until the end.
This gives you a texture that is surprisingly close to what we produce on a professional lever or automatic machine.
Mastering the Milk
If you want your home drinks to actually taste like they came from a shop, you have to respect the milk. We have a whole article on understanding milk because it is that important.
The protein and fat content in your milk (or milk alternative) determines how well it foams and how sweet it tastes. When you heat milk, you are breaking down the lactose into simpler sugars, which is why steamed milk tastes sweeter than cold milk. However, if you go past 160 °F / 70 ºC, you start to scald it, and that sweetness turns into a "cooked" flavor that ruins the coffee.
So, always aim for that 140 °F / 60 ºC sweet spot. If you’re serious about this, a cheap milk thermometer is one of the best pieces of home brewing gear you can buy.
Recipe 3: The Greek-Style Frappe
Time: 4 Minutes
This is a foam-lover's dream and arguably the easiest way to feel like you’re on a Mediterranean holiday in your own kitchen.
- The Mix: In a jar or a milk frother, combine 2 teaspoons of quality instant coffee, 1-2 teaspoons of sugar, and just 2 tablespoons of cold water.
- The Froth: Whisk or shake until it becomes a thick, light-brown foam. It should have the consistency of shaving cream.
- The Build: Pour this foam into a glass filled with ice.
- The Top-Up: Slowly add cold water or milk (we prefer milk for a creamier finish) to fill the glass.
The foam is surprisingly stable and stays on top for ages. It’s a total crowd-pleaser and takes virtually no effort.
Why Your Equipment Matters (But Doesn't Have To Cost a Fortune)
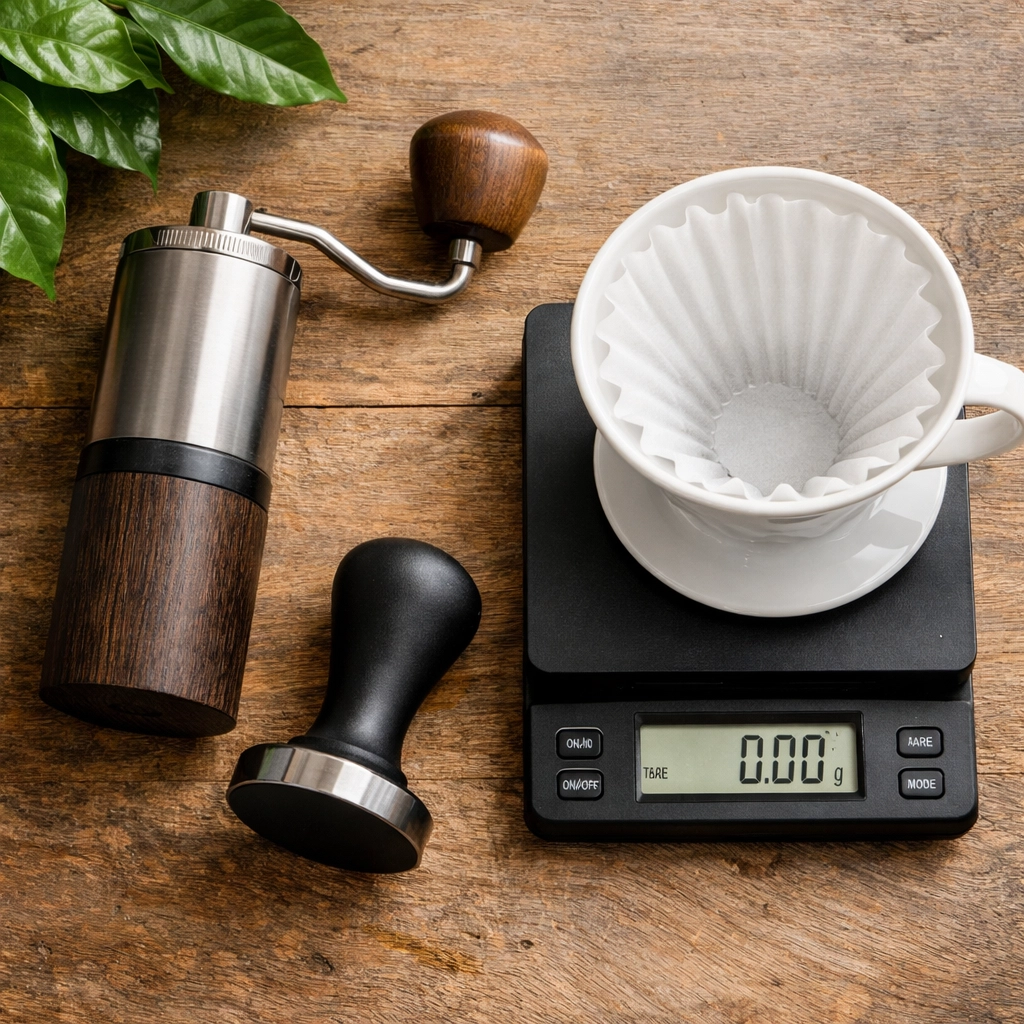
We often get asked about choosing espresso equipment. The truth is, while we love the shiny, high-end gear, your most important tool is your grinder.
Even a modest burr grinder will allow you to dial in your extraction. If your coffee tastes too sour, you grind finer. If it’s too bitter, you go coarser. It’s a simple cause-and-effect relationship that puts you in total control.
If you are using an espresso machine, don't overlook the importance of tamping. An uneven tamp leads to channeling, where the water finds the path of least resistance and leaves half your coffee unextracted. A firm, level tamp ensures that the 9 BAR of pressure is working evenly across the entire coffee bed.
Recipe 4: The 5-Minute Homemade Frappuccino
Time: 5 Minutes
Forget the queue and the high price tag. You can make a better version at home with zero artificial stabilizers.
- The Blender: Toss in a handful of ice, 1/2 cup of milk, 1/2 cup of strong cold coffee, and a tablespoon of maple syrup or chocolate sauce.
- The Secret Ingredient: Add a tiny pinch of Xanthan gum if you have it (it keeps it from separating), or just use a splash of heavy cream for that luxurious mouthfeel.
- The Blitz: Blend on high until smooth.
- The Topping: Pour into a glass and top with whipped cream.
Using single origin beans for the coffee base here can add incredible fruity notes that you just don't get in the mass-produced versions. Imagine a strawberry-noted Ethiopian coffee blended into a creamy frappe: it's a game-changer.
Let's Talk Ratios
Consistency is what separates a "good cup" from a "perfect cup every time." We always suggest using a scale, but if you're in a hurry, you can use our coffee brewing calculator to get a feel for the volumes.
Basically, the more water you use, the more you extract. If your drink feels "thin," you might be using too much water or not enough coffee. For a 5-minute morning routine, finding a scoop that matches your favorite mug's ideal weight is a great way to stay consistent without overthinking it.
Putting It All Together
Creating coffee shop quality at home isn't about having a massive bar set up; it’s about understanding the fundamentals.
- Start with the best: Use freshly roasted Limini Coffee.
- Watch your temps: Keep your milk under 160 °F / 70 ºC.
- Balance your brew: Use strong concentrates for milk-based drinks.
- Enjoy the process: Part of the joy of coffee is the ritual itself.
If you ever find yourself wanting to dive deeper into the craft, we offer barista training that covers everything from basic espresso to advanced latte art. We love sharing what we know, whether you are brewing for yourself or looking to start your own wholesale journey.
So, tomorrow morning, give yourself five minutes. Skip the instant-and-boiling-water routine. Try one of these recipes, use some proper beans, and see if you can’t make something that makes you smile before the caffeine even kicks in.
Happy brewing!

Leave a Reply