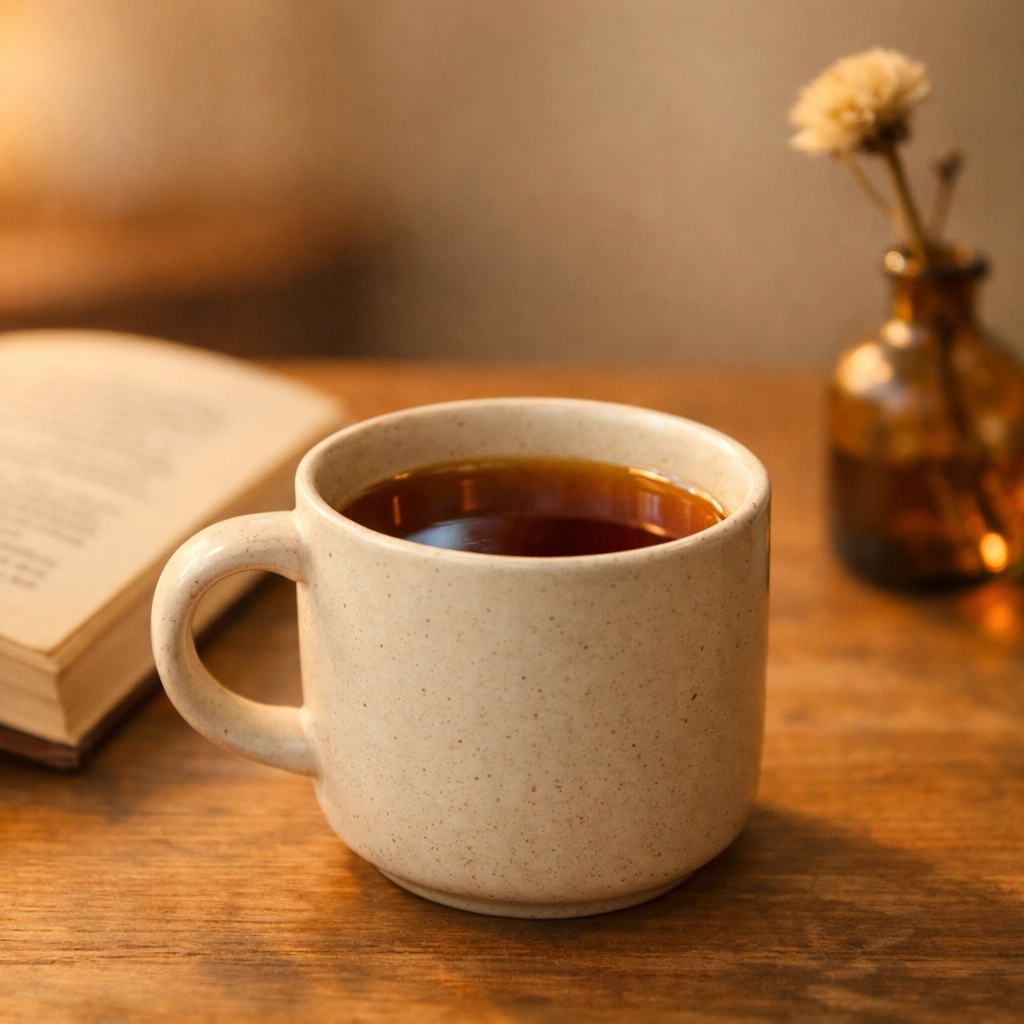
There is something deeply satisfying about the ritual of a pour over. Unlike the frantic "hit a button and run" nature of a standard drip machine, the pour over demands a moment of your time. It’s the vinyl record of the coffee world: tactile, intentional, and capable of producing a much higher fidelity of flavor. We believe that if you want to truly taste the unique characteristics of a high-quality bean, this is the way to do it.
Whether you’re a long-time espresso lover looking to branch out or a complete novice wondering why people spend five minutes pouring water in circles, we’ve got you covered. In this guide, we’re going to break down the science, the gear, and the technique required to brew a world-class cup right in your kitchen. And of course, you’ll need the right beans to start with, which you can find over at Limini Coffee.
Why Choose Pour Over?
So, why bother? Is it just for the aesthetics? Not at all. The beauty of manual brewing lies in the control. When you use a pour over dripper, you are the master of every variable: water temperature, flow rate, and immersion time.
Because the water is constantly being filtered through the grounds and then out of the bottom, it extracts flavors differently than an immersion method like a French Press. You’ll notice a "cleaner" mouthfeel and much more distinct tasting notes. If you’re brewing a light-roasted Ethiopian Yirgacheffe, for example, a pour over will highlight those delicate floral and citrus notes that might get "muddy" in other brewers.
We think it’s the best way to appreciate the hard work that goes into sourcing our coffee. When you buy specialty beans, you’re paying for those nuances: pour over ensures you actually get to taste them.
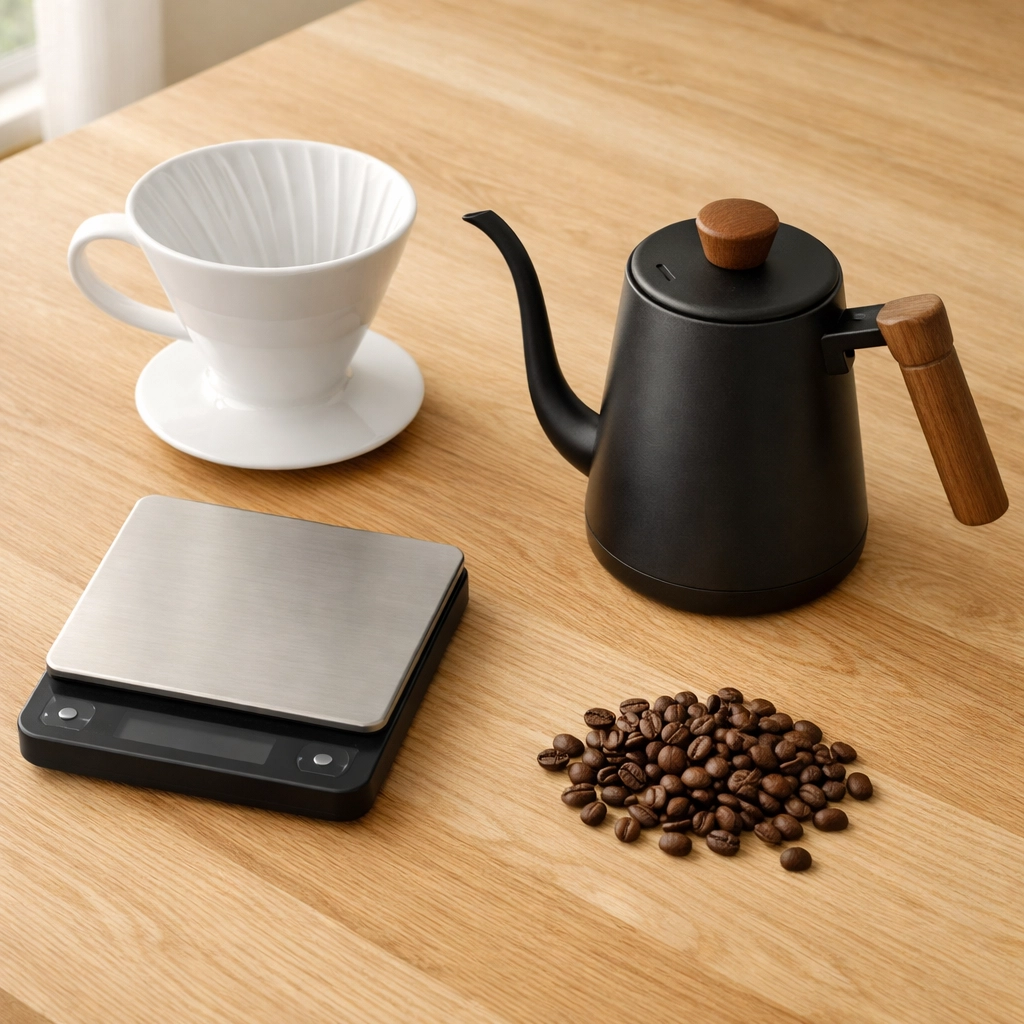
The Essential Gear List
Before we get into the "how," let’s talk about the "what." You don’t need a laboratory-grade setup, but there are a few non-negotiables if you want consistency.
1. The Dripper
There are dozens of styles out there. The Hario V60 is the gold standard for many because of its internal ribs and large exit hole, which allow for a lot of technique. Then there’s the Kalita Wave, which has a flat bottom and is a bit more "forgiving" for beginners. To be honest, we love both, but the V60 is a great place to start your journey.
2. The Filter
Paper filters are the most common. They do a brilliant job of catching the coffee oils and fine particles (fines), resulting in that signature clean cup. Just remember: always rinse your paper filter with hot water before adding the coffee to remove any papery taste.
3. A Gooseneck Kettle
This is the one piece of kit people try to skip, but it’s actually extremely important. A standard tea kettle glugs and splashes. A gooseneck kettle has a long, narrow spout that gives you surgical precision over where the water goes and how fast it gets there.
4. A Digital Scale
We cannot stress this enough: stop using scoops. Coffee beans vary in density. A scoop of a dark roast weighs less than a scoop of a light roast. If you want a perfect brew every single time, you need to measure by weight. We’re looking for grams here.
The Golden Variables: Ratio and Grind
If your coffee tastes like battery acid or bitter ash, it’s usually because one of these two things is off.
The Ratio
We generally recommend a starting ratio of 1:16. This means for every 1 gram of coffee, you use 16 grams (or milliliters) of water. For a single mug of coffee, that’s usually about 15g of coffee to 250g of water.
If you like your coffee a bit "bigger" and bolder, you might try a 1:15 ratio. If you want it lighter and more tea-like, 1:17 is your friend. You can even use our coffee brewing calculator to do the math for you.
The Grind
For a pour over, you want a medium-coarse grind. Imagine the texture of sea salt or slightly gritty sand. If the grind is too fine (like espresso), the water won't be able to flow through, the brew will stall, and it will taste bitter and over-extracted. If it’s too coarse (like French Press), the water will rush through too fast, leaving you with a sour, watery mess.
Freshness is also key. We always recommend grinding your beans right before you brew. You can find our latest fresh-roasted selections at Limini Coffee: the difference in aroma alone is worth it.
Step-by-Step: The Perfect Pour
Let’s get down to the actual brewing. Set your scale to zero, get your timer ready, and let's go.
Step 1: Prep and Rinse
Place your filter in the dripper and set it on top of your mug or carafe. Pour some hot water through the filter. This warms up your equipment and gets rid of that "cardboard" flavor. Discard the rinse water from the mug.
Step 2: Add Your Grounds
Add 15g of freshly ground coffee to the center of the filter. Give the dripper a gentle shake to level the grounds. This ensures the water hits everything evenly.
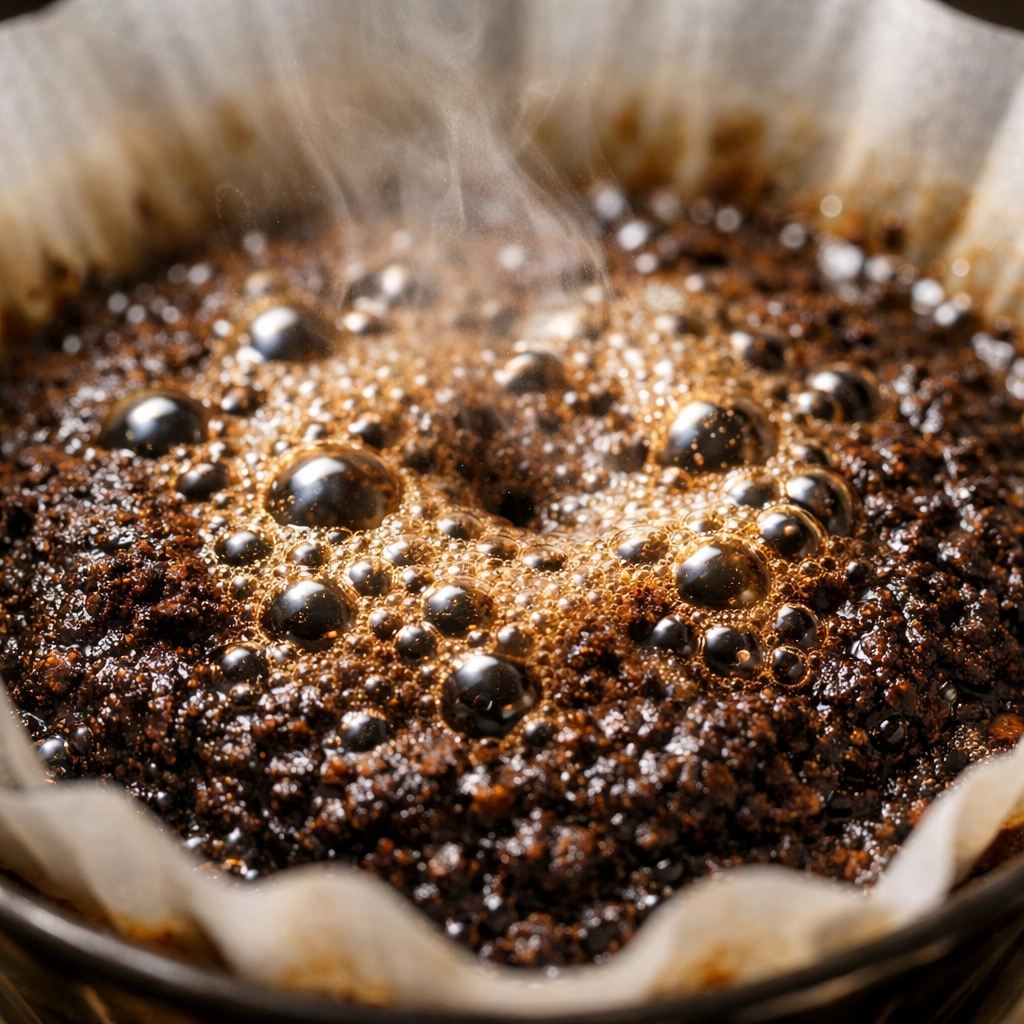
Step 3: The Bloom
Start your timer. Pour about 30-45g of water (roughly double the weight of the coffee) over the grounds. Do this quickly but gently, making sure all the grounds are wet. Now, wait for 30 to 45 seconds.
You’ll see the coffee "puff up" and bubble. This is called the bloom. It’s the release of CO2 trapped in the beans. If your coffee doesn't bubble, it’s likely not fresh. (Another reason to check out our single origin reviews and grab a fresh bag!)
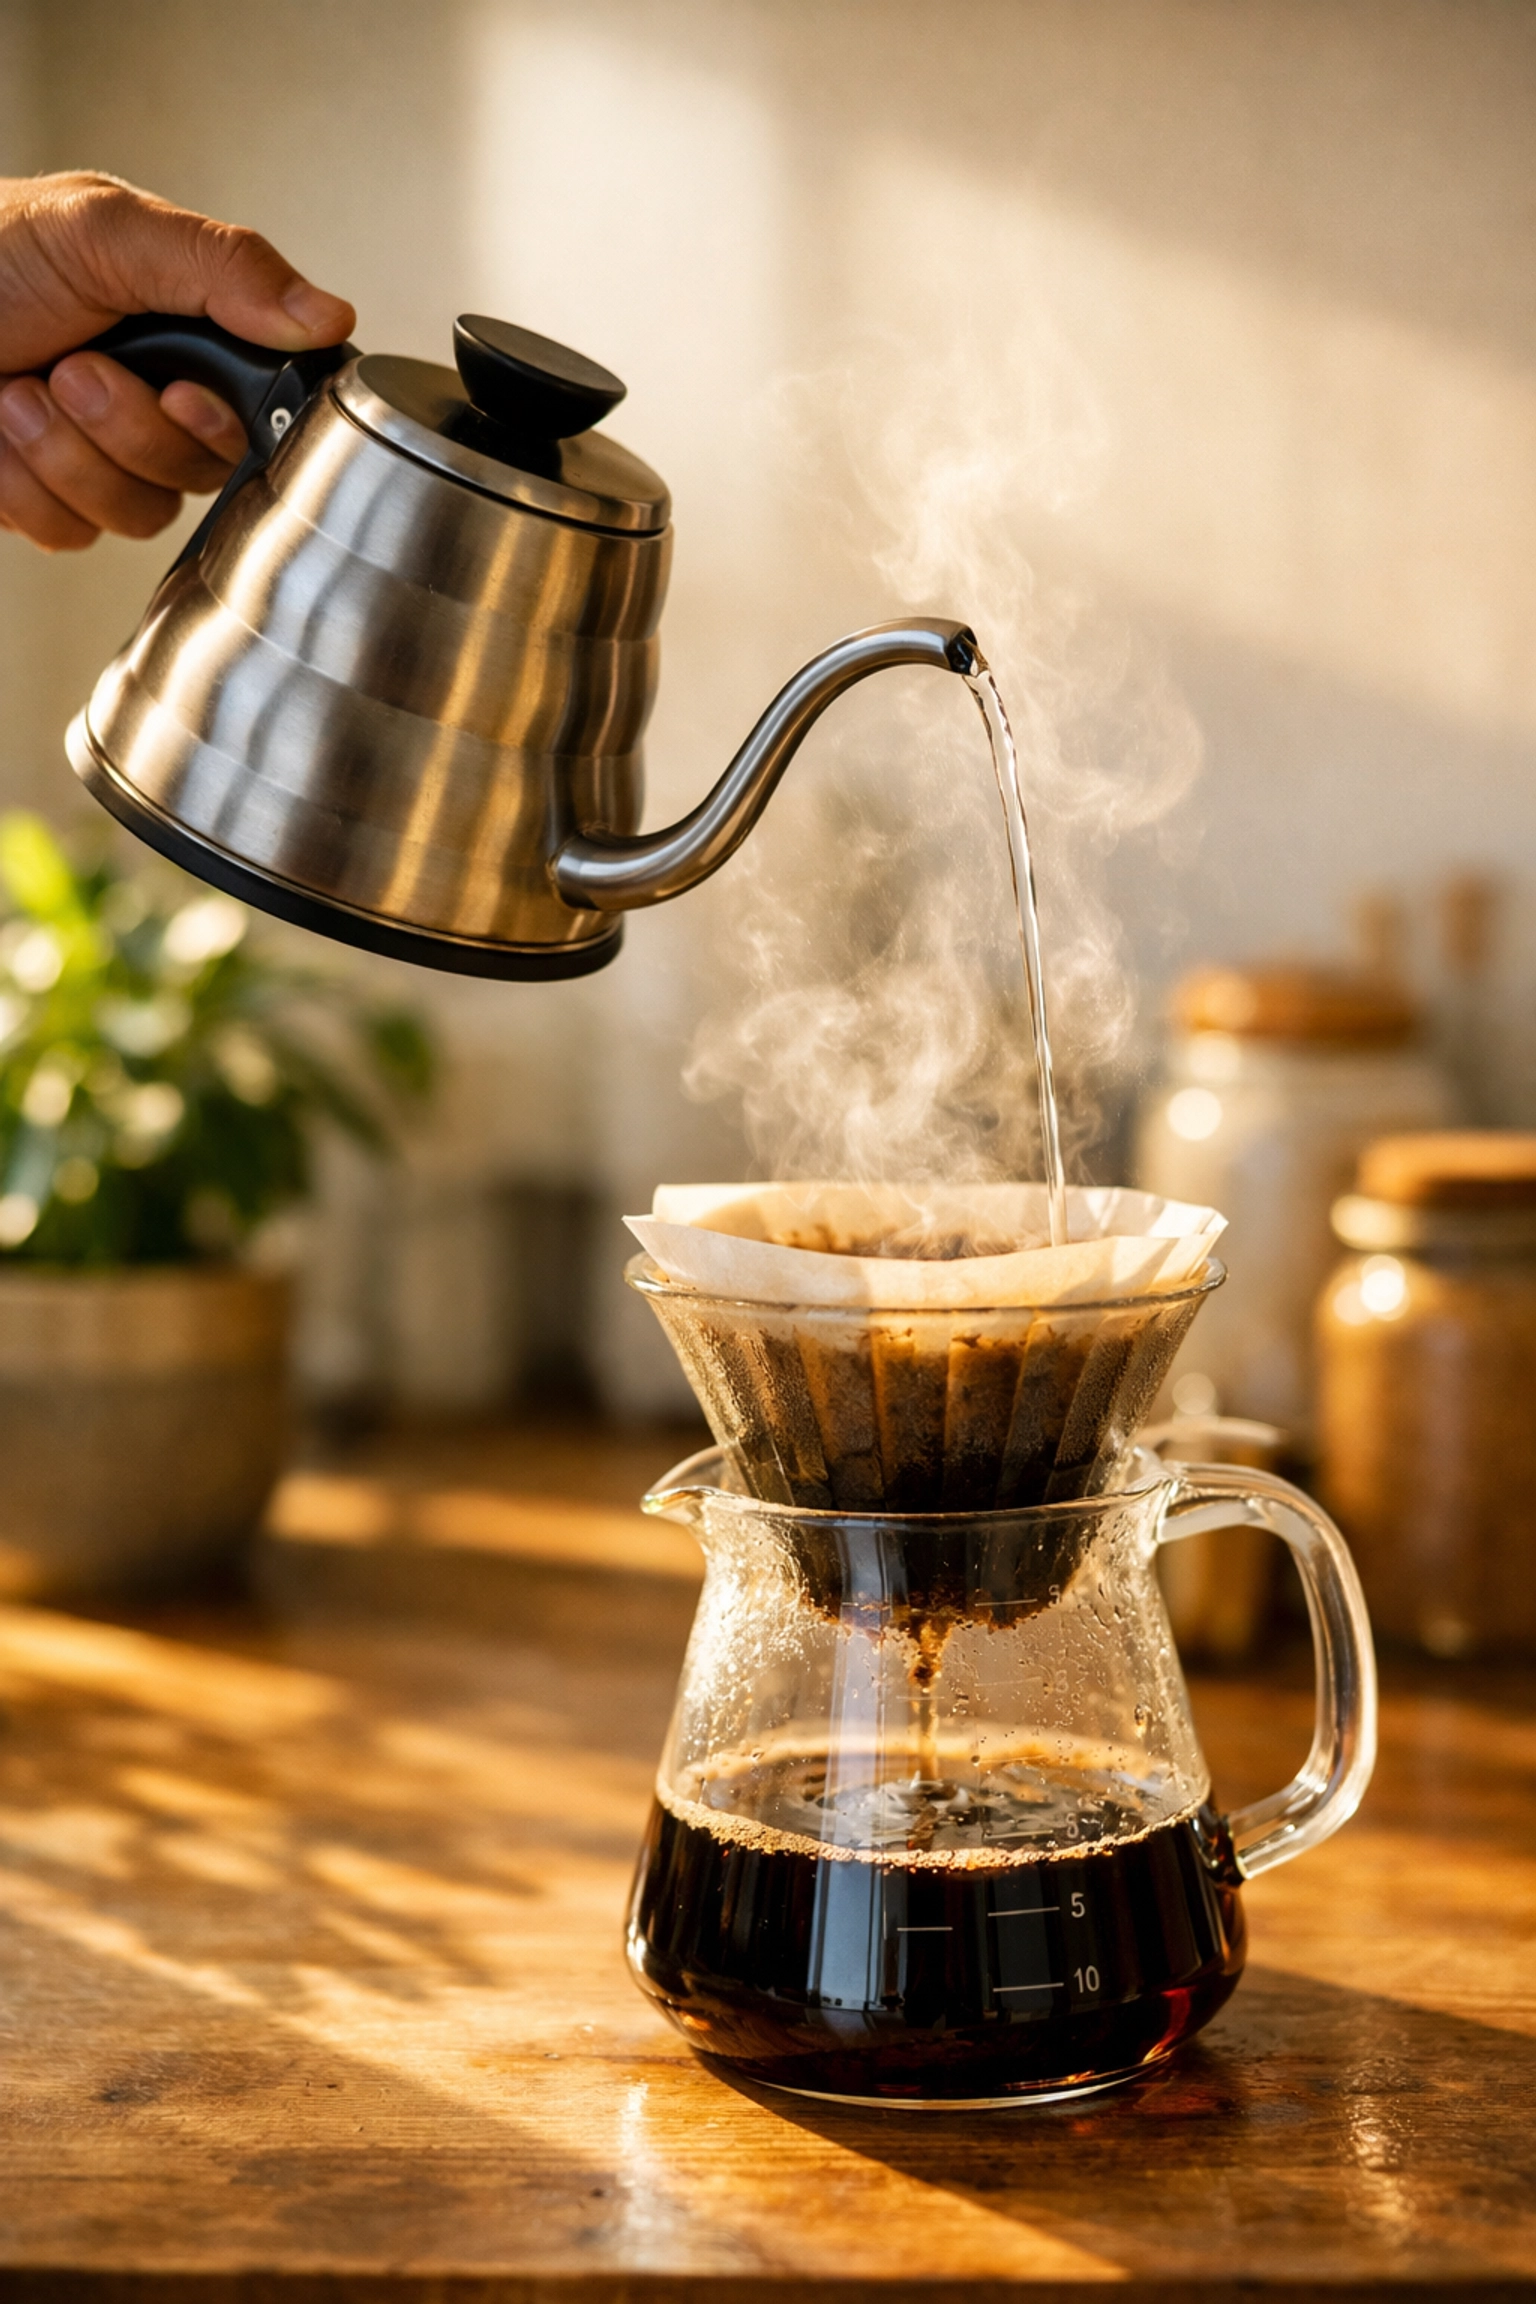
Step 4: The Main Pours
Once the bloom is finished, start pouring in slow, concentric circles. Start from the center and move outward, then back toward the center. Avoid pouring directly onto the walls of the filter, as the water will just bypass the coffee (this is called "channeling").
We like to do this in two or three pulses. Aim to have all 250g of water in the dripper by the 2:15 mark.
Step 5: The Final Draw Down
Give the dripper a very gentle stir or a tiny "swirl" to knock any grounds off the sides. Now, let gravity do the rest. The water should finish dripping through the bed of coffee by the 3:30 to 4:00 minute mark.
If it finishes at 2 minutes, your grind is too coarse. If it’s still dripping at 5 minutes, your grind is too fine.
Water Temperature Matters
We often see people using boiling water straight off the stove. While you won't necessarily "burn" the coffee, water that is 100 ºC (212 ºF) can extract some of the harsher, more astringent compounds too quickly.
The sweet spot for pour over is generally between 92 ºC and 96 ºC (198 ºF to 205 ºF). If you don't have a temperature-controlled kettle, just let your boiling water sit for about 60 seconds before you start pouring. This small adjustment can make a massive difference in the sweetness of your cup.
Troubleshooting Your Brew
Is your coffee not tasting like the "notes of jasmine and toasted caramel" promised on the bag? Don't worry, it happens to the best of us. Here’s how we fix common issues:
- It tastes sour or salty: This usually means "under-extraction." The water didn't pull enough flavor out. To fix this, grind your coffee a bit finer next time, or use slightly hotter water.
- It tastes bitter or dry: This is "over-extraction." You've pulled out the woody, bitter stuff. Try a coarser grind or slightly cooler water.
- The brew is taking forever: Your grind is likely too fine, or you have too many "fines" (tiny dust-like particles) clogging the filter. A better quality grinder helps here.
- It tastes weak/watery: You might need to adjust your ratio. Try using a bit more coffee next time (maybe a 1:15 ratio).
If you want to dive deeper into the science of why coffee tastes the way it does, we actually offer barista training where we cover these variables in great detail.
The Importance of Freshness
At the end of the day, you can have the most expensive kettle and the perfect technique, but if your beans are stale, your coffee will be boring. Coffee starts losing its aromatic complexity almost immediately after roasting, and that process accelerates once it’s ground.
That’s why we at Limini Coffee are so obsessed with roasting to order. We want you to open that bag and be hit with an aroma that fills the room. If you’re ready to put your new pour over skills to the test, grab a bag of something special from Scott’s affiliate link here.
Final Thoughts
Mastering the pour over is a journey. Your first cup might be a bit "meh," but by your tenth cup, you’ll be noticing nuances you never thought possible in a black coffee. It’s a meditative process that rewards patience and precision.
Remember, there is no "perfect" recipe: only the recipe that you enjoy the most. Feel free to experiment with different ratios and temperatures. After all, that is the beauty of coffee 🙂
If you’re looking to upgrade your home setup or even thinking about starting your own café, we have plenty of resources on choosing espresso equipment and wholesale options to help you on your way.
Happy brewing!
Leave a Reply