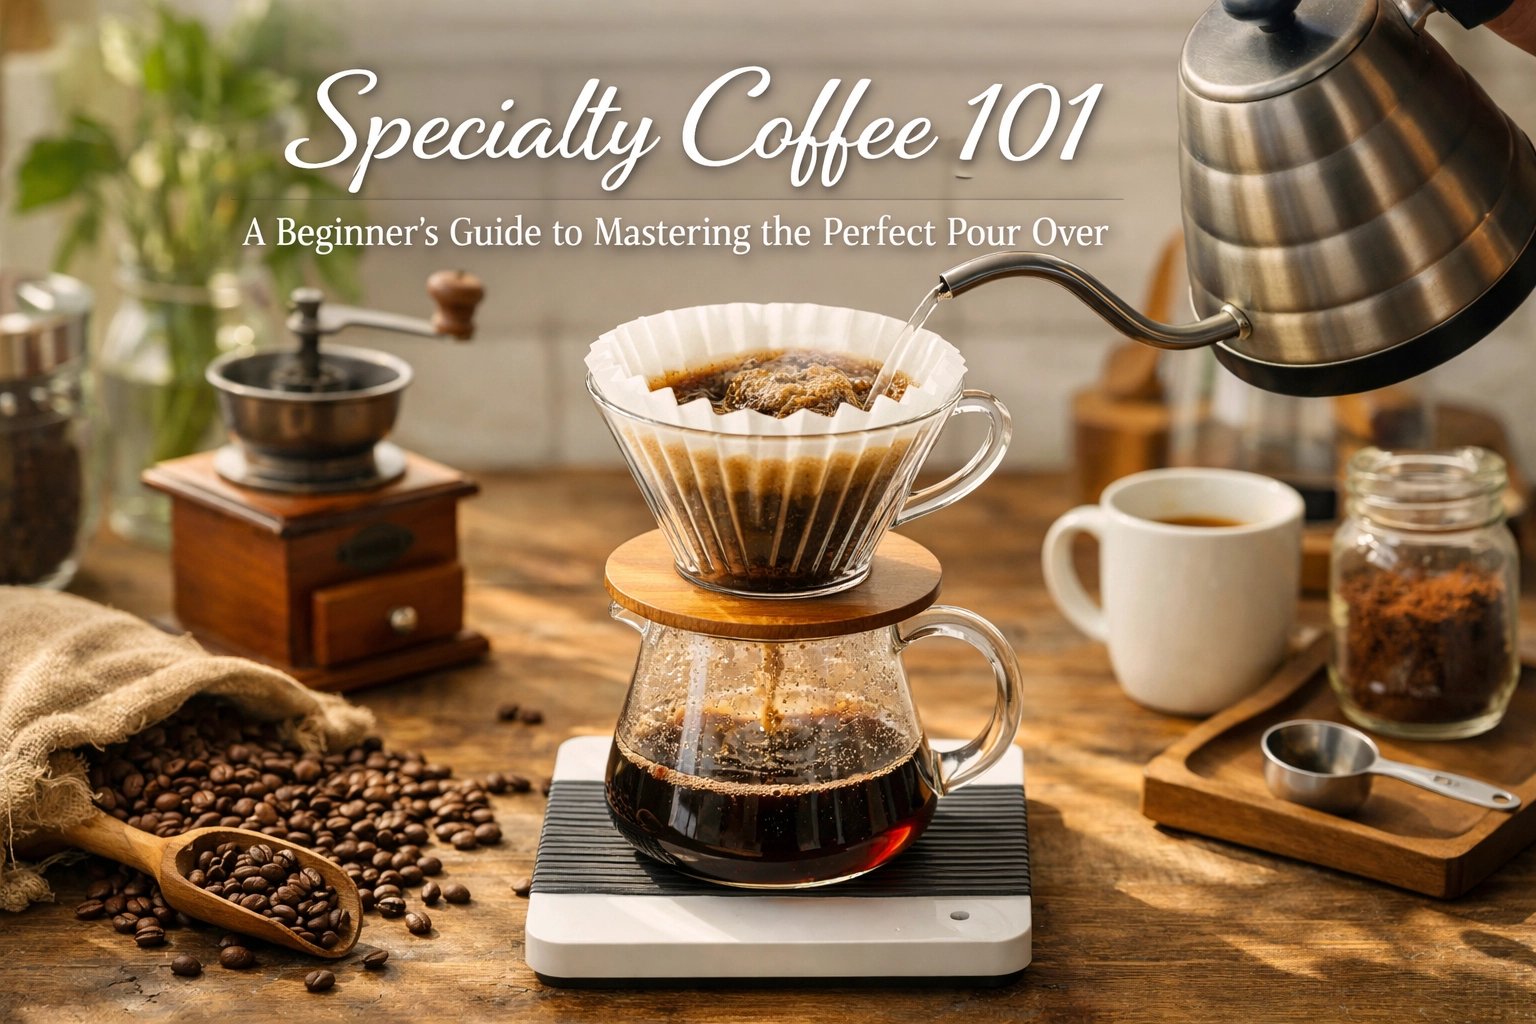
So, you’ve decided to move away from the "press a button and hope for the best" lifestyle of the standard auto-drip machine. We think that’s a fantastic choice. There is something incredibly meditative about the pour over method; it’s a morning ritual that forces you to slow down, pay attention, and actually participate in the alchemy of brewing.
But let’s be honest: your first few attempts might taste a bit like hot bean water or, worse, a battery-acid-style sour mess. Don't worry, we've all been there. Mastering the pour over isn't about magic, it’s about understanding a few key variables and being consistent. At Limini Coffee, we believe that anyone can brew a café-quality cup at home with just a little bit of guidance and, of course, the right freshly roasted coffee beans.
In this guide, we’re going to break down everything from the gear you need to the physics of the "bloom." By the time you’re done reading, you’ll be ready to tackle your first Hario V60 or Chemex with total confidence.
Why Pour Over? (The Theatre of Coffee)
You might be wondering why we bother with all this manual effort. Why stand there for four minutes with a kettle when a machine can do it?
The answer is clarity.
Pour over brewing is a filtration method. Because the water passes through the coffee and a paper filter by the force of gravity, it doesn't sit and stew like it does in a French Press (immersion brewing). This results in a "clean" cup that highlights the delicate, nuanced notes of the coffee. If you’re drinking a high-quality single origin, say, a bright Ethiopian Yirgacheffe or a fruity Kenyan, the pour over is the best way to taste those specific flavor profiles.
It’s also about control. You control the temperature, the speed of the pour, and the agitation of the grounds. Basically, you are the master of your own caffeine destiny. If you want to see how we view the "experience" of coffee, take a look at our article on theatre in the coffee world.
The Essential Toolkit
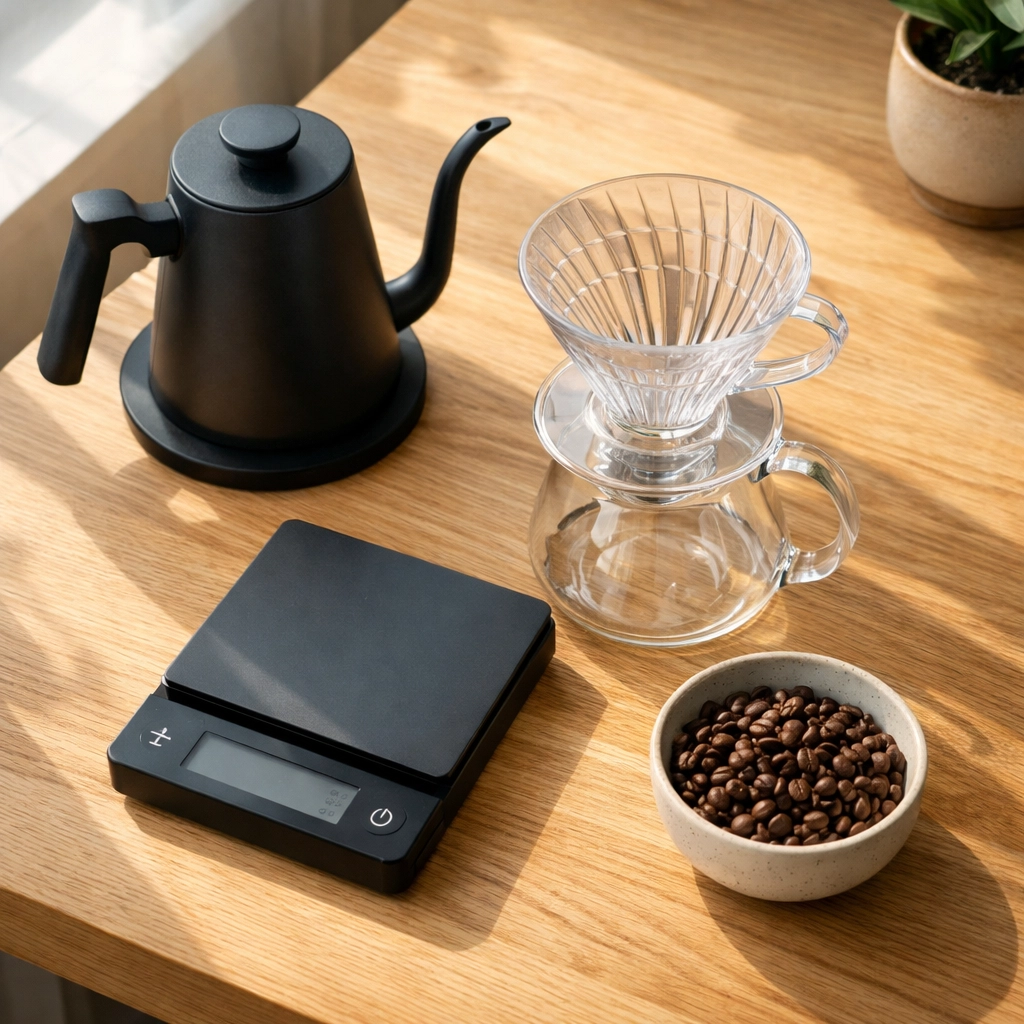
Before you start pouring, you need the right tools. You don't need a lab full of equipment, but there are four "non-negotiables" if you want consistent results.
- The Brewer: Whether it's a Hario V60, a Kalita Wave, or a Chemex, each has its own personality. The V60 is great for those who want to experiment with technique, while the Chemex produces an exceptionally clean cup due to its thick filters.
- A Gooseneck Kettle: This is the one piece of gear people try to skip. Don't. A standard tea kettle glugs and splashes water everywhere. A gooseneck kettle allows for a thin, precise stream of water, which is essential for controlling your extraction.
- A Digital Scale: We cannot stress this enough, stop using scoops. Coffee beans vary in density. A scoop of a dark roast weighs much less than a scoop of a light roast. If you want a perfect cup every time, you need to weigh your coffee and your water in grams.
- A Burrup Grinder: Freshly ground is non-negotiable. Pre-ground coffee starts losing its aromatic compounds the second it leaves the industrial grinder. For pour over, you want a medium-fine grind, roughly the texture of sea salt.
If you’re looking to upgrade your setup, we always recommend checking out our range of brewing equipment and beans.
The Golden Ratios and Math (Don't Panic)
To get that balanced flavor, you need to find the "Golden Ratio." For pour over, we generally recommend a ratio of 1:15 to 1:17.
This means for every 1 gram of coffee, you use 15 to 17 grams of water.
- 1:15 produces a stronger, more concentrated cup.
- 1:17 produces a lighter, more delicate cup.
For a standard 350ml (about 12 oz) mug, a great starting point is 20g of coffee to 320g of water. It’s easy to remember and works beautifully for most single-origin beans. If you’re feeling a bit lost with the numbers, you can always use a coffee brewing calculator to help you scale your recipe.
The Process: A Step-by-Step Guide
Now for the fun part. Put your favorite playlist on, grab your Limini Coffee beans, and let’s get brewing.
Step 1: Prep and Rinse
Place your filter in the brewer and rinse it thoroughly with hot water. Why? Two reasons. First, it washes away any "papery" taste that might end up in your coffee. Second, it pre-heats your brewer and your carafe. A cold brewer will suck the heat right out of your water, leading to under-extraction. (Just remember to dump the rinse water before you add the coffee!)
Step 2: The Grind
Grind your 20g of coffee to a medium-fine consistency. It should look like table salt or slightly coarser. Add the grounds to the filter and give the brewer a little shake to level the "bed" of coffee. You want a flat surface for even water distribution.
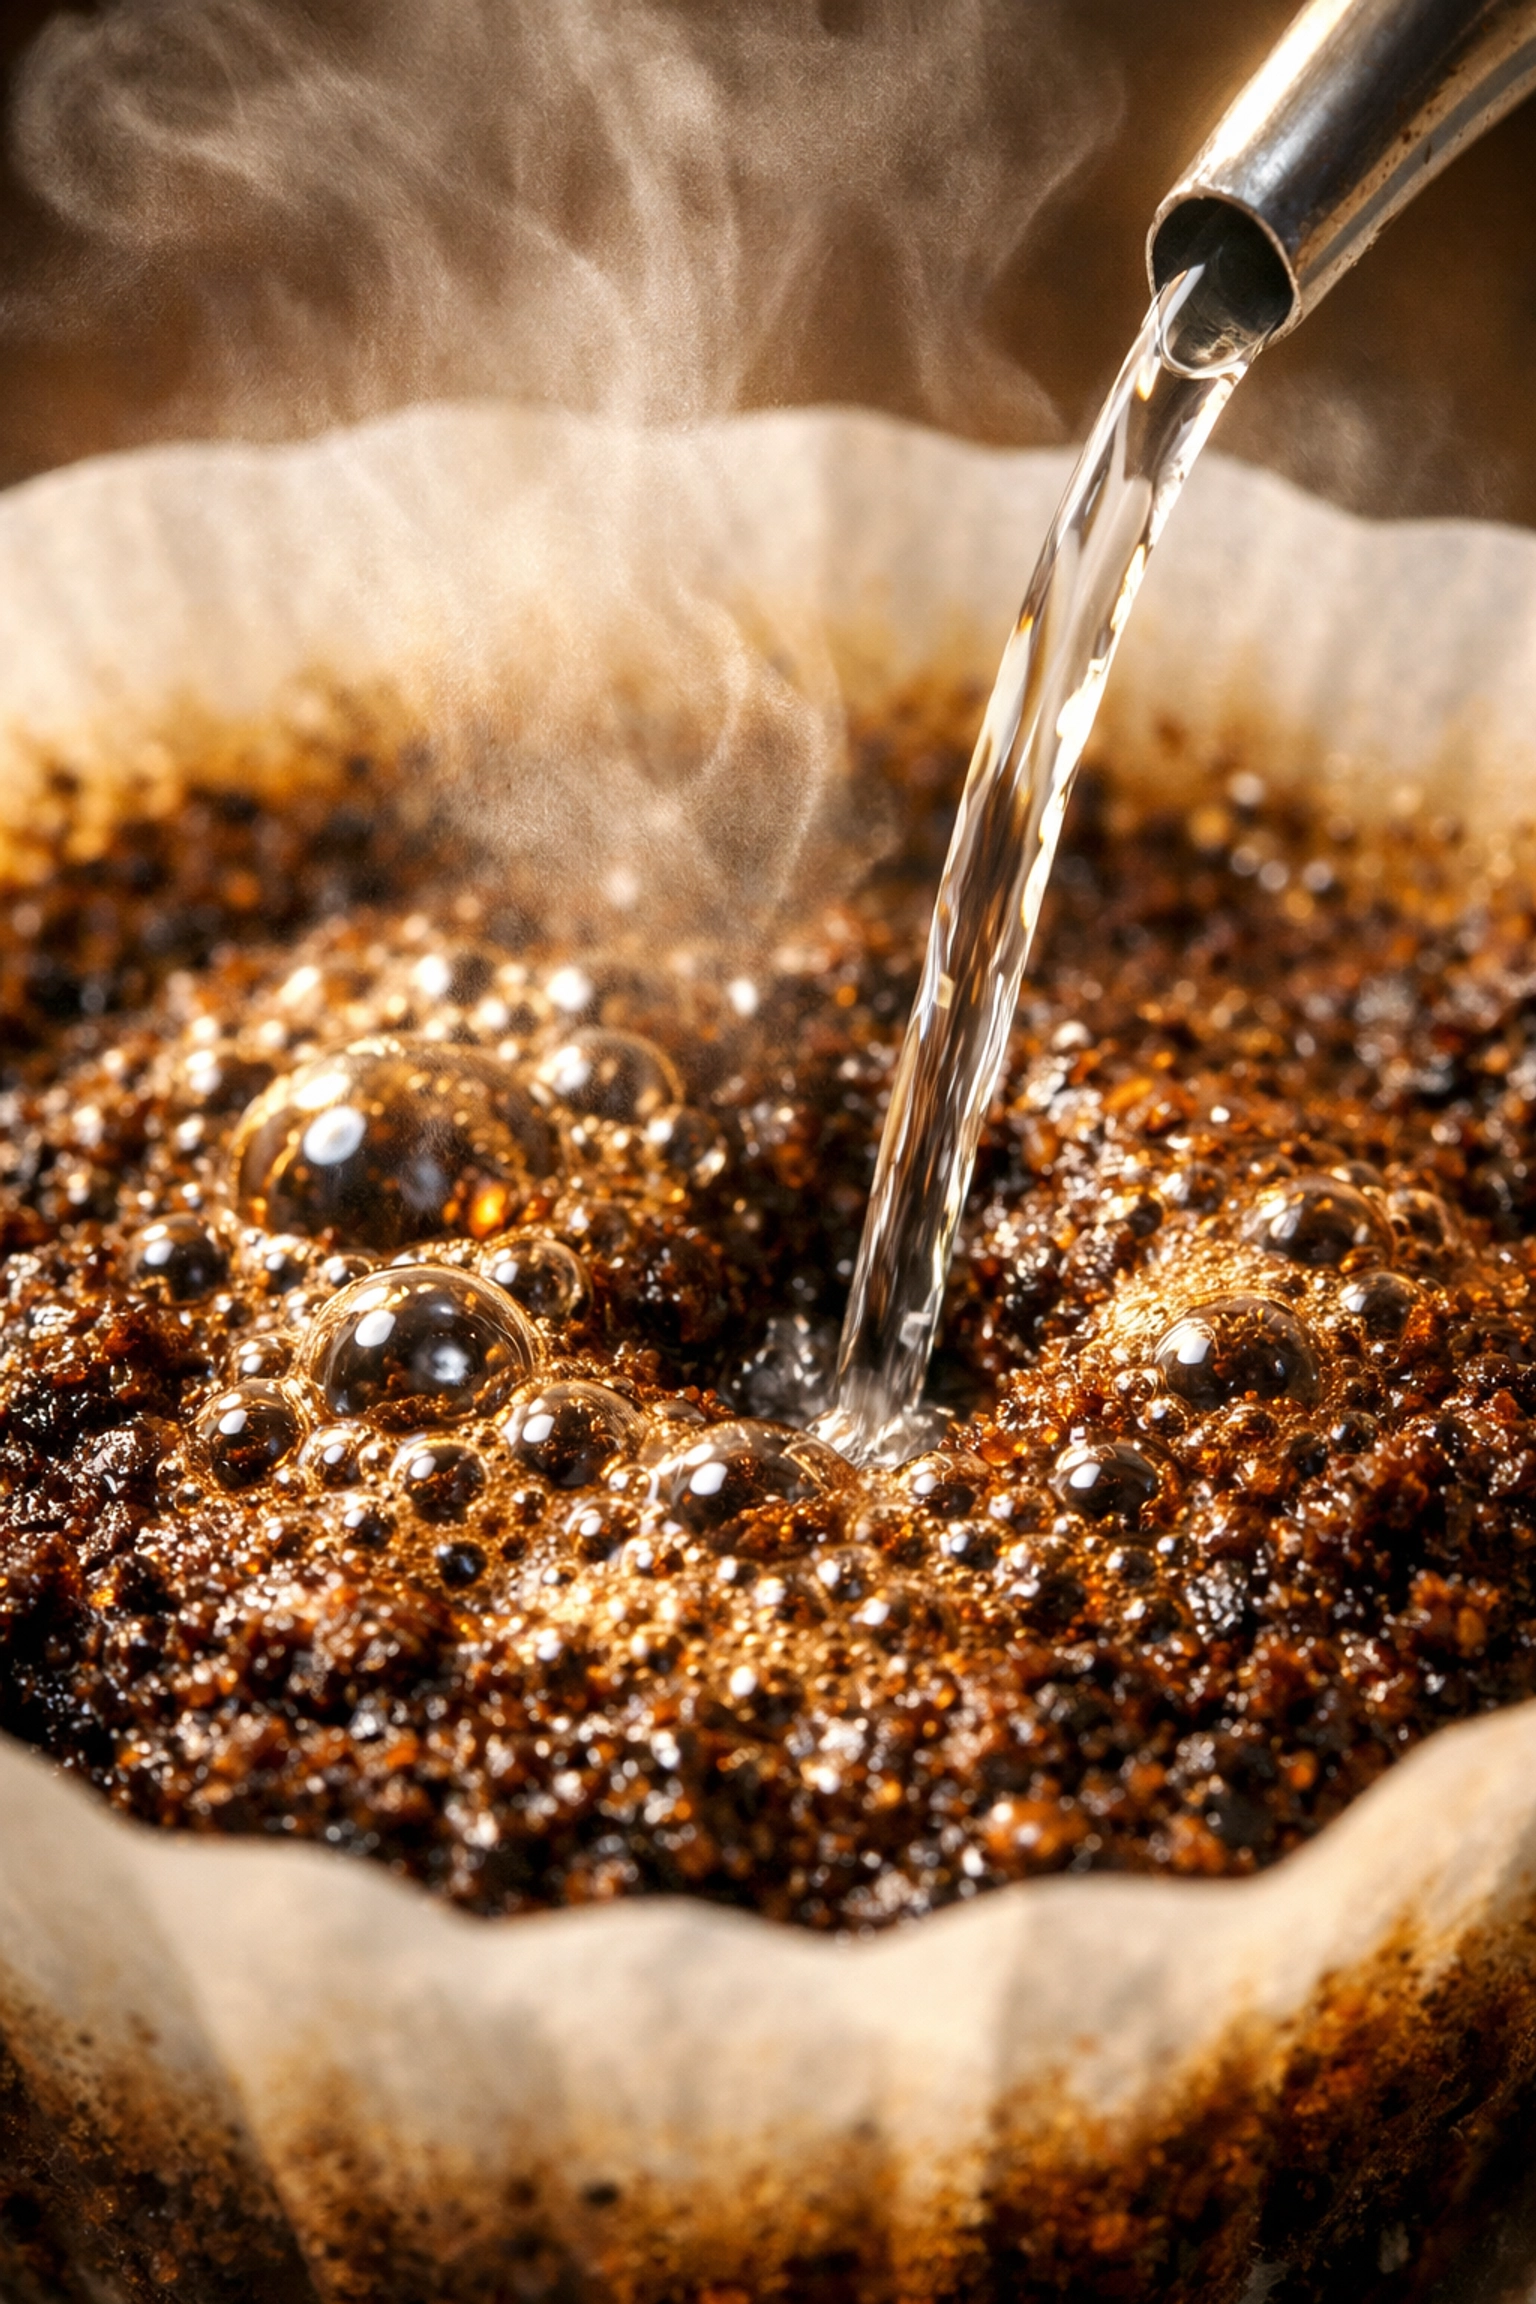
Step 3: The Bloom (0:00 – 0:45)
Tare your scale to zero. Start your timer and pour about 40g to 60g of water (roughly double the weight of the coffee) over the grounds. Start in the center and spiral outward.
You’ll see the coffee start to bubble and expand. This is the "bloom." It’s the release of carbon dioxide gas that’s trapped inside the beans. If your coffee doesn't bloom, it’s likely not fresh. (Fortunately, if you're using our fresh roasted coffee, you’ll see a beautiful, active bloom every time). Wait 30 to 45 seconds for this process to finish.
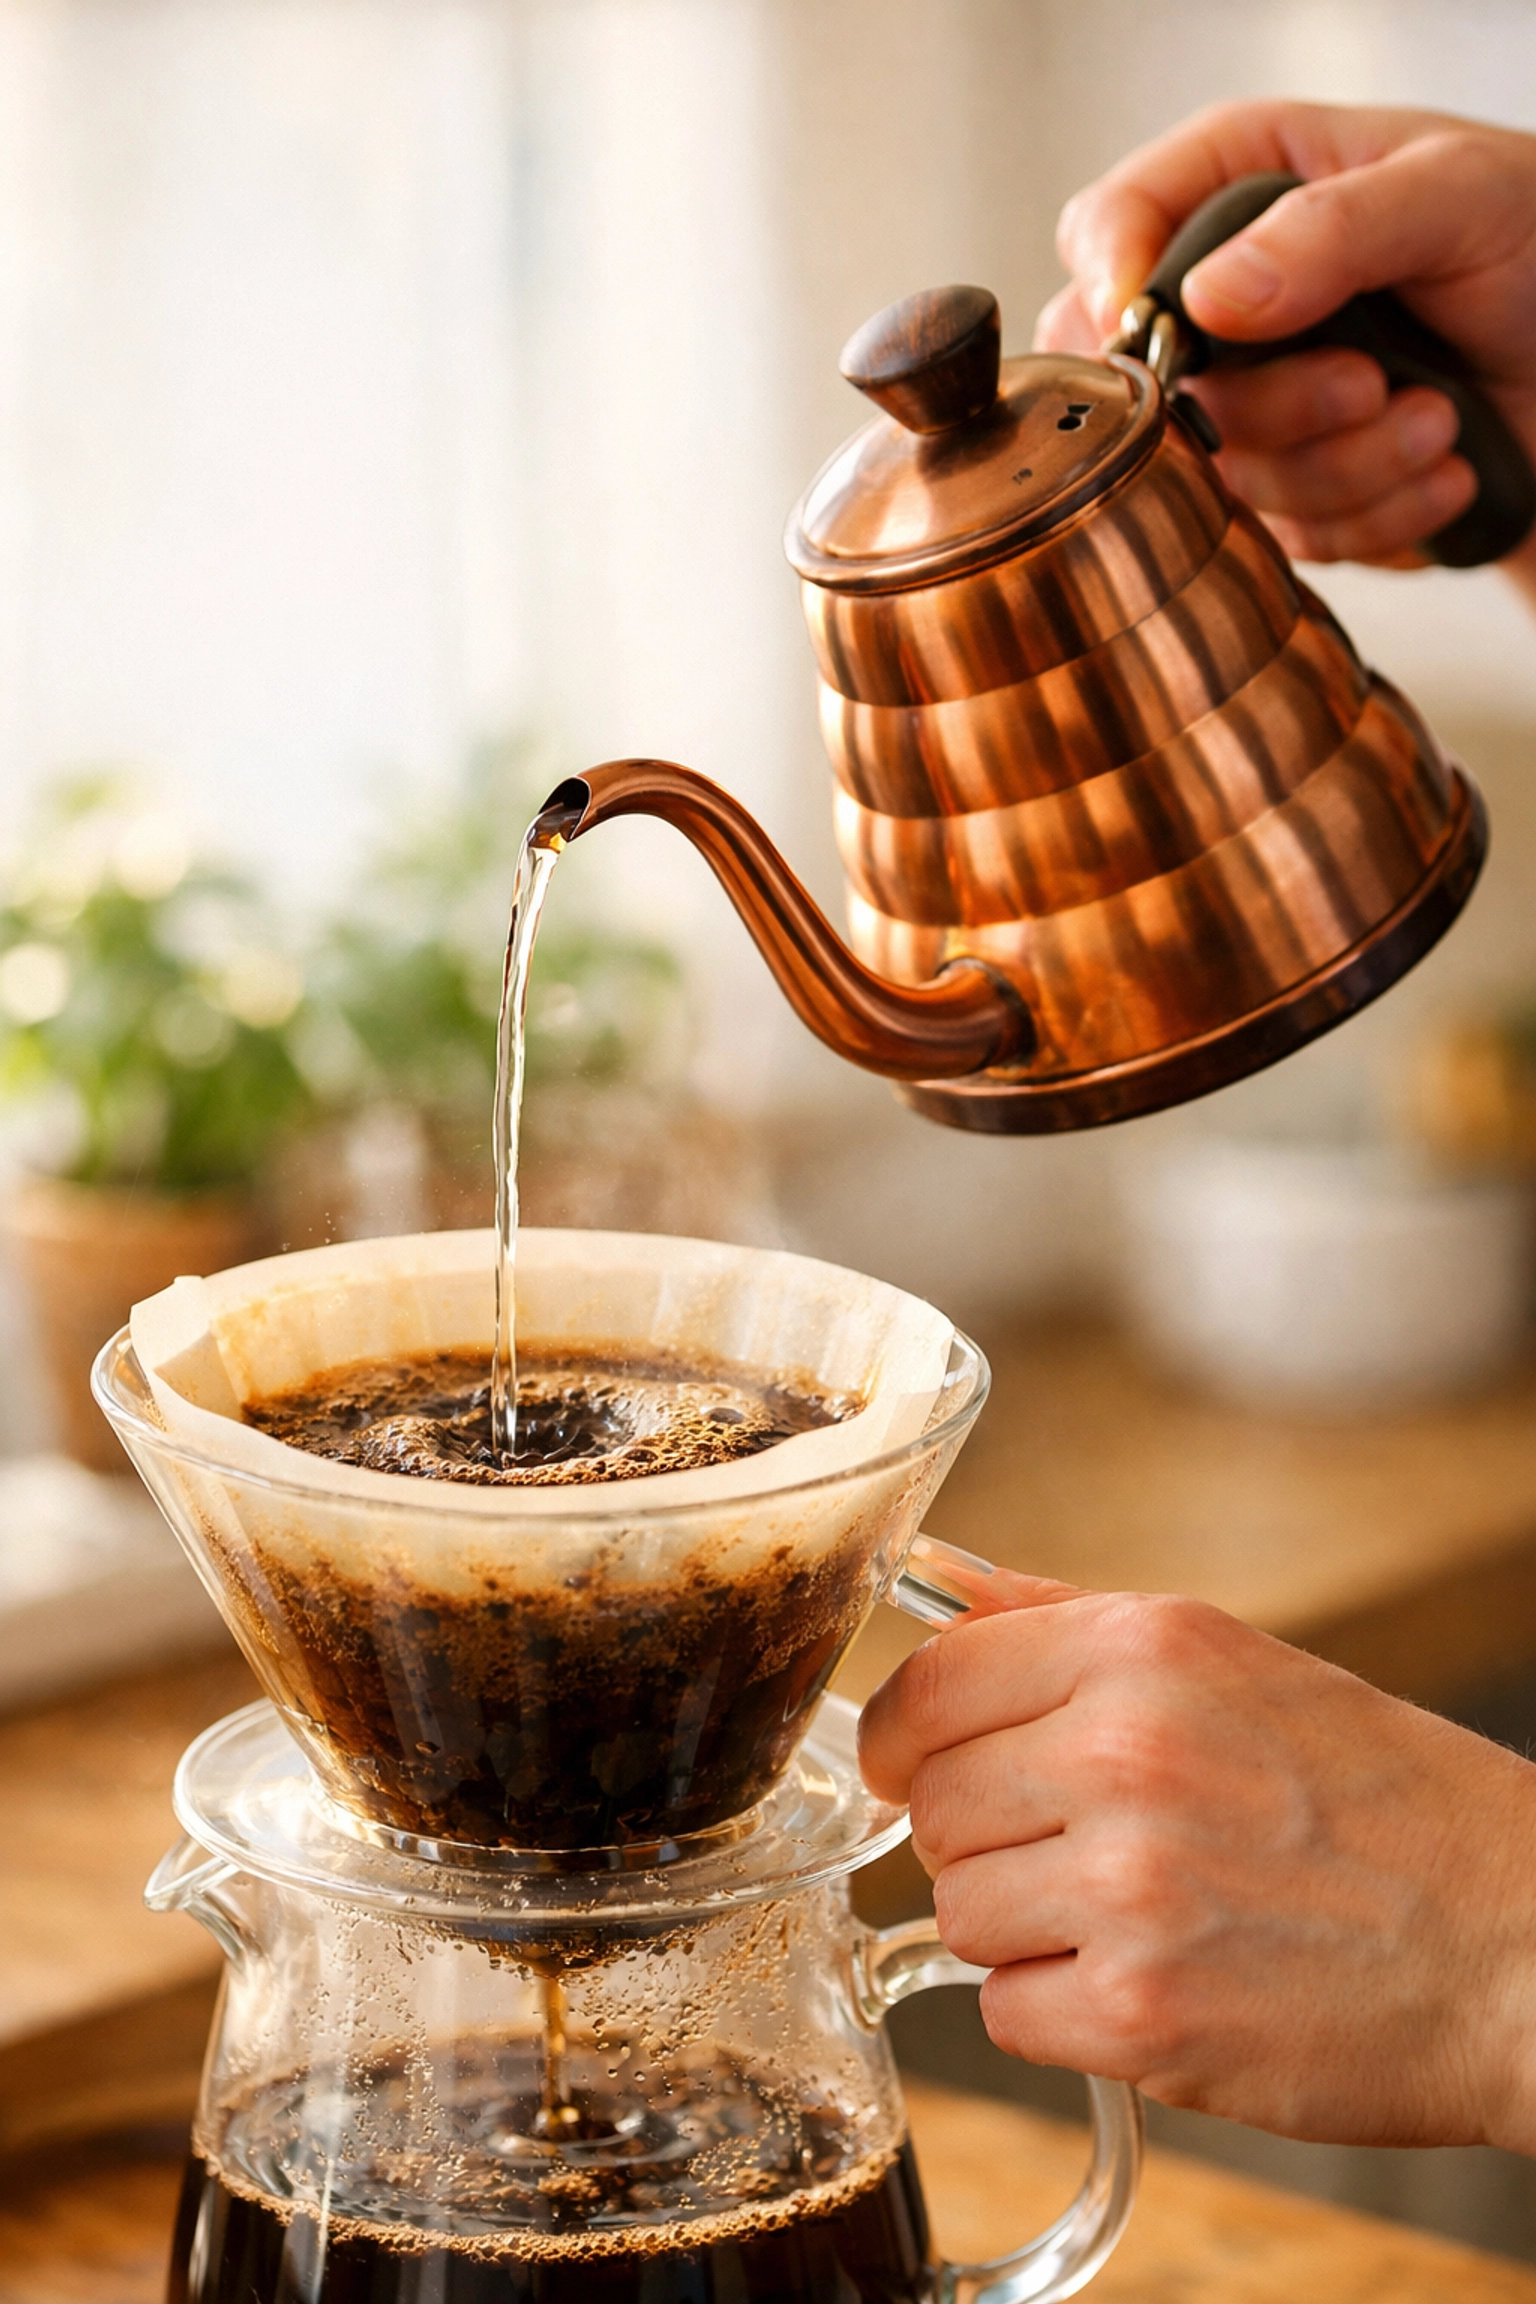
Step 4: The Main Pours (0:45 – 2:30)
Now, begin your main pour. We prefer to do this in two or three stages. Gently pour in a spiral pattern, avoiding the very edges where the water might just bypass the coffee and run down the side of the filter.
Keep your pour steady. You want to maintain the water level about halfway up the brewer. If you’ve ever seen a barista look intensely focused during this stage, it’s because they’re watching the "slurry" (the mixture of water and grounds) to ensure everything is being saturated evenly.
Step 5: The Final Drawdown (2:30 – 3:30)
Once you hit your target weight (320g in our example), stop pouring. Give the brewer a very gentle swirl or use a spoon to give it one light stir. This help "flatten" the coffee bed as the water drains. The total brew time should fall somewhere between 2 minutes 45 seconds and 3 minutes 30 seconds.
Troubleshooting Your Brew
Is your coffee not tasting quite right? Don't toss it out just yet. Brewing is all about adjustments.
- If it tastes sour or thin: This usually means the water moved through too fast and didn't extract enough flavor (under-extraction). The Fix: Grind your beans finer next time, or pour your water more slowly.
- If it tastes bitter or harsh: This means you’ve pulled too much out of the beans (over-extraction). The Fix: Grind your beans coarser, or check your water temperature.
- Water Temperature: We recommend 195–205°F (90–99°C). If you don't have a thermometer, just let your kettle sit for about 30 seconds to a minute after it boils.
If you're really struggling, it might be worth looking into some coffee barista training to get some hands-on experience with the pros.
The Importance of Water Quality
We hate to be the bearers of bad news, but coffee is about 98% water. If your tap water tastes like a swimming pool or is incredibly hard, your coffee is going to suffer.
Ideally, you want filtered water that still has some mineral content (magnesium and calcium help "grab" the flavor from the beans), but without the chlorine and heavy scaling. If you're serious about your home brewing, a simple water filter pitcher can make a world of difference.
Choosing the Right Beans
At the end of the day, your technique can be perfect, but if you’re using old, stale beans from the supermarket shelf, it’s never going to taste "specialty."
When choosing beans for pour over, look for:
- Roast Date: It should be within the last 2-4 weeks.
- Single Origin: Great for discovering unique flavors.
- Light to Medium Roasts: These tend to preserve the acidity and floral notes that shine in a pour over.
We spend a huge amount of time sourcing our coffee to ensure that the beans we roast are of the highest quality. Whether you prefer something chocolatey and nutty or bright and citrusy, you can find it in our online shop.
Final Thoughts
Mastering the perfect pour over is a journey, not a destination. You’ll have days where the cup is life-changing and days where it’s just… fine. And that is the beauty of coffee :).
The most important thing is to keep experimenting. Change one variable at a time: maybe the grind size today, the temperature tomorrow: and see how it affects the flavor in the cup. Pretty soon, you’ll have a "sixth sense" for brewing that no machine can match.
If you ever find yourself in our neck of the woods, feel free to stop by or check out our about us page to learn more about our passion for the craft. Happy brewing!
And remember, the best cup of coffee is the one you enjoy making. To get started with the best possible ingredients, head over to Limini Coffee and grab a bag of something fresh. Your taste buds will thank you.
Leave a Reply