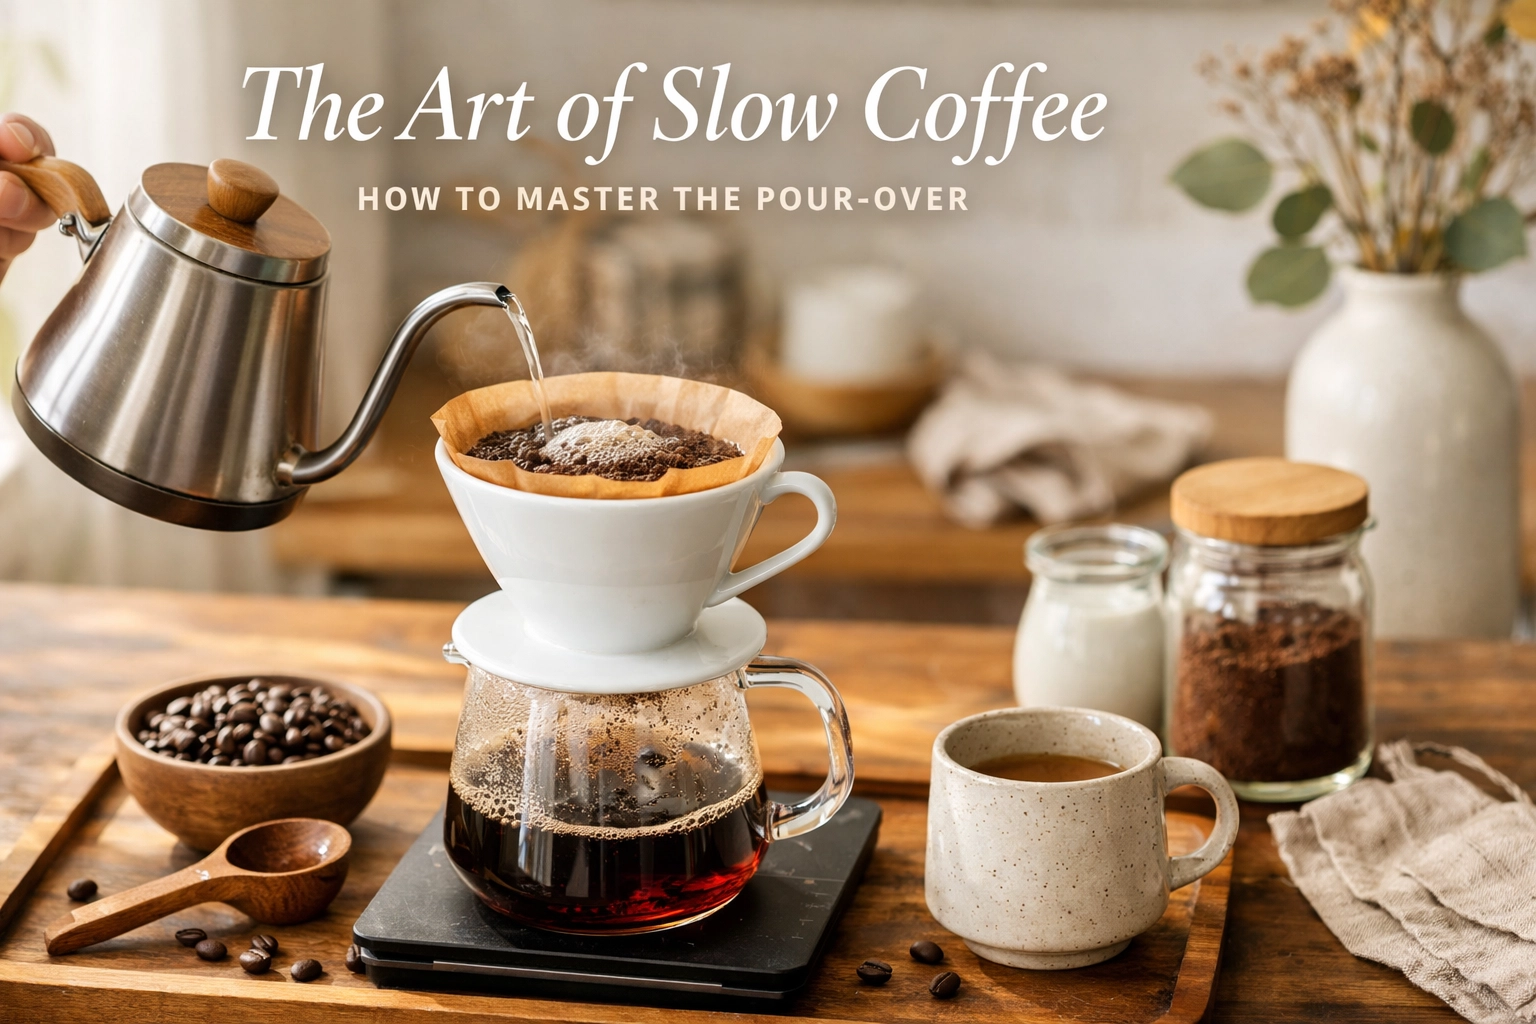
In a world that's constantly rushing, there's something beautifully rebellious about pour-over coffee. It demands your attention. It asks you to slow down, to be present, to engage with the process. And in return? A cup of coffee that's cleaner, brighter, and more nuanced than almost any other brewing method can deliver.
Pour-over isn't just a technique: it's a ritual. Whether you're using a V60, a Chemex, or a Kalita Wave, the principles remain the same: control, patience, and respect for the coffee itself. So let's dive into how you can master this beautiful brewing method and unlock flavours you didn't know existed.
Why Pour-Over?
What makes pour-over special is the level of control it gives you. Unlike automatic drip machines or French presses, you're orchestrating every element: the water flow, the temperature, the contact time. This means you can coax out the delicate notes in your coffee that might otherwise be lost.
Pour-over excels at showcasing single origin coffees. Those floral Ethiopian beans? The bright citrus notes from a Kenyan roast? The chocolate sweetness of a Colombian? Pour-over lets them shine. It's why we always recommend trying this method with quality single origins: like the ones we roast at Limini Coffee.
The process itself becomes meditative. The bloom, the spiral pour, the gentle sound of water meeting coffee grounds: it's a few minutes carved out of your day where nothing else matters.
What You'll Need
Before we get into technique, let's talk equipment. You don't need to break the bank, but a few key items will make your life considerably easier:
A pour-over brewer – V60, Chemex, Kalita Wave, or similar. Each has slightly different characteristics, but the fundamentals we'll cover work across all of them.
A burr grinder – This is non-negotiable if you want consistency. Blade grinders create uneven particle sizes, which leads to uneven extraction. A decent burr grinder ensures every ground is roughly the same size.
A gooseneck kettle – The long, narrow spout gives you precise control over your pour. You can direct the water exactly where you want it and maintain a steady flow rate. Game-changer.
Scales – Preferably with a timer. Consistency comes from measurement, and you'll want to track both your coffee-to-water ratio and your brew time.
Fresh coffee beans – Ideally roasted within the last 2-4 weeks. Coffee degrades over time, and pour-over is unforgiving of stale beans.
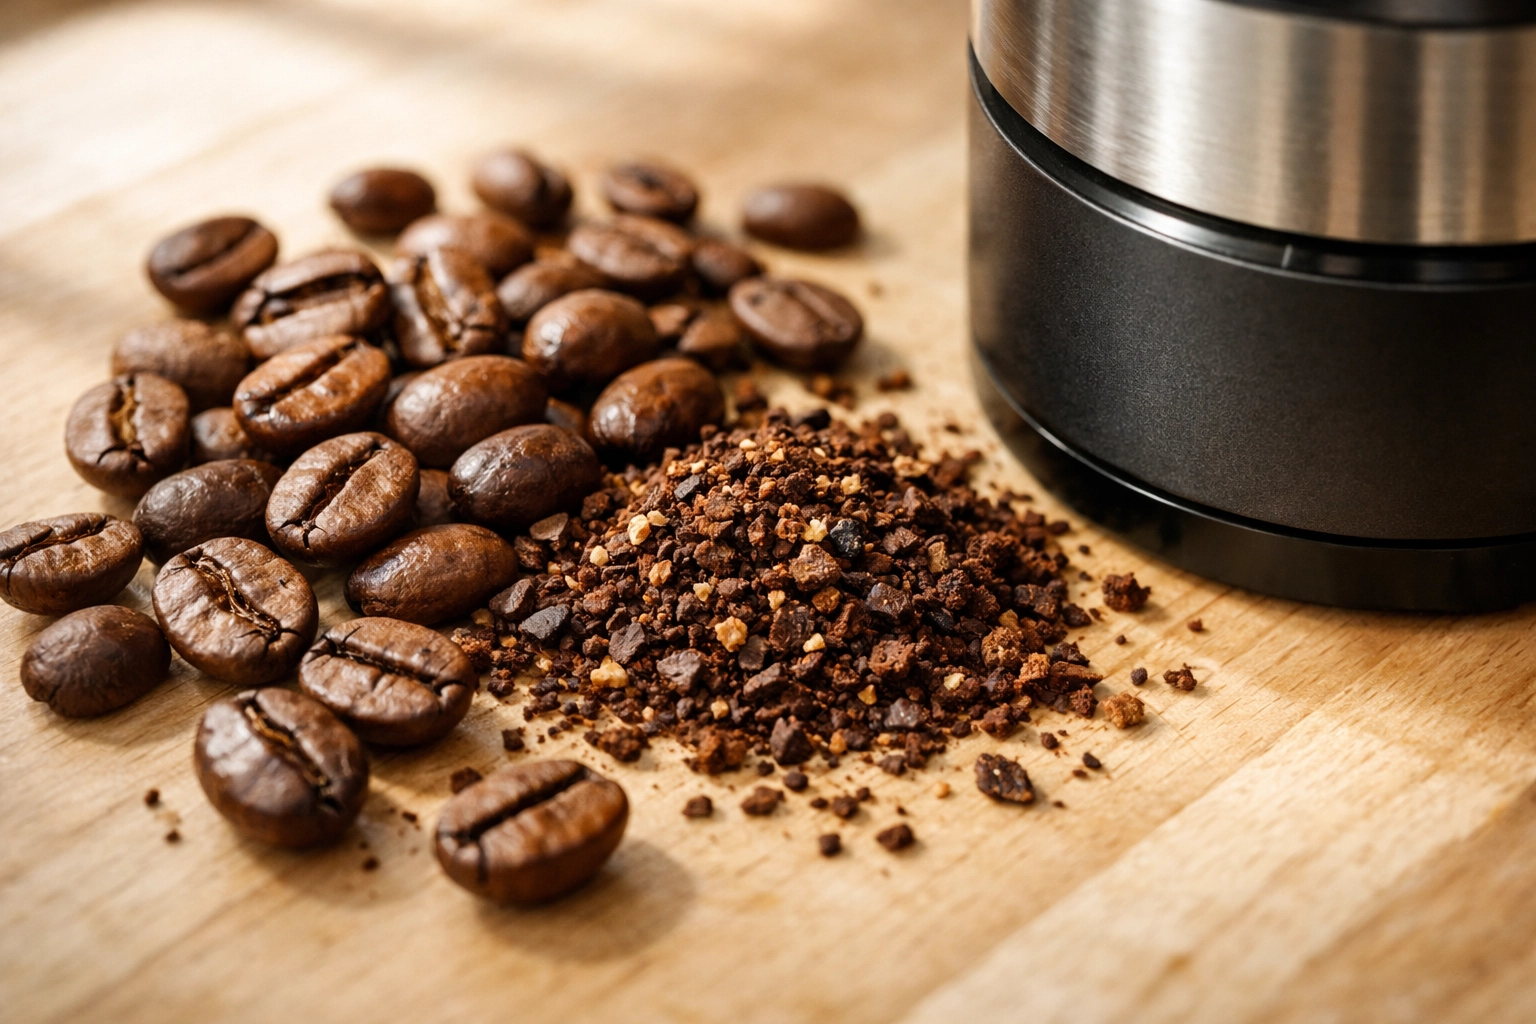
The Coffee and the Grind
Start with whole beans and grind them immediately before brewing. Coffee begins losing its aromatics and flavour compounds within minutes of being ground: grinding fresh makes an enormous difference.
For pour-over, you're looking at a medium-fine grind. Think slightly coarser than espresso but finer than what you'd use for a French press. The grind should feel like fine sand when you rub it between your fingers.
Too fine, and your brew time will stretch beyond 4 minutes, resulting in over-extraction and bitterness. Too coarse, and water will rush through too quickly, leaving you with a weak, sour cup. Dialling in your grind is part of the fun: and part of the learning curve.
The Ratio and the Water
Let's talk numbers. A solid starting point is a 1:16 ratio: that's 1 gram of coffee to 16 grams (or milliliters) of water. So for a standard 400ml cup, you'd use 25 grams of coffee.
Feel free to adjust based on your taste. Want something stronger? Try 1:15. Prefer it lighter? Go to 1:17. The beauty of pour-over is that once you understand the baseline, you can tweak to your personal preference.
Water quality matters more than most people realize. If your tap water tastes chlorinated or metallic, it's going to come through in your coffee. Use filtered water if possible.
Temperature-wise, you want freshly boiled water: just off the boil is ideal, around 92-96°C. Too hot and you'll scorch the coffee. Too cool and you'll under-extract. If you're not sure, boil your kettle and then let it sit for 30 seconds before pouring.
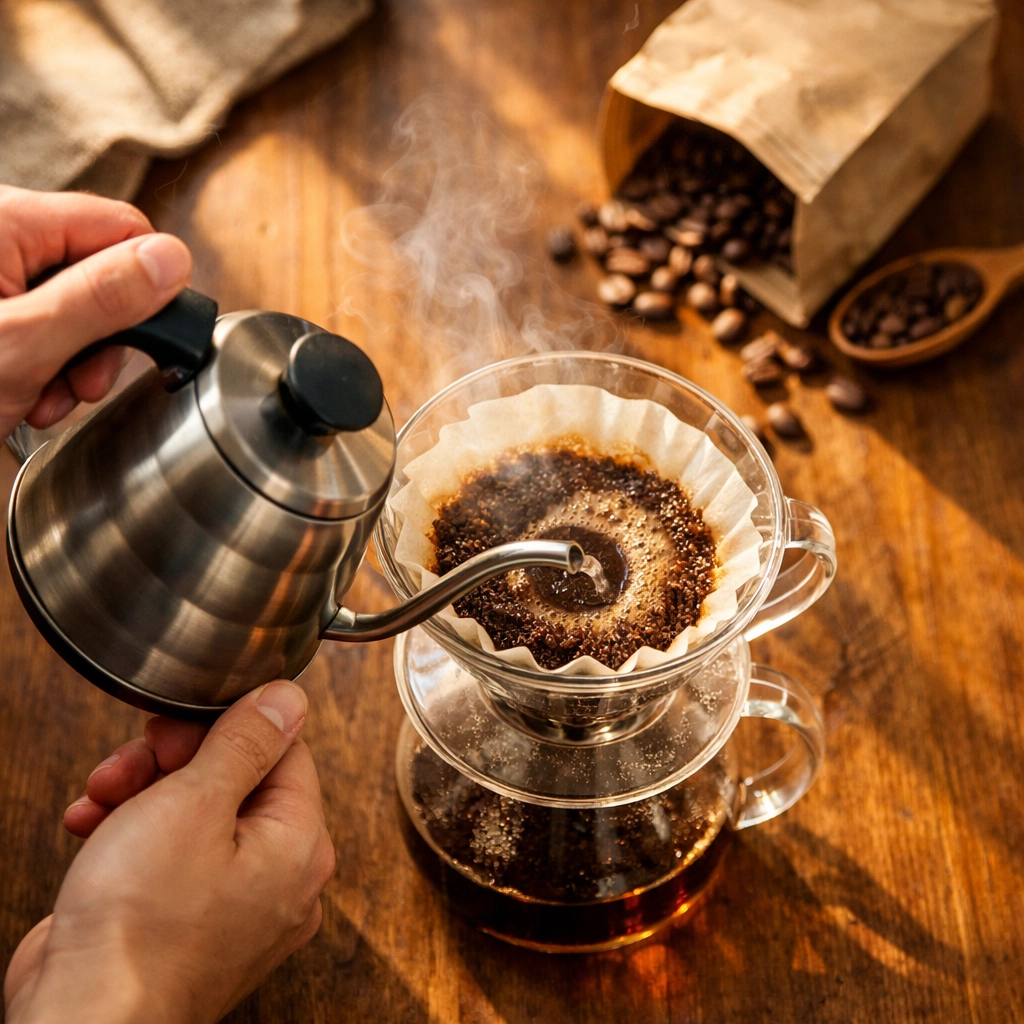
The Bloom: Setting the Stage
Here's where the magic begins.
Place your filter in the brewer and rinse it with hot water. This removes any papery taste and preheats your vessel. Discard that water.
Add your ground coffee to the filter and give it a gentle shake to level the bed. Place everything on your scales, tare to zero, and start your timer.
Pour just enough water to saturate all the grounds: roughly double the weight of your coffee. So if you're using 25 grams of coffee, pour about 50 grams of water. Pour gently from the center outward in a spiral motion, making sure every ground gets wet.
You'll see the coffee bed start to bubble and rise: this is the bloom. CO2 trapped in the beans during roasting is being released. If you skip this step, that gas creates pockets that block water from extracting evenly.
Wait 30-45 seconds while the coffee blooms. Don't rush this. The bloom is your foundation.

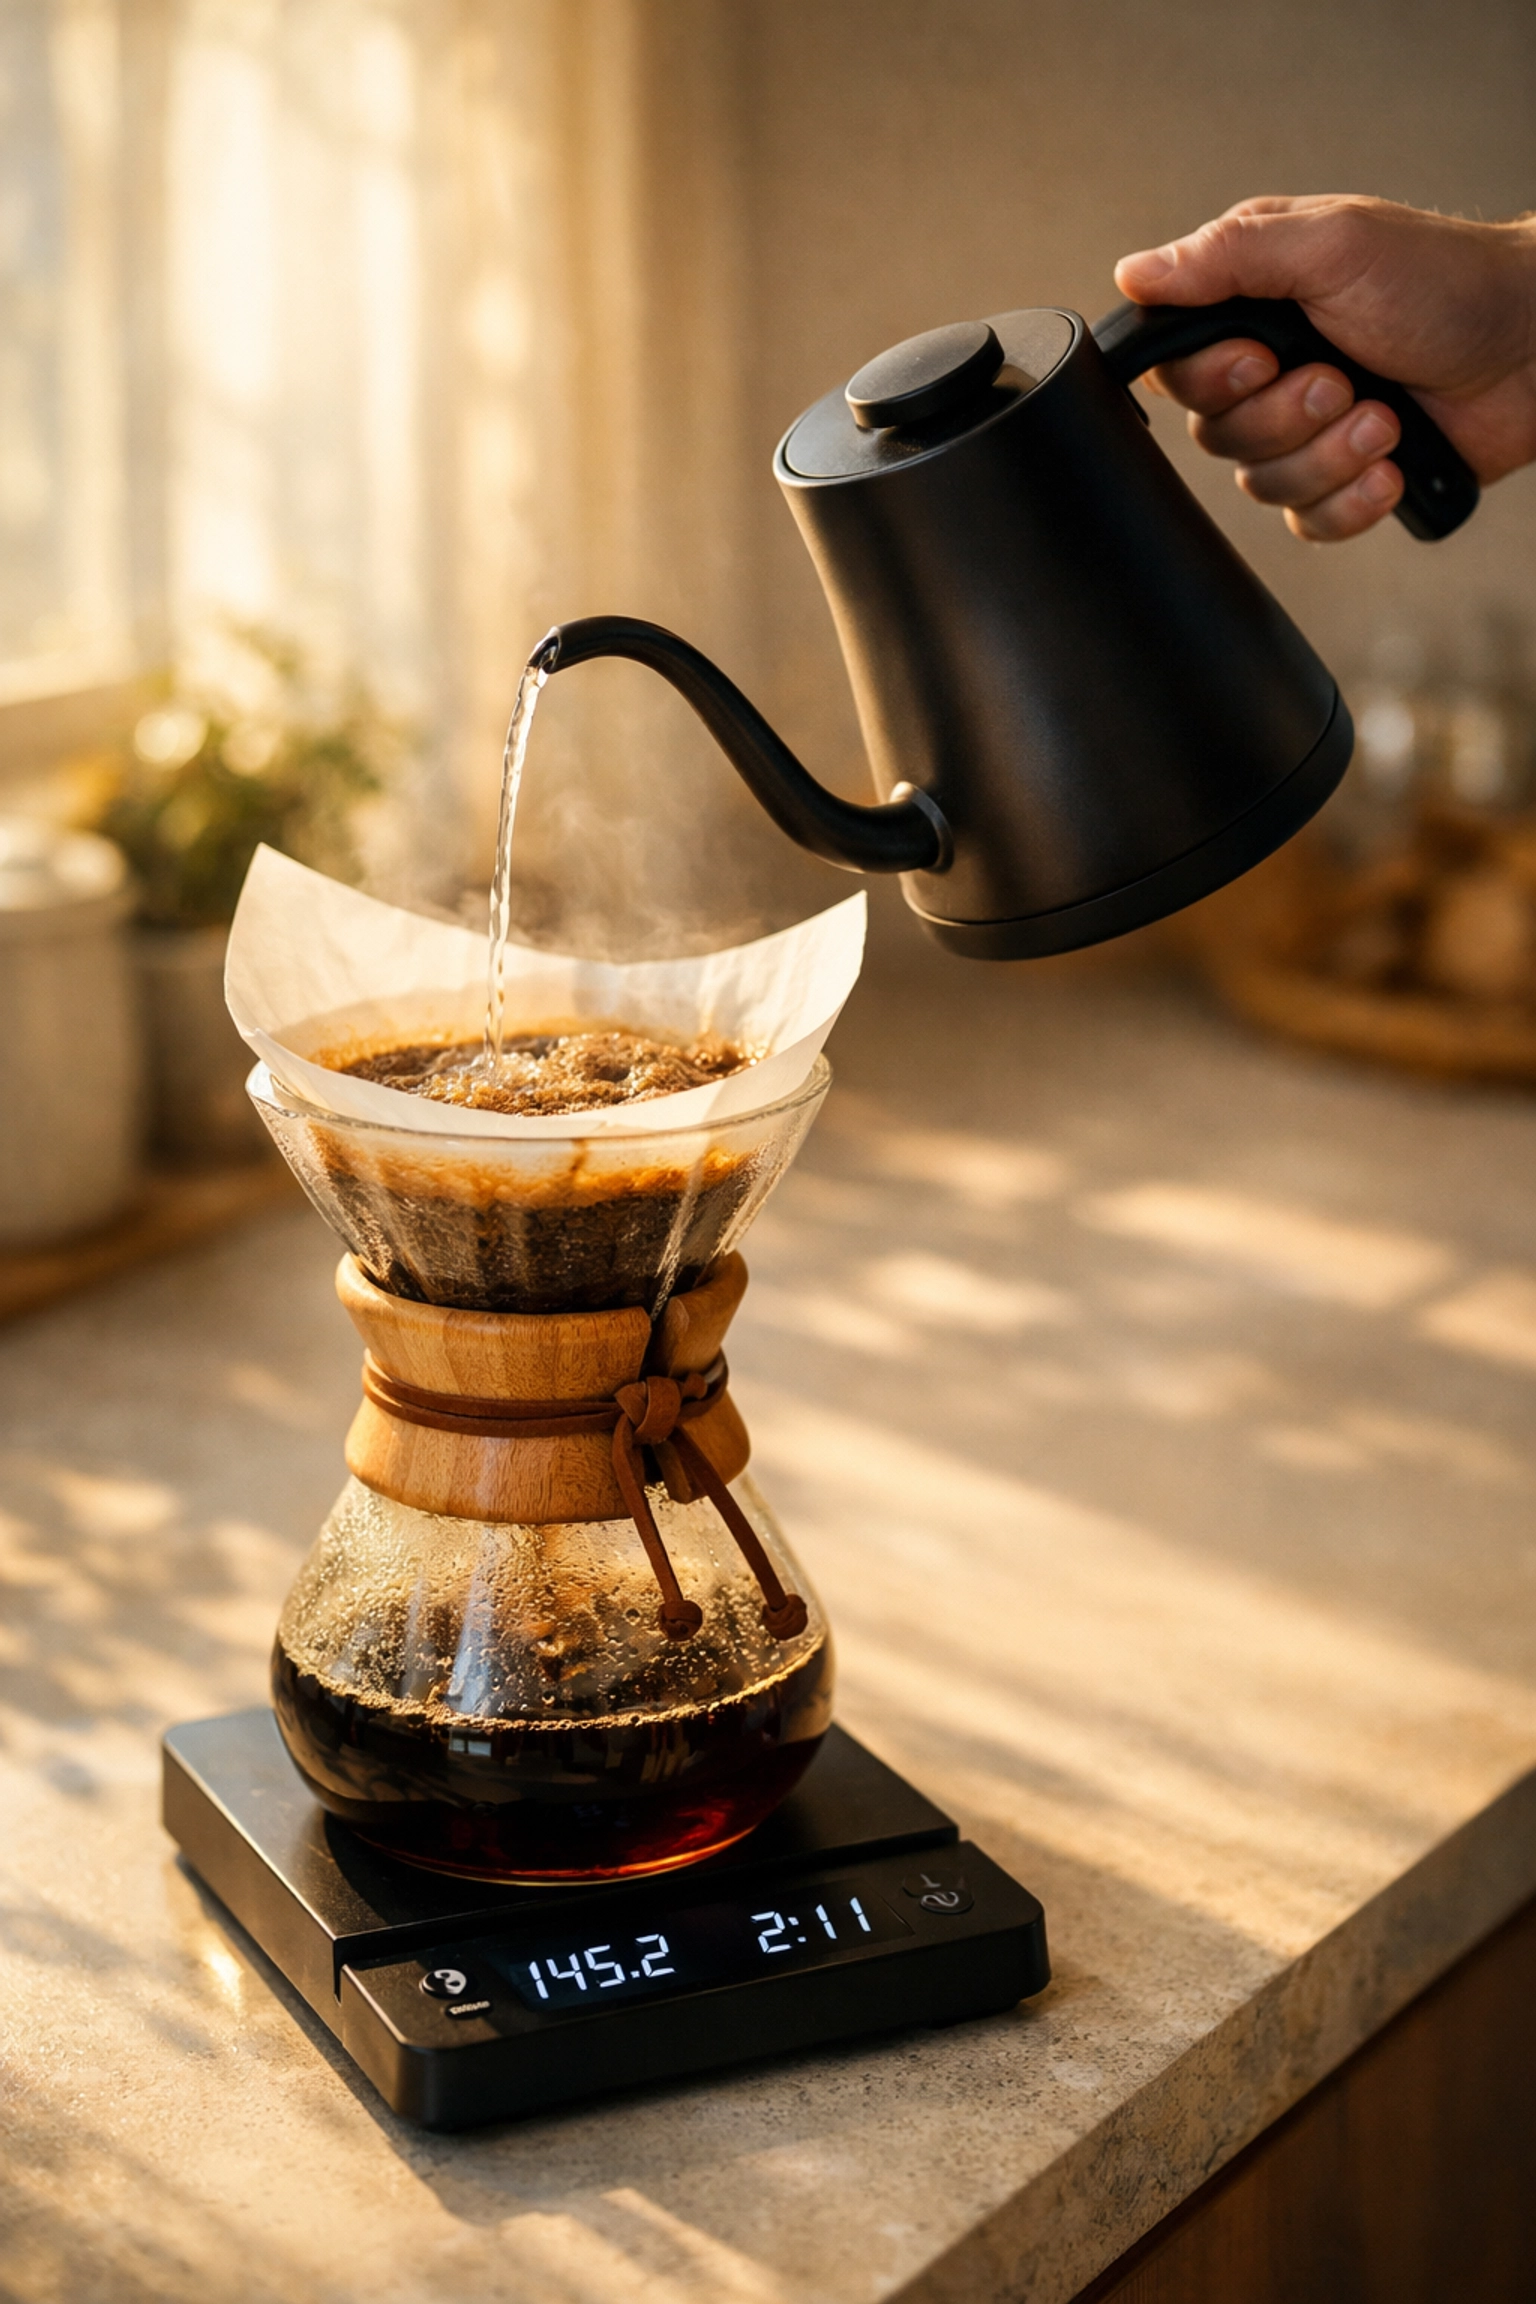
The Pours: Patience and Rhythm
After the bloom, it's time for your main pours. There are different schools of thought here: some prefer multiple pulses, others a single continuous pour. We'll walk you through a reliable multi-pour approach.
Second pour: Slowly pour another 100-150 grams of water (taking you to around 150-200g total on your scale). Use that same spiral motion, starting from the center and working outward. Avoid pouring directly onto the paper filter: keep the water on the coffee bed itself.
Pour slowly and steadily. You're aiming to keep the water level in your brewer between halfway and two-thirds full. If it rises too high, slow down. If it drains too fast, grind slightly finer next time.
Once you've hit your target weight for this pour, give the brewer a gentle swirl to level out the coffee bed. This promotes even extraction.
Third and fourth pours: Continue with similar pours of 100-150 grams until you've reached your total water weight (400g in our example). Between each pour, let the water drain to just above the coffee bed: you don't want it to run dry, but you also don't want it to stay too high.
The key here is control and consistency. Your pour rate should feel meditative: not rushed, not trickling, but steady and deliberate.
Timing and Troubleshooting
Your total brew time: from the moment you start your bloom to the last drip: should land somewhere between 2:45 and 3:30 minutes. This window gives you proper extraction without tipping into over-extraction territory.
If your brew finishes faster than 2:30, try grinding finer or slowing your pour rate. If it's stretching past 4 minutes, grind coarser or pour slightly faster.
Signs of under-extraction: Sour, sharp flavors. Weak body. Lack of sweetness. Solution? Grind finer, use hotter water, or slow down your pour to increase contact time.
Signs of over-extraction: Bitter, harsh flavors. Dry, astringent finish. Dull notes. Solution? Grind coarser, lower your water temperature slightly, or speed up your pour.
Enjoying the Process
Here's the thing about pour-over that we love: it forces you to be present. You can't walk away and do something else. You can't rush it. You have to be there, kettle in hand, watching the coffee bloom and spiral and drip.
And honestly? That's the point.
In those 3-4 minutes, you're not checking your phone or thinking about your to-do list. You're just making coffee. Really, really good coffee.
The ritual becomes its own reward. The focus, the precision, the satisfaction of getting everything just right: it all adds up to an experience that goes beyond the cup itself.
The Coffee Makes All the Difference
Of course, technique only gets you so far. The quality of your beans is the foundation of everything.
This is where single origin coffees truly shine. Pour-over is the perfect method to explore the distinct characteristics of different regions and processing methods. The clarity of the brew lets you taste the terroir: the altitude, the soil, the climate, the care taken by the farmers and roasters.
We roast small batches of carefully sourced single origins specifically with brewing methods like pour-over in mind. Whether you're drawn to the fruity brightness of African coffees or the chocolatey depth of South American beans, pour-over will let you experience them fully.
You can explore our range of single origin coffees at Limini Coffee and find something that speaks to you. Trust us: once you taste a proper pour-over made with fresh, quality beans, there's no going back.

Start Slow, Stay Curious
Mastering pour-over isn't about perfection from day one. It's about understanding the principles, experimenting with variables, and developing your own rhythm. Every coffee behaves slightly differently, and part of the joy is learning how to adapt.
Keep notes if you're keen: record your grind size, water temperature, and brew time. Over time, you'll develop an intuition for what works and what doesn't.
And remember: even a slightly imperfect pour-over made with care and attention will taste better than a rushed cup from a machine. The act of slowing down, of engaging with your coffee, changes how it tastes.
So grab your kettle, weigh out your beans, and give yourself permission to take a few minutes for the ritual. Your morning coffee is about to get a whole lot more interesting.
Leave a Reply