So, you’ve decided to take the plunge into the world of home espresso. You’ve probably spent hours scrolling through forums, watching YouTube videos of people in aprons performing what looks like actual chemistry, and wondering if you really need a £2,000 machine to get a decent caffeine fix.
The truth? You don't. While a shiny machine is lovely to look at, the secret to that "coffee shop quality" brew at home isn't just about the pump and the boiler. It’s about the toolkit surrounding it. We see it all the time here at Limini Coffee, people spend their entire budget on a machine and then try to use pre-ground coffee and a plastic spoon to measure it out. Honestly, it’s a bit of a shame, because you’re missing out on about 80% of the potential flavour.
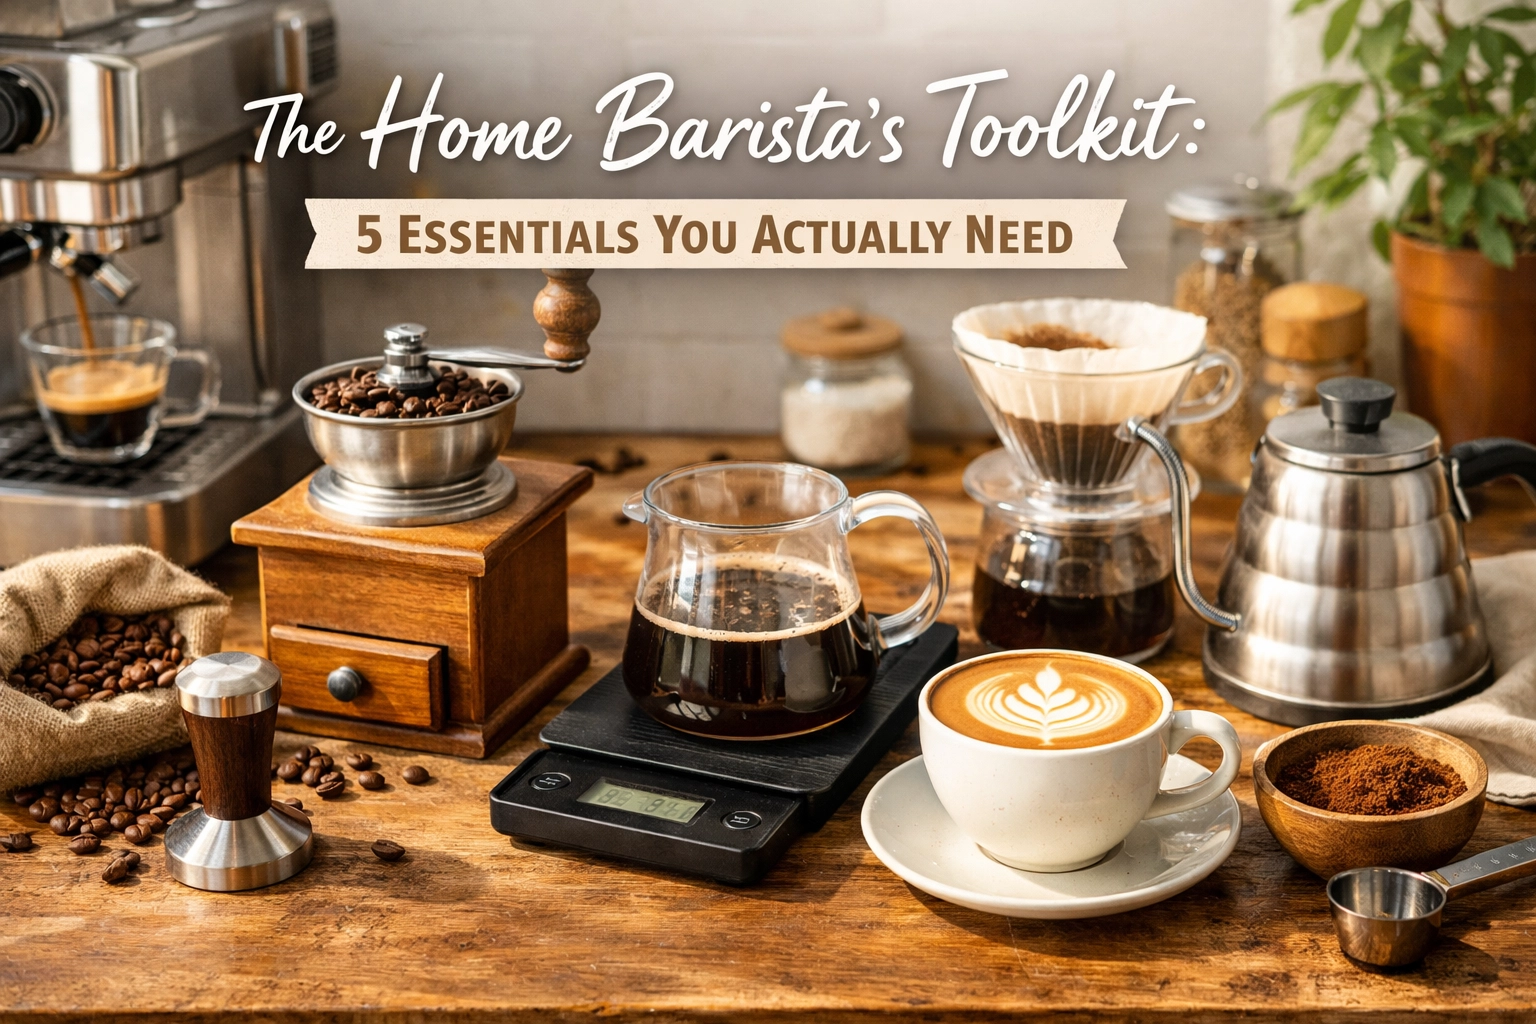
If you’re ready to stop guessing and start brewing, we’ve narrowed down the absolute essentials. These are the five things you actually need to turn your kitchen counter into a pro-level coffee bar.
1. The Burnt-Orange Elephant in the Room: A Quality Grinder
We’re going to say something controversial: the grinder is more important than the espresso machine. There, we said it.
If you use pre-ground coffee, it’s already losing its soul the moment the bag is opened. Coffee is a fresh agricultural product. Once those beans are crushed, the surface area increases exponentially, and oxygen starts stripping away the delicate aromatics. By the time it gets to your portafilter, it’s often flat and lifeless.
But it’s not just about freshness; it’s about particle size. A "blade" grinder (the kind that looks like a tiny food processor) chops coffee into uneven boulders and dust. When water hits that mess, it flows through the dust too slowly (bitter!) and around the boulders too quickly (sour!).
You need a burr grinder. Burrs crush the beans to a specific, uniform size. This allows for even extraction. Whether you are looking at manual hand grinders or electric ones, ensure it has a fine enough adjustment range for espresso. If you are still in the research phase, it's worth checking out our guide on choosing espresso equipment to see how the grinder fits into the bigger picture.
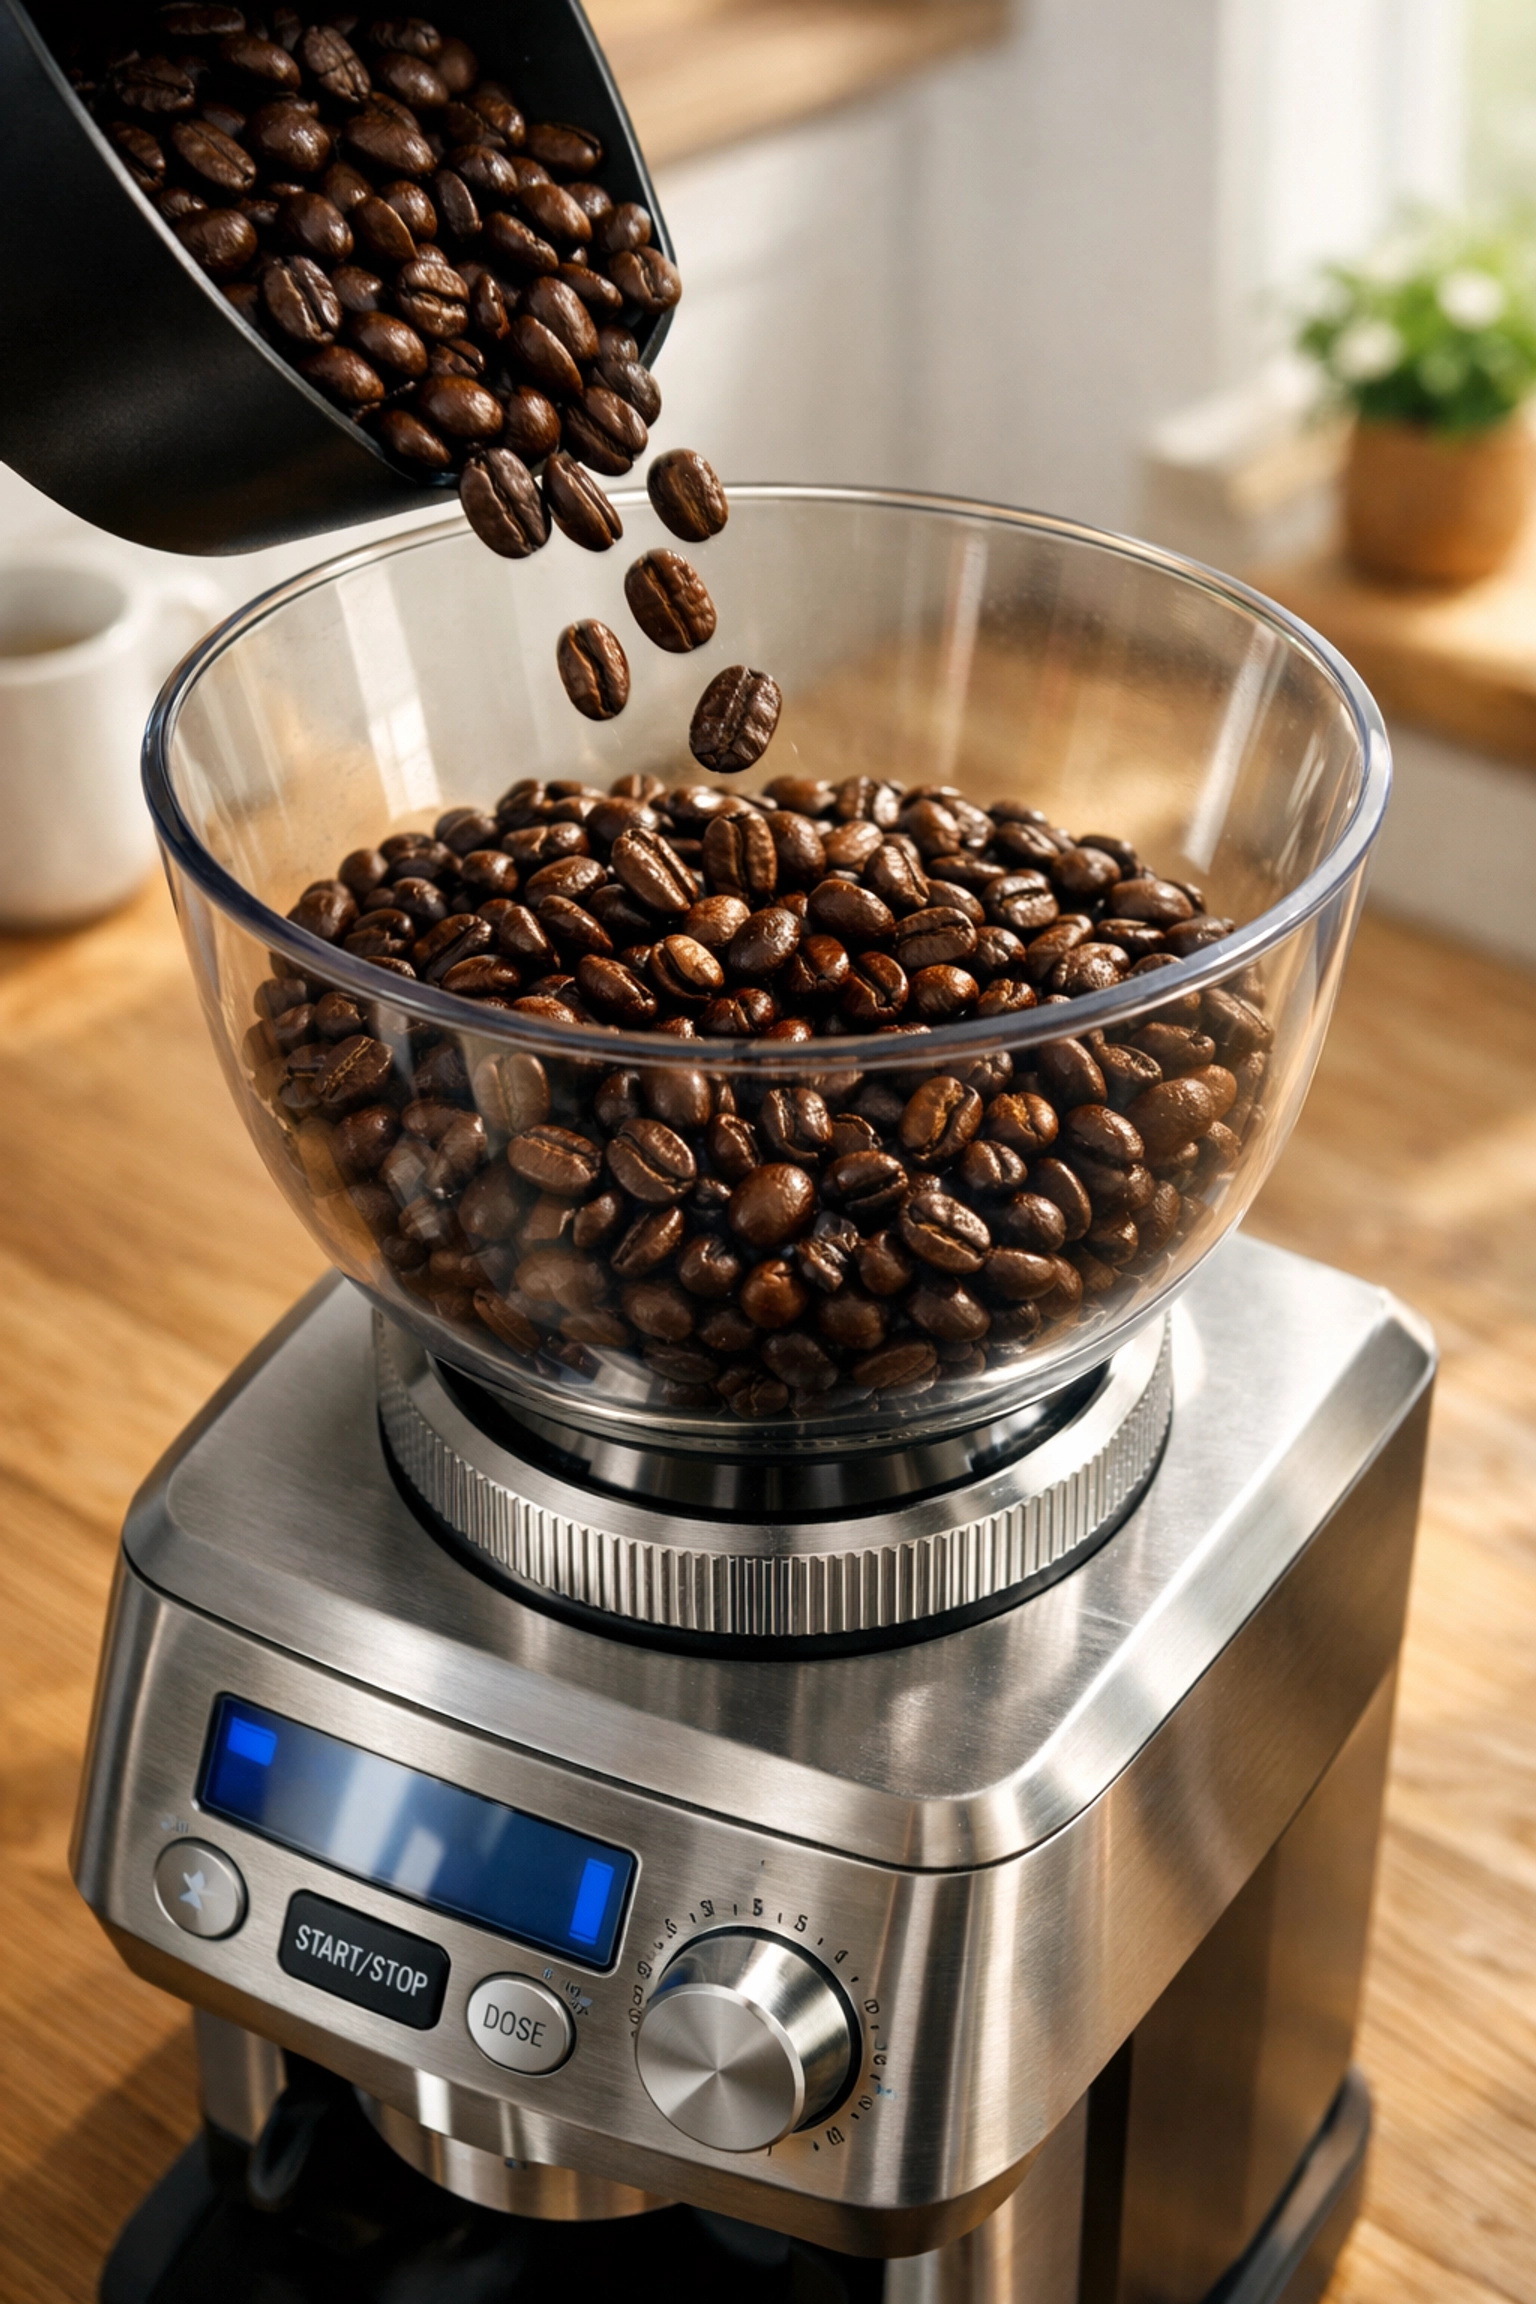
2. The Digital Scale (Because "Eyeballing It" Is a Lie)
"I just use a scoop." We hear this a lot. The problem is that different coffees have different densities. A scoop of a dark roast might weigh 14g, while a scoop of a dense, light-roast Ethiopian might weigh 18g. In the world of espresso, a 4g difference is the difference between a syrupy masterpiece and a watery disaster.
Consistency is the king of coffee. To get the same result every morning, you need to measure:
- The Dose: How much dry coffee goes into the basket.
- The Yield: How much liquid coffee comes out.
- The Time: How long the water takes to pass through.
We recommend a scale that measures to 0.1g accuracy. Why 0.1g? Because even a half-gram variance can change the resistance of the coffee puck, leading to "channeling", where water finds a weak spot and blasts through it rather than saturating the coffee evenly. If you want to get really nerdy with your numbers (and we hope you do), have a play with our coffee brewing calculator to see how these variables interact.
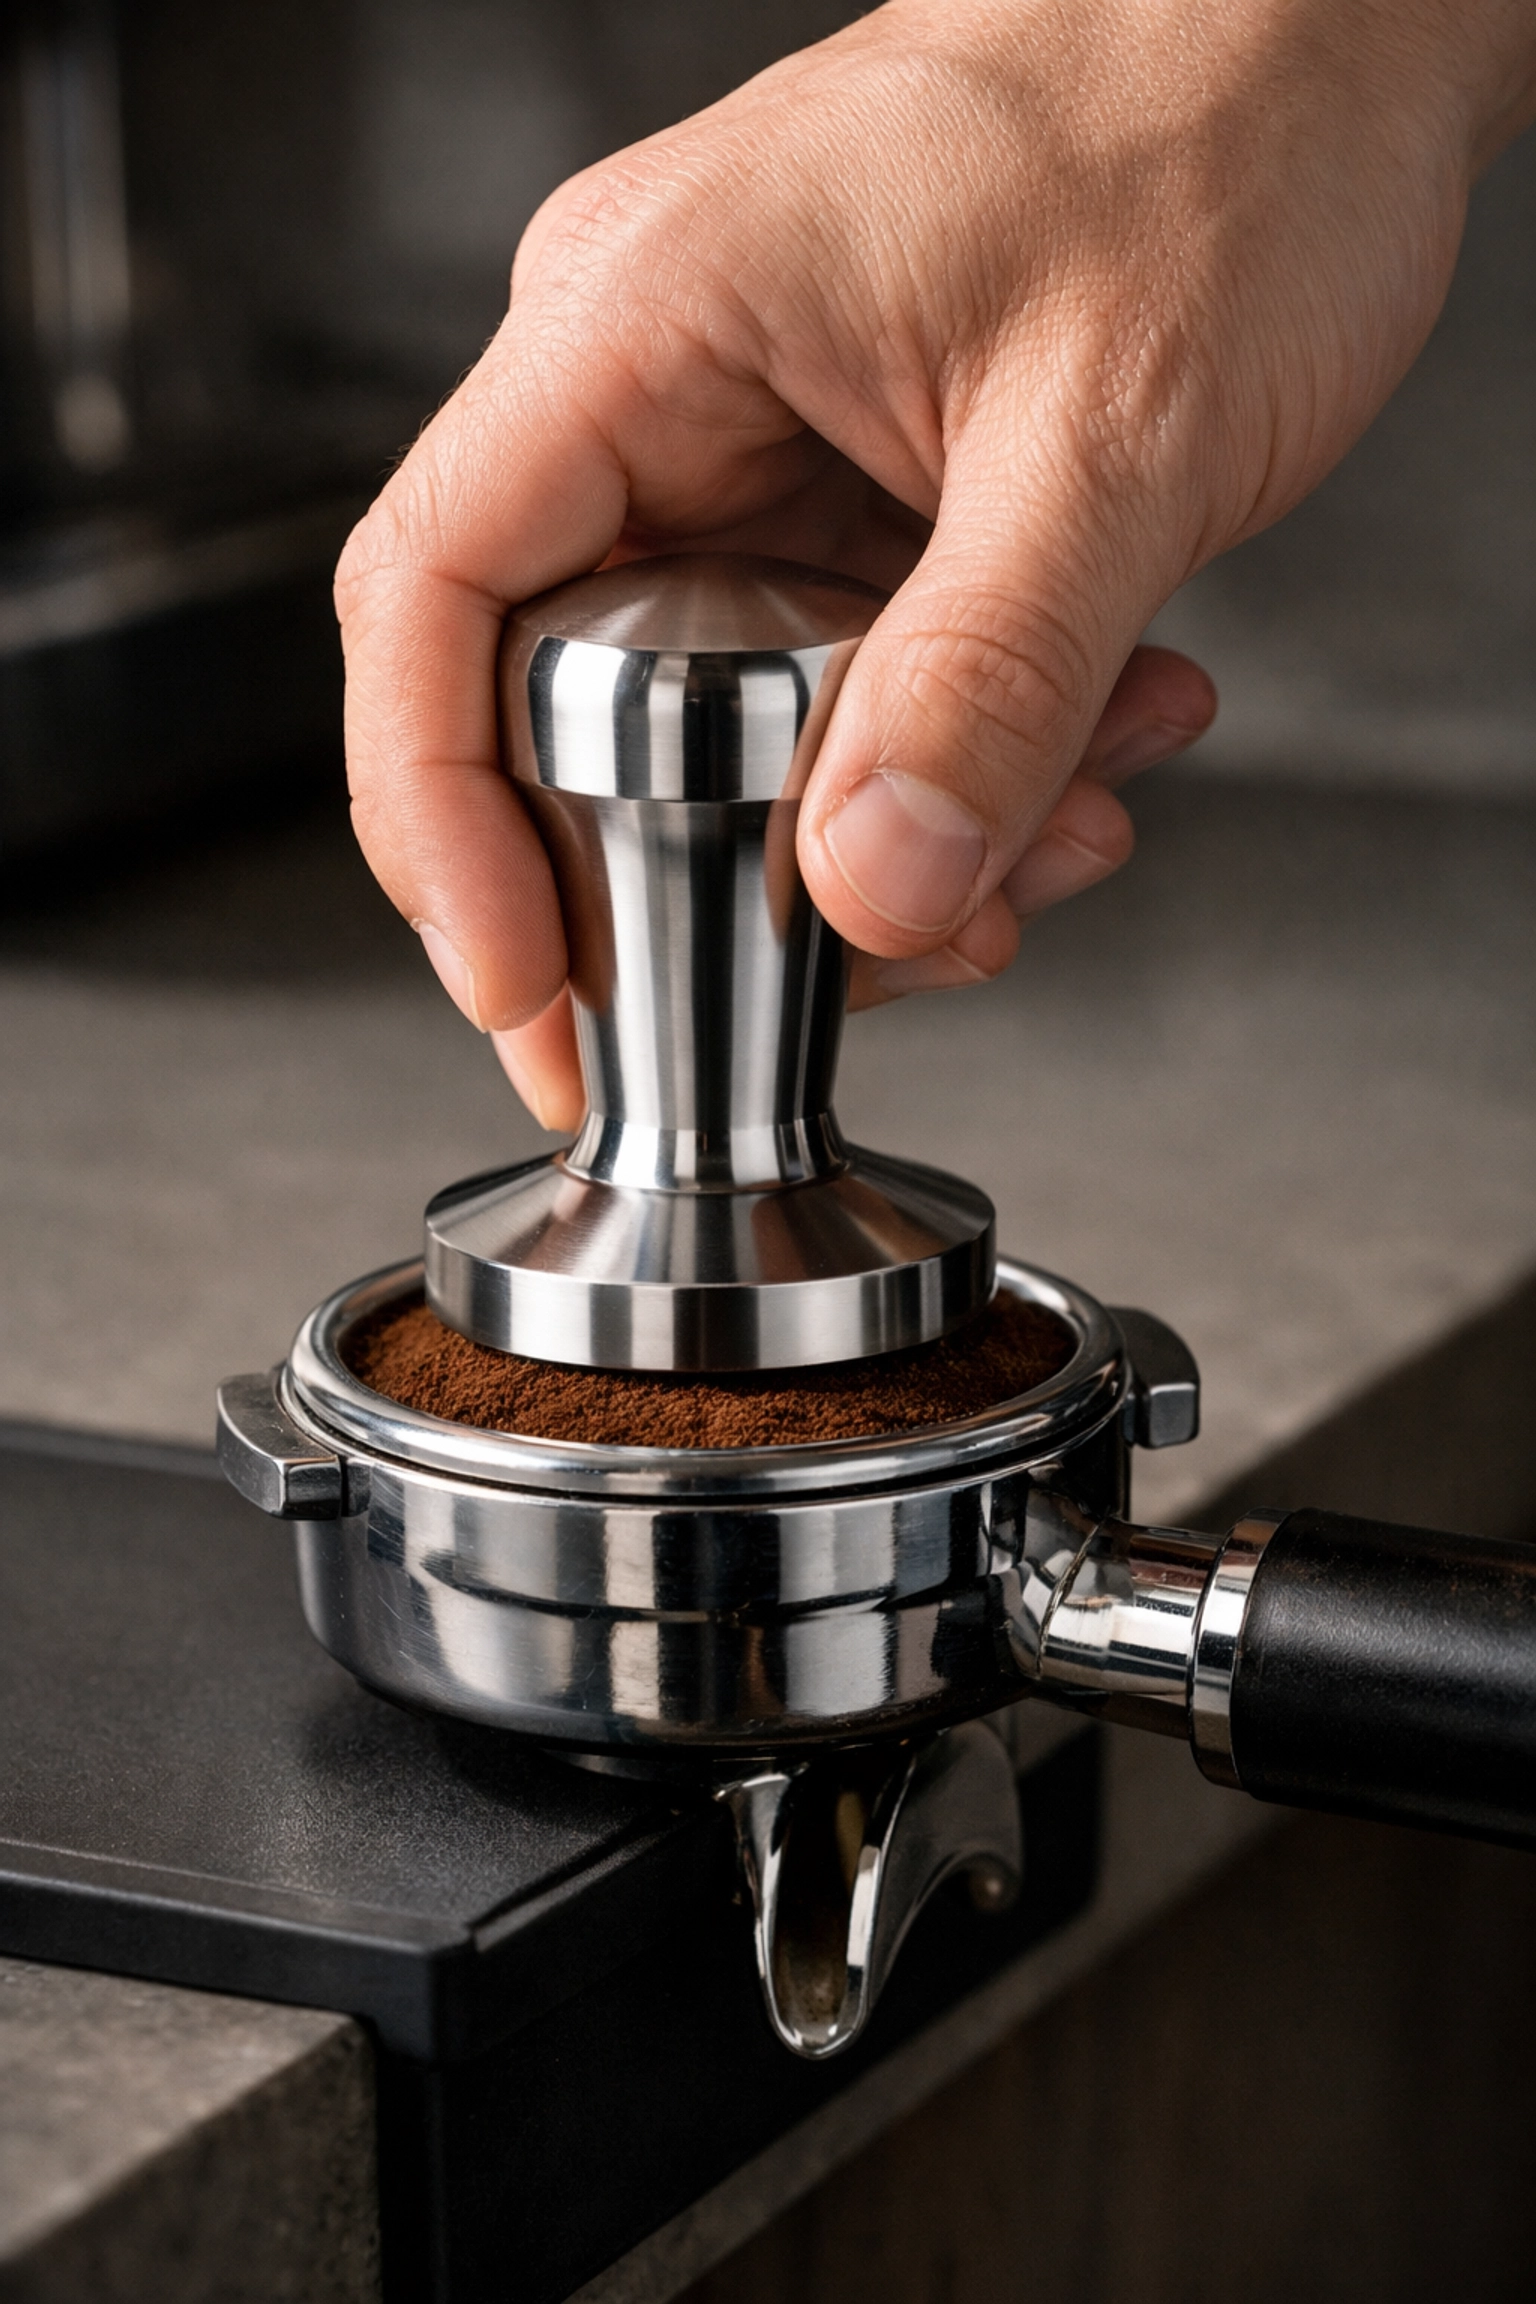
3. A Proper Tamper
Most entry-level machines come with a flimsy plastic "spoon-tamper" hybrid. Using one of these is like trying to paint a masterpiece with a toothbrush. It just doesn't work.
Tamping is the process of compressing the coffee grounds into a flat, level "puck." This creates resistance so the water has to work hard to get through, extracting all those lovely oils and flavours along the way. If your tamp is crooked or uneven, the water will take the path of least resistance (there’s that channeling again).
You want a heavy, stainless steel tamper that fits your basket perfectly (usually 58mm for most pro-sumer machines, but check yours!). The goal isn't to press with all your body weight, about 15kg of pressure is plenty, but to ensure it is perfectly level. We’ve actually written a whole piece on the art of tamping if you want to master the technique.
4. The Milk Pitcher (The Secret to Silky Microfoam)
If you’re a fan of lattes or flat whites, you cannot overlook the pitcher. You might think any jug will do, but the shape and material of a dedicated stainless steel milk pitcher are designed for one thing: vortex creation.
To get that glossy, "wet paint" texture we call microfoam, you need to spin the milk. A good pitcher has a spout designed for precision pouring (hello, latte art!) and a handle that lets you feel the temperature of the milk.
Speaking of temperature, this is where most home baristas go wrong. You’re aiming for about 140 °F / 60 ºC. Anything higher and you start to scald the proteins, losing the natural sweetness of the milk and creating that "burnt" smell you get in bad high-street chains. If you’re struggling with your froth, take a look at our deep dive into understanding milk. It’s a game-changer.
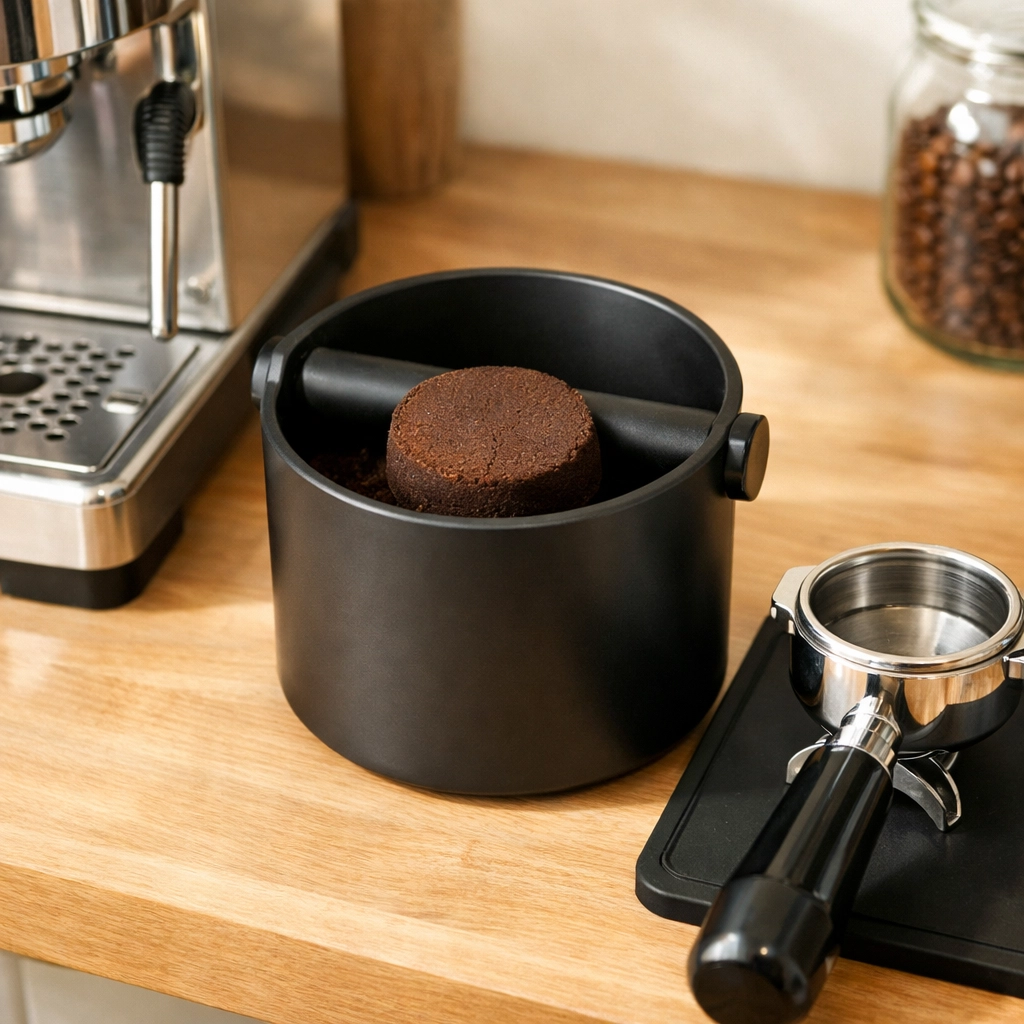
5. The Knock Box
This is the most underrated tool in the kit. Where do you put the used coffee grounds (the "puck") after you’ve brewed? If you’re digging it out with a spoon or banging your expensive portafilter against the side of your kitchen bin, please stop. You’ll eventually dent the basket or, worse, break the handle.
A knock box is a simple container with a sturdy, rubber-coated bar across the middle. One firm "thwack" and the puck drops out cleanly. It keeps your workspace tidy, protects your gear, and honestly, there is something deeply satisfying about the sound of a perfect puck hitting the box. It’s the official sound of "mission accomplished."
Workflow: Bringing It All Together
So, you’ve got the gear. How does it look in practice?
Imagine it’s Tuesday morning. You weigh out 18.0g of fresh Limini Coffee beans. You grind them fresh, the aroma filling the kitchen. You distribute them in your portafilter, give them a level, firm tamp with your weighted tamper, and lock it in.
You place your scale under the spout, tare it, and start the shot. You watch the dark, viscous liquid: the crema: pour out like warm honey. At exactly 36g and 30 seconds, you stop the pump. While that’s resting, you steam your milk in your stainless pitcher to a perfect 60 ºC, swirl it until it shines, and pour it into your cup. Finally, you knock the puck into your knock box with a single tap.
That is the "theatre" of coffee. It’s a ritual. And while it might seem like a lot of steps, once you have the right tools, it becomes second nature.

A Final Word on the Beans
We can give you the best tamper in the world and a grinder that costs as much as a small car, but if the coffee beans are old or poorly roasted, it’s all for nothing. Specialty coffee is about the journey from the farm to your cup.
At Limini, we obsess over the sourcing of our coffee because we know that the home barista’s toolkit is only as good as the ingredient you put into it. We recommend starting with a versatile espresso roast that's forgiving to work with while you're learning the ropes.
If you ever feel overwhelmed or your shots are coming out a bit wonky, don't panic. Coffee is a journey, not a destination. We even offer barista training if you want to skip the trial-and-error phase and get straight to the good stuff.
So, what’s the first upgrade you’re making to your home setup? Whatever it is, make sure it’s something that makes the process more enjoyable. Because at the end of the day, the best cup of coffee is the one you enjoyed making.
Ready to stock up? Grab your essentials and some fresh beans over at Limini Coffee and let’s get brewing!
Leave a Reply