We’ve all been there. You wake up, stumble into the kitchen, and perform the ritual. But let’s be honest: sometimes that ritual results in a cup of brown water that tastes more like a sad memory than a vibrant, specialty-grade beverage. Why is it that the coffee you get at your favorite local spot tastes like a symphony of stone fruit and chocolate, while your home brew tastes… well, just like "coffee"?
The good news is that brewing world-class coffee at home isn't reserved for the elite or the folks with five-thousand-pound espresso machines (though those are lovely, aren't they?). It’s actually quite accessible once you understand a few core principles. We believe that anyone can master the art of the brew with the right gear, the right beans, and a little bit of patience.
So, let's dive into the ultimate guide to home brewing. We’re going to cover everything from the chemistry of water to why your choice of grinder is the most important decision you’ll make this year.
It All Starts with the Bean
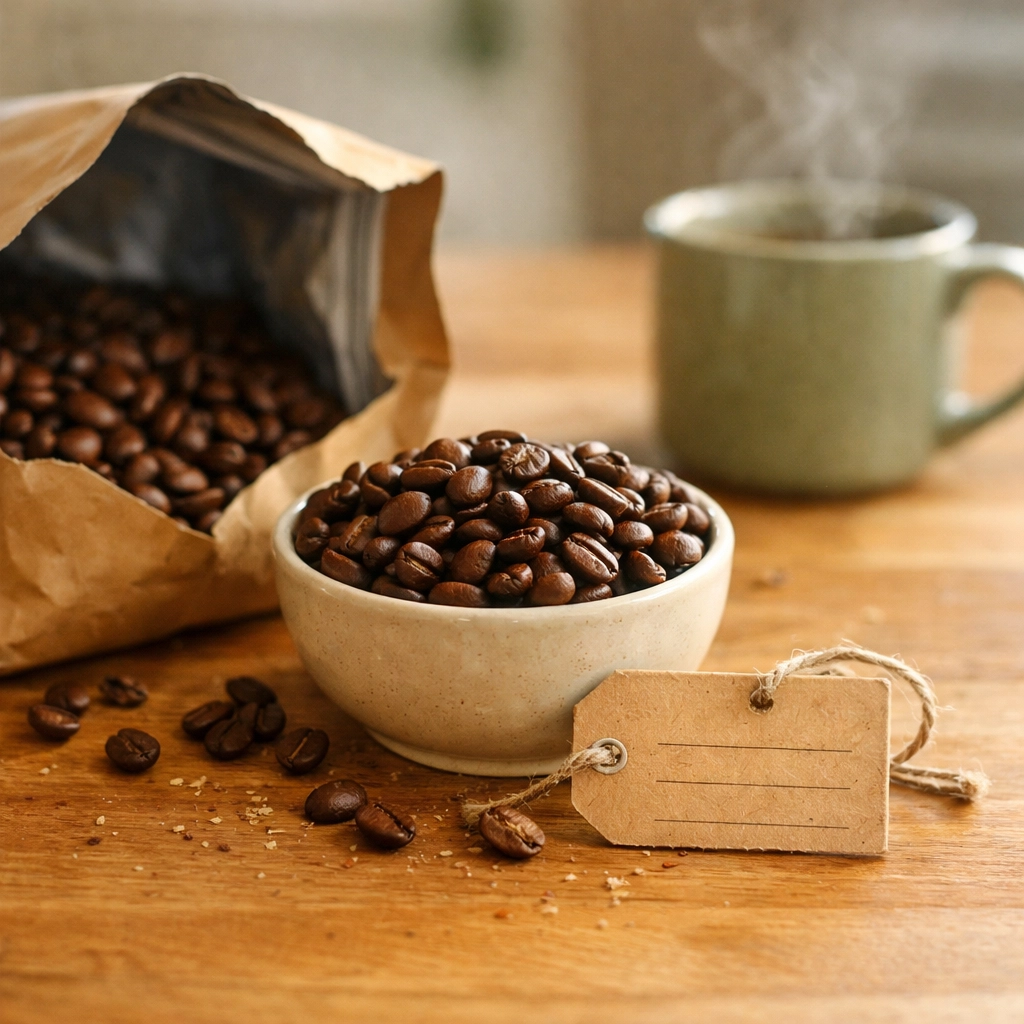
You can have the most expensive kettle in the world, but if you’re using stale, over-roasted beans from the bottom shelf of a supermarket, your coffee is going to struggle. It’s just the truth. Specialty coffee is a different beast entirely. We focus on sourcing our coffee from farmers who care deeply about quality, and that quality is something you can taste in the cup.
Freshness is paramount. Coffee is a seasonal agricultural product. Once it’s roasted, the clock starts ticking. We usually recommend using your beans within four weeks of the roast date for the best experience. If you’re looking for that vibrant, fresh-roasted goodness to start your journey, you can find our latest single-origin offerings and blends here at Limini Coffee.
Why Single Origin?
You’ll hear us talk a lot about "Single Origin." Basically, this means the coffee comes from a specific farm or region. Why is this important? Because it allows the unique characteristics of that soil, altitude, and climate to shine. An Ethiopian Yirgacheffe will taste wildly different from a Brazilian Santos: the former being floral and tea-like, the latter being nutty and chocolatey.
The Essential Gear List
Before you start pouring, you need the right tools for the job. You don't need a lab full of equipment, but there are a few non-negotiables.
1. The Grinder (The MVP)
If you take one thing away from this guide, let it be this: buy a decent burr grinder. Blade grinders (the ones that look like little blenders) don't actually grind coffee; they smash it into uneven shards. This leads to uneven extraction: some bits are over-extracted (bitter) and some are under-extracted (sour). A burr grinder gives you uniform particles, which is the secret to a balanced cup.
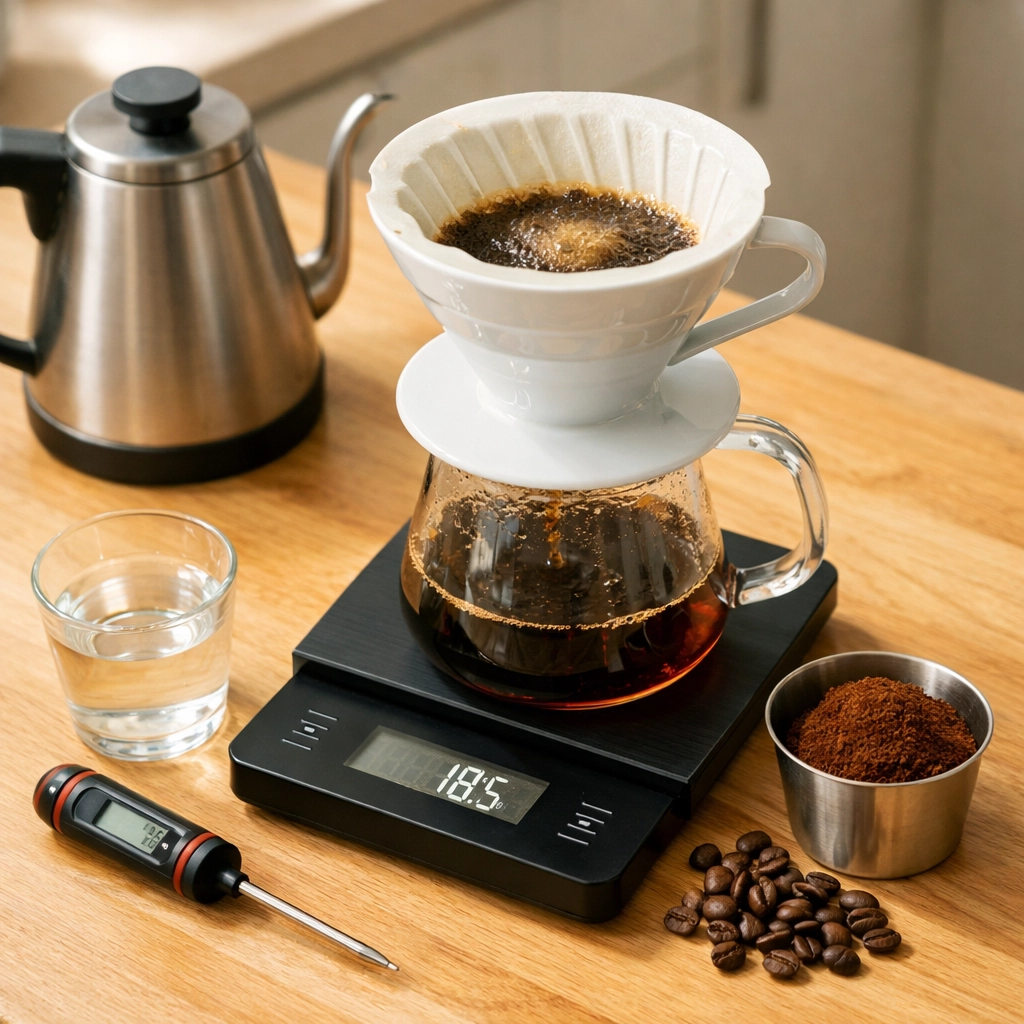
2. Digital Scales
Stop using scoops. Please. We’re begging you! A scoop of coffee can weigh 10 grams or 15 grams depending on the bean size and roast level. Using a scale allows you to hit the same "recipe" every single time. It takes the guesswork out of the morning.
3. A Gooseneck Kettle
If you’re into pour-over coffee (like a V60 or Chemex), a gooseneck kettle is a game-changer. It gives you total control over the flow of water. If you dump a liter of water in all at once, you’re going to agitate the grounds too much and end up with a mess. Precision is key.
The Golden Variables
Brewing coffee is essentially a game of managing variables. There are four main ones that we always keep an eye on:
- Ratio: The relationship between coffee and water. We usually start with a 1:16 ratio (1 gram of coffee for every 16 grams of water). It’s a great middle ground. If you want a stronger cup, try 1:15. If you want something lighter, 1:17. You can even use a coffee brewing calculator to do the math for you.
- Grind Size: Think of this as the "speed control." Fine grinds slow down the water flow (more surface area, more extraction), while coarse grinds let it through quickly (less surface area, less extraction).
- Temperature: We generally aim for between 92 °C and 96 °C (around 197 °F to 205 °F). If the water is too hot, you risk burning the coffee and extracting harsh tannins. Too cool, and the coffee will taste flat and sour.
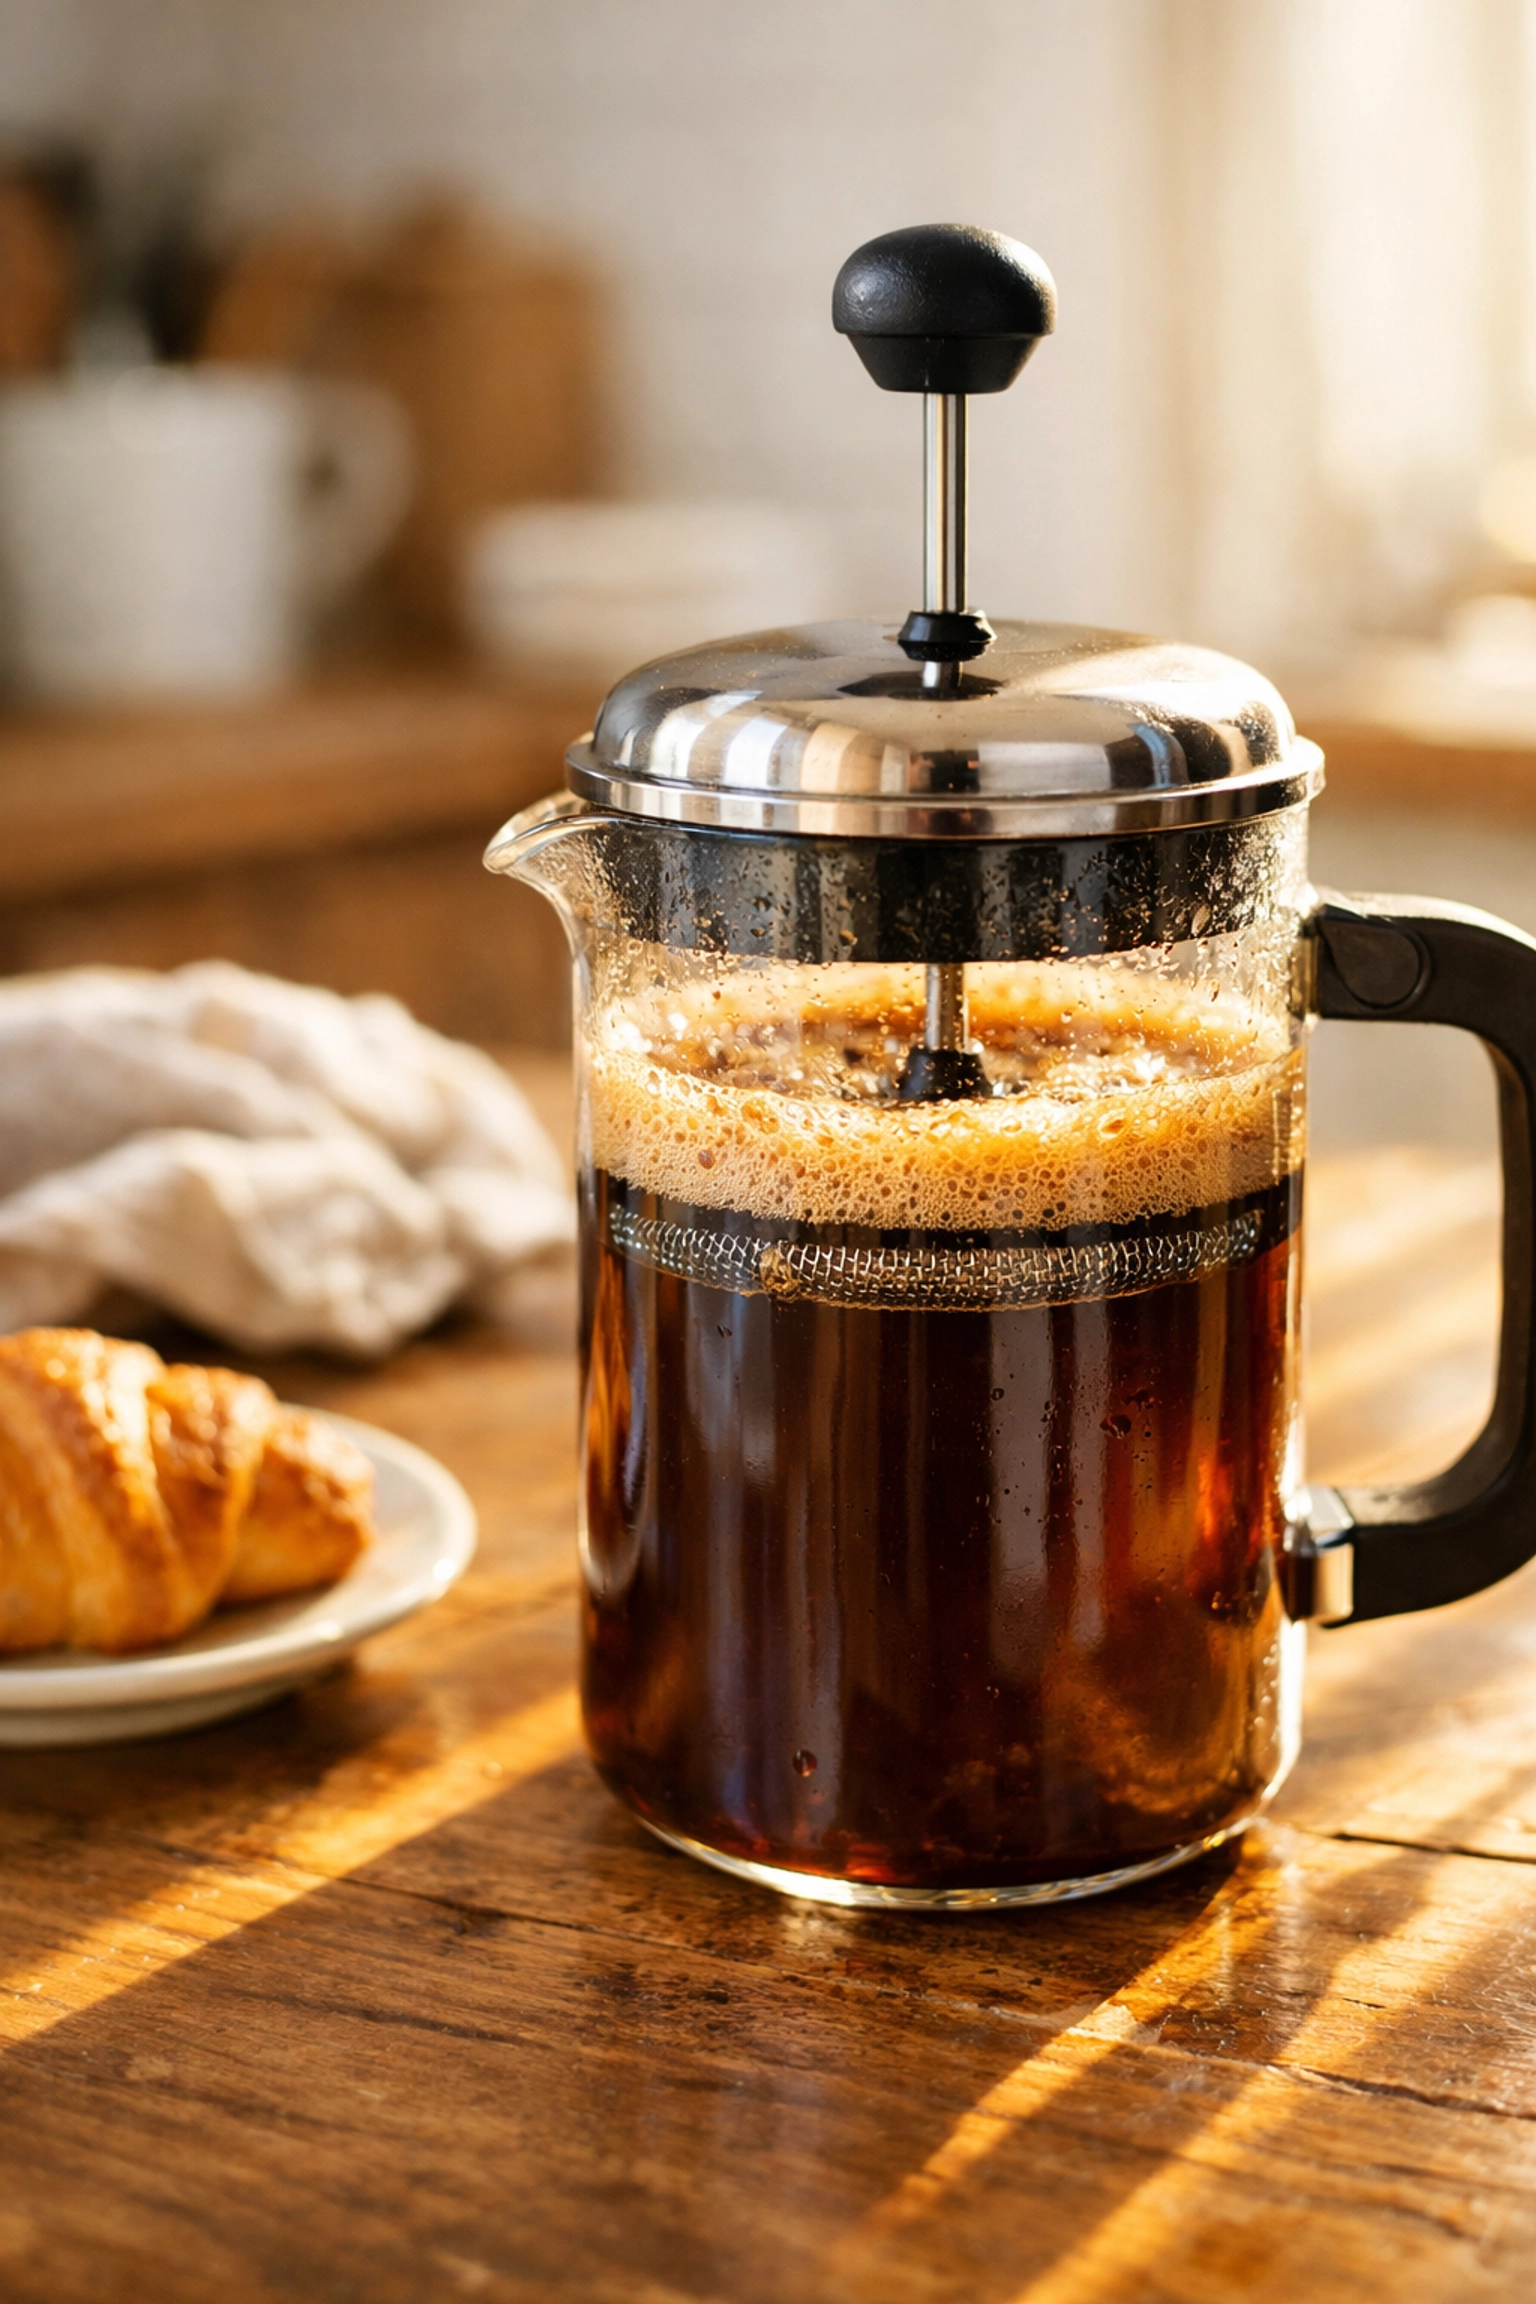
- Time: How long the water is in contact with the coffee. A V60 might take 3 minutes, while a French Press takes 4 minutes.
Choosing Your Method
There isn't a "best" way to brew coffee: only the way that fits your lifestyle and taste buds.
The Pour-Over (Hario V60 / Chemex)
This is for the purists. Pour-over brewing produces a clean, crisp cup that highlights the delicate acidity of the beans. It requires a bit of technique (the "spiral pour"), but the results are worth it. If you’re brewing a bright, citrusy African coffee, this is the way to go.
The AeroPress (The Workhorse)
We love the AeroPress. It’s indestructible, portable, and incredibly forgiving. It uses a combination of immersion and pressure to produce a concentrated, sweet cup. It’s perfect for travel or for someone who wants a great cup of coffee in under two minutes without a lot of fuss.
The French Press (The Classic)
The French Press is all about body and texture. Because it uses a metal mesh filter instead of paper, the natural oils of the coffee make it into your cup. This results in a heavy, silky mouthfeel. If you like your coffee bold and "punchy," this is your best bet. If you find yourself wanting to turn that bold brew into a latte or cappuccino, it's worth understanding how milk works to get that texture just right.
The Step-By-Step Pour-Over Process
Let's walk through a standard V60 brew. This is where we see most people get hooked on the hobby.
- Prepare: Heat your water to 94 °C. Place your filter in the dripper and rinse it with hot water. This removes the "papery" taste and warms up your vessel.
- Measure: Weigh out 15g of coffee and grind it to a medium-fine consistency (like table salt).
- The Bloom: Start your timer and pour about 30g of water over the grounds. You’ll see bubbles: this is the "bloom." It’s the coffee releasing CO2. Wait about 30 seconds.
- The Main Pour: Slowly pour the remaining water (up to 250g) in steady, concentric circles. Avoid pouring directly onto the sides of the filter.
- The Draw Down: Let the water drain through. The bed of coffee at the bottom should look flat, not like a crater.
- Enjoy: Give the carafe a little swirl to aerate the coffee before pouring.
It sounds like a lot of steps, but once you do it three times, it becomes second nature. And the difference in quality compared to a standard drip machine is honestly staggering.
Troubleshooting Your Brew
"My coffee tastes bad. What do I do?" Don't worry, we’ve been there.
If your coffee is bitter, dry, or ashy, you have likely over-extracted. To fix this, you can:
- Coarsen your grind.
- Lower your water temperature.
- Shorten your brew time.
If your coffee is sour, salty, or thin, you have under-extracted. Basically, you haven't taken enough "good stuff" out of the bean. To fix this, you can:
- Find a finer grind setting.
- Increase your water temperature.
- Brew for a little longer.

What About Espresso?
Espresso is the "final boss" of home brewing. It’s a beautiful, complex, and sometimes frustrating journey. It requires a significant investment in equipment, including a high-quality espresso machine and a specialized espresso grinder.
If you're thinking about taking that plunge, we have a whole guide on choosing espresso equipment to help you navigate the world of boilers, PIDs, and group heads. It's a steep learning curve, but pulling that perfect shot with a thick, syrupy crema is a feeling like no other.
Final Thoughts
At the end of the day, the "best" coffee is the one you enjoy drinking. Whether you’re using a simple French Press or a high-end lever machine, the goal is the same: a moment of peace and a delicious beverage.
We recommend starting simple. Get yourself a decent grinder, a scale, and some freshly roasted beans from Limini Coffee. Experiment with your grind size, play with your ratios, and don't be afraid to make a bad cup every now and then. That’s how you learn!
If you ever feel like you need a bit more hands-on help, we offer barista training that covers everything from basic brewing to advanced latte art. We love sharing what we know, and we’re always here to help you on your coffee journey.
Happy brewing! 🙂
Leave a Reply