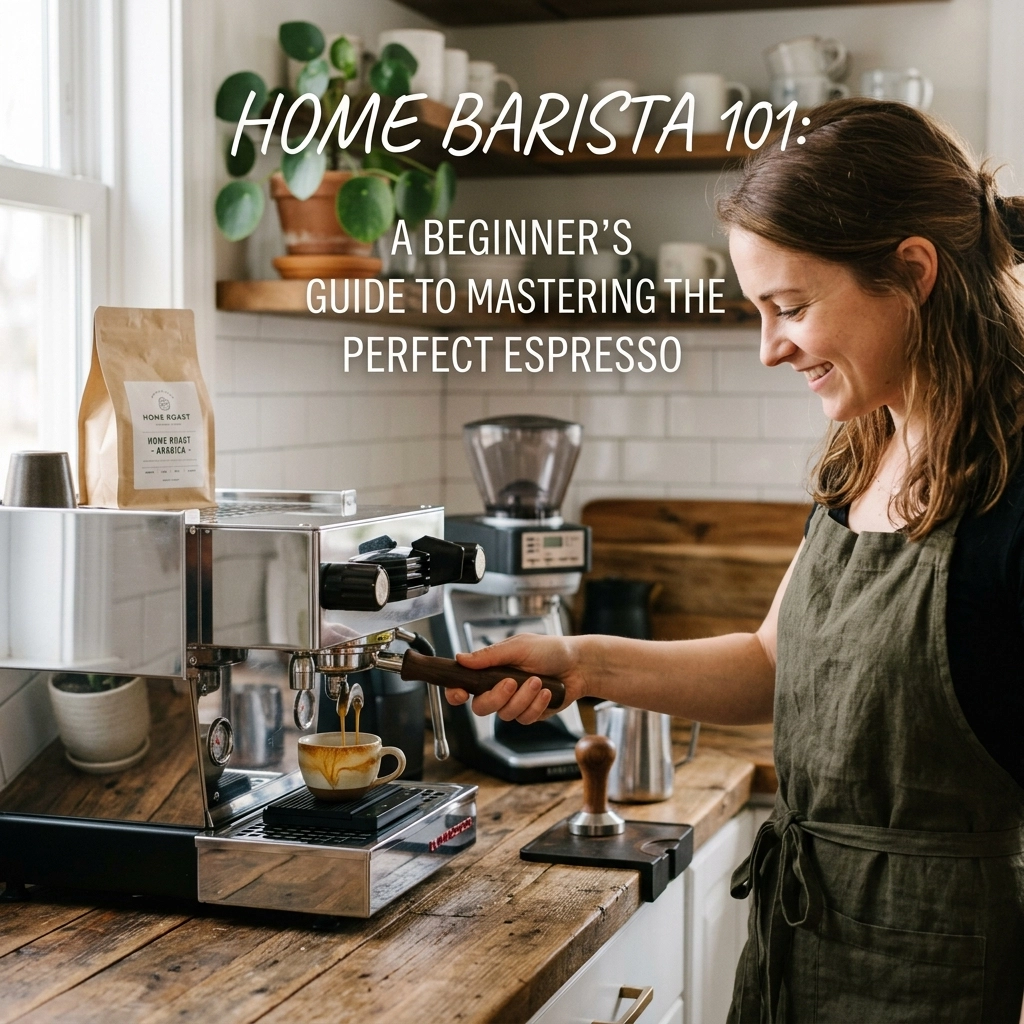
So, you’ve decided to take the plunge into the world of home espresso? We love that for you. It is a journey filled with wonderful aromas, occasionally frustrating mornings, and eventually, that glorious "aha!" moment when you pull a shot that tastes better than anything you’ve bought on the high street.
But let’s be honest: espresso is finicky. It’s a delicate balance of physics, chemistry, and a little bit of intuition. If you’ve ever wondered why your home brew tastes like battery acid or a burnt rubber tyre, don’t worry, we’ve all been there. Mastering the perfect espresso isn't about magic; it's about consistency and understanding the variables.
In this guide, we’re going to walk you through everything from choosing your gear to the fine art of "dialing in." We’ll keep it casual, but we’re going to get into the nitty-gritty details because, well, that’s where the great coffee lives.
The Essential Gear: It’s Not Just About the Machine
When people start their home barista journey, they usually spend 90% of their budget on a shiny espresso machine and 10% on a grinder. We believe this is a bit of a mistake, to be honest.
The machine is essentially a water pump and a heater. While features like a PID (Proportional-Integral-Derivative) controller for temperature stability or a dual boiler system are brilliant, they won't save you if your coffee grounds are uneven. The grinder is actually the star of the show. Espresso requires a very fine, uniform grind: think the texture of fine table salt or powdered sugar. A standard blade grinder or a cheap burr grinder just won't cut it. You need something capable of "micro-adjustments."
What we recommend for your starter kit:
- A quality burr grinder: Look for one specifically designed for espresso.
- The Espresso Machine: Something that can ideally hit 9 BAR of pressure consistently.
- A Digital Scale: This is non-negotiable. If you aren't weighing your coffee, you're guessing.
- A Tamper: Most machines come with a flimsy plastic one. Throw it away. Get a heavy, stainless steel tamper that fits your basket perfectly.
If you are still in the research phase, check out our guide on choosing espresso equipment to help narrow down your options.

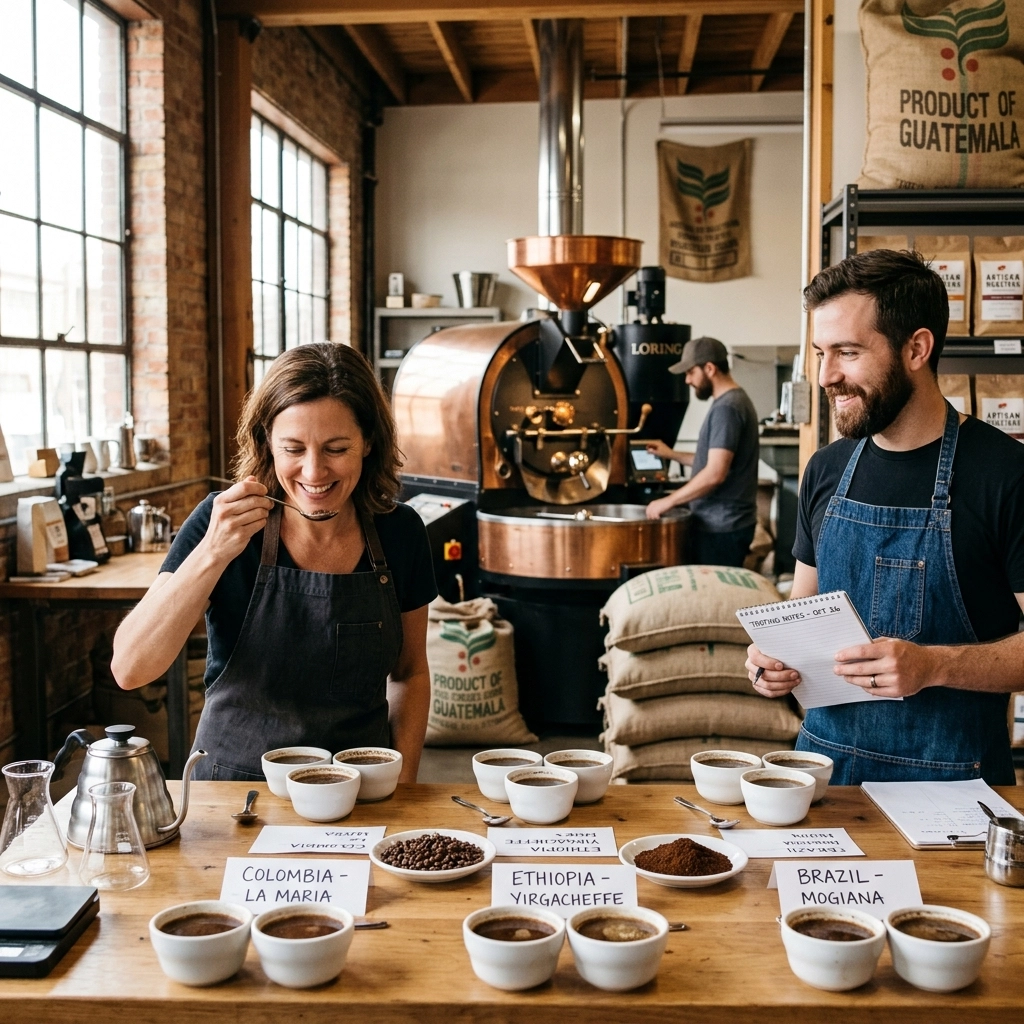
The Most Important Ingredient: The Beans
You can have a £5,000 setup, but if you’re using stale beans from the supermarket shelf that were roasted six months ago, your espresso will be thin, bitter, and devoid of that beautiful crema.
Freshness is everything. We recommend using beans that were roasted between 7 and 21 days ago. This gives the coffee time to "degas" (release CO2) so it doesn't erupt like a volcano in your portafilter, but keeps all those volatile aromatics intact.
Before you even touch a portafilter, you need the right fuel. We highly suggest starting with some freshly roasted specialty beans from us here at Limini Coffee. Having a consistent, high-quality bean makes learning the variables so much easier because you know the coffee itself isn't the problem.
The Golden Ratio: Understanding the Parameters
In the coffee world, we talk about "recipes." A standard starting point for a double espresso is a 1:2 ratio.
This means if you put 18g of ground coffee into your basket (the "dose"), you want to get 36g of liquid espresso out (the "yield"). Why do we use grams instead of millilitres? Because crema: that beautiful golden foam on top: is mostly air. Measuring by volume is deceptive; measuring by weight is accurate.
The Baseline Recipe:
- Dose: 18g of coffee.
- Yield: 36g of liquid espresso.
- Time: 25–30 seconds.
- Temperature: Around 92 ºC / 198 °F.
If your shot finishes in 15 seconds, it’s going to taste sour and thin (under-extracted). If it takes 45 seconds, it’ll likely be bitter and ashy (over-extracted). So, how do we fix that? We adjust the grind.
Step-by-Step: Pulling the Shot
Let’s walk through the ritual.
1. Prep and Dose
Start by drying your portafilter basket with a clean cloth. Moisture is the enemy here; it causes "channelling," where water finds a path of least resistance through the coffee rather than flowing evenly. Grind your 18g of coffee directly into the basket or weigh it out.
2. Distribution
Don't just leave a mountain of coffee in the middle. Give the portafilter a few gentle taps with your palm to level the grounds. Some baristas use a WDT tool (basically tiny needles) to break up clumps. It might look like overkill, but it really helps with consistency.
3. Tamping
Place your portafilter on a flat surface. Press down firmly and, most importantly, levelly. You don't need to push with 30kg of force; you just need to compress the air out until the coffee stops moving. If your tamp is crooked, the water will fly through the thin side and ignore the thick side. We’ve written a whole piece on the art of tamping if you want to dive deeper.

4. The Extraction
Lock the portafilter into the group head and start the pump immediately. Heat from the group head can actually singe the dry grounds if they sit there too long. Place your scale and cup underneath, tare it to zero, and watch the magic happen.
You’re looking for a flow that starts dark and syrupy, eventually turning into a "mouse tail" stream of golden-brown liquid. Stop the pump once you hit your 36g target.
Troubleshooting: The "Dialing In" Process
This is where most beginners get stuck. You followed the steps, but the coffee tastes… weird. Here is how to fix it using your palate as the guide.
If the coffee tastes sour, salty, or watery:
This is under-extraction. The water moved through the coffee too fast to pick up the sugars.
- The Fix: Grind finer. This creates more resistance and slows down the flow.
If the coffee tastes bitter, dry, or like charcoal:
This is over-extraction. The water stayed in contact with the grounds for too long.
- The Fix: Grind coarser. This allows the water to pass through more easily.
If the coffee tastes "muddy" or just flat:
Check your temperature. If your water is too cool, you won't extract the complexity. If you're using a machine with a PID, try bumping it up a degree or two.
Imagine your coffee grounds are like a bed of pebbles versus a bed of sand. Water rushes through pebbles (coarse grind) but struggles to get through sand (fine grind). Your job is to find the perfect "sand" texture for that specific bean.

Water Quality: The Secret Ingredient
We often forget that an espresso is about 90% water. If your tap water is very hard (full of minerals like calcium), it will not only make your coffee taste dull, but it will also kill your machine with limescale buildup.
We recommend using filtered water or a specific bottled water with a balanced mineral content. It makes a massive difference to the clarity of flavor. If you find your espresso is consistently lacking that "pop," your water is likely the culprit.
Maintenance: Keep It Clean
A dirty espresso machine makes dirty-tasting coffee. Coffee oils go rancid very quickly. You should be backflushing your machine with water after every session and using a dedicated espresso cleaner once a week.
Don't forget the steam wand, either. If you’re frothing milk, wipe it and purge it immediately after use. No one likes "crusty milk" on their gear. For more tips on longevity, our guide on looking after your espresso machine is a must-read.
What About Milk?
While we've focused on the pure espresso shot here, we know most home baristas are looking to craft the perfect flat white or latte. The key to silky milk is "microfoam": you want to incorporate just enough air to create a texture like wet paint, not stiff shaving foam.
If you’re ready to start steaming, you’ll want to understand the science of milk and the differences between lattes and cappuccinos.

Final Thoughts
Mastering espresso at home is a marathon, not a sprint. You will have days where everything goes wrong, and that’s okay. That is the beauty of coffee 🙂
The most important thing to remember is that numbers (18g, 36g, 30 seconds) are just a starting point. They are the map, but your tongue is the destination. If the "rules" say your shot was perfect but you think it tastes too intense, change it! Increase the yield to 40g and see what happens. Coffee is subjective, and the "perfect" shot is ultimately the one you enjoy drinking most.
If you’re feeling a bit overwhelmed, don’t be. We offer barista training that can help you get hands-on experience with these concepts.
And remember, every great shot starts with great beans. Grab a bag of our freshly roasted espresso blends and start practicing. We can’t wait to hear how your home barista journey progresses!
Happy brewing!